CREATING A HTTP CONNECTION
Establishing a connection creates a bidirectional messaging transport link between ThingPark X IoT Flow and your application server. Events and commands from multiple devices are multiplexed over this link.
Creating a Connection From UI
For the required parameters check the Parameters required for connecting to a HTTP platform below in this topic.
- Click Connections -> Create -> ThingPark X Iot Flow.
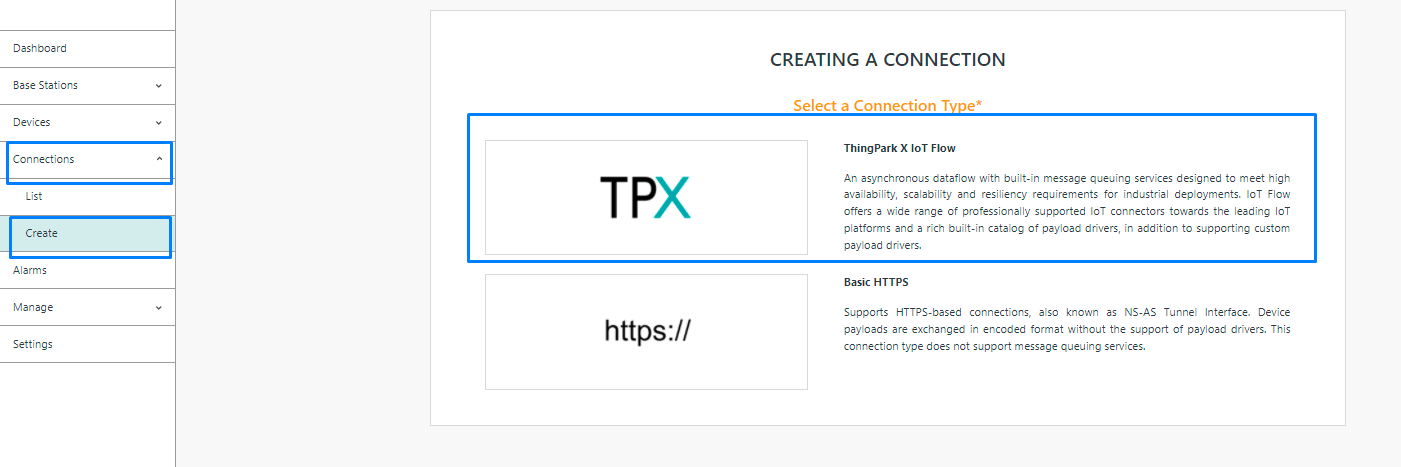
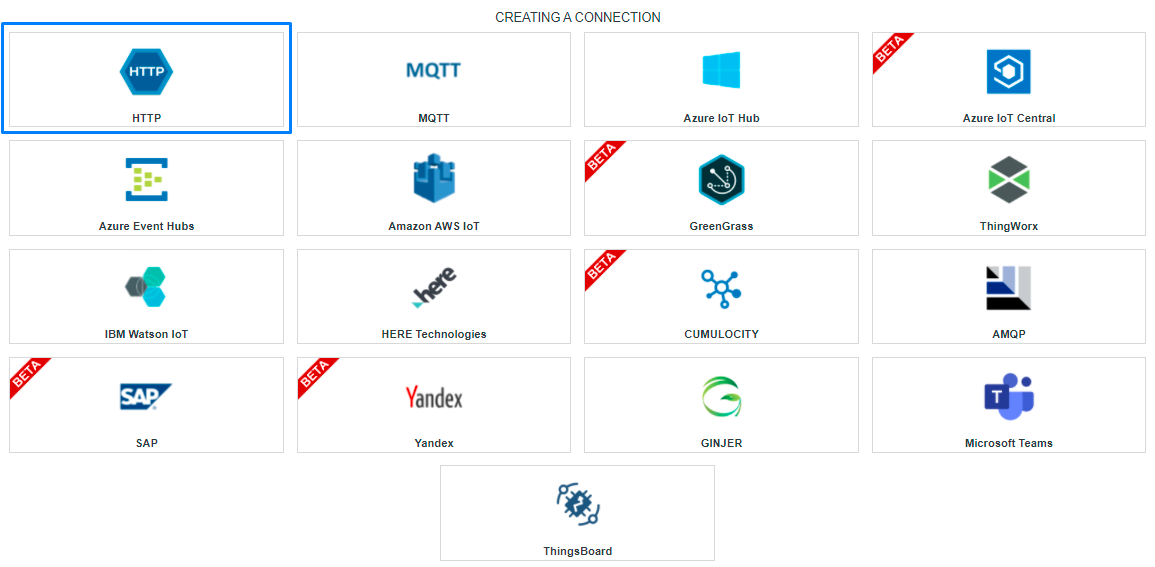
Then, a new page will open. Select the connection type : HTTP.
- Fill in the form as in the example below and click on Create.
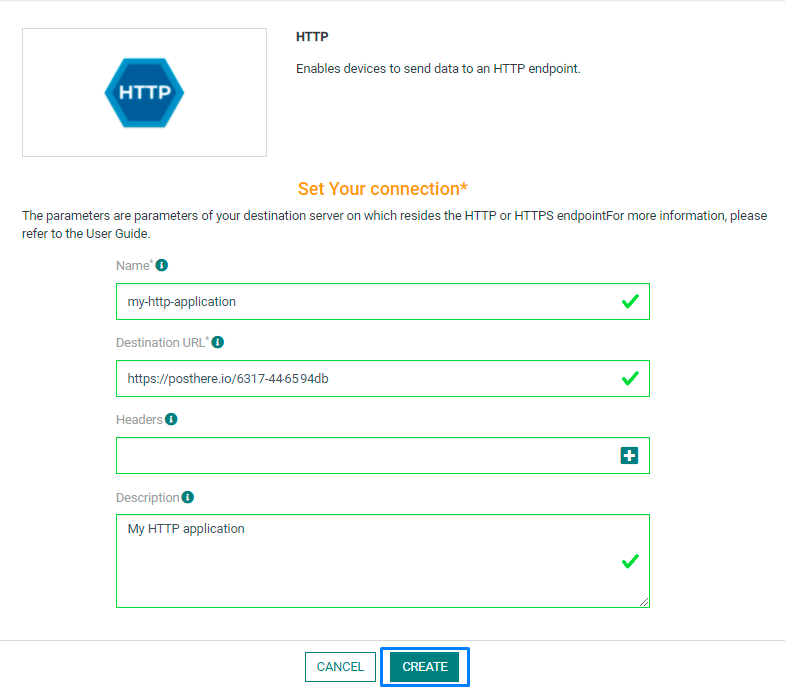
Parameters marked with * are mandatory.
- A notification appears on the upper right side of your screen to confirm that the application has been created.
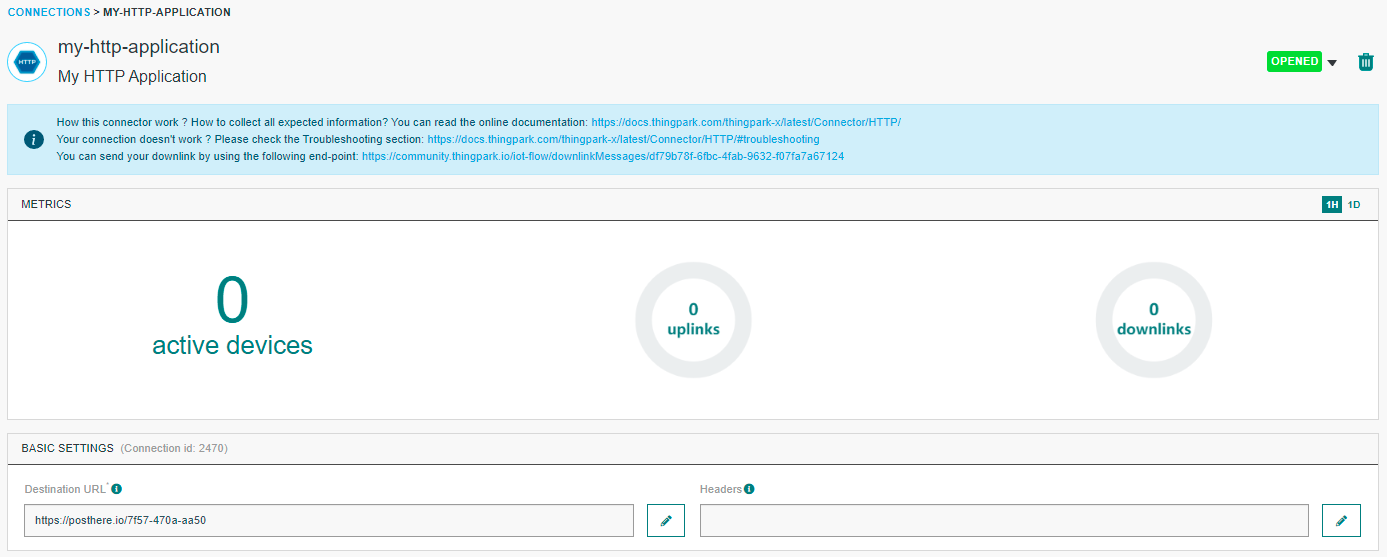
- After creating the application, you will be redirected to the application details.
Changing the Settings after Creation
You can change the settings parameters such as the destination URL or the Headers after the creation of the HTTP application.
To do this, proceed as follows:
-
Select the HTTP application for which you want to change one or several parameters.
-
In the application information dashboard, click on the Edit icon corresponding to the parameter you want to change.
- Enter the new value, and click on the Confirm icon.
- The Confirmation window displays,
- A notification will inform you that the parameter is updated.
Collecting Expected Information
Parameters required
The parameters are the following:
| UI Field | Description |
|---|---|
| Application Name | Name of the application that you want to register. |
| Destination URL | The destination URL of your HTTP application. |
| Headers | All the keys-value which represents the HTTP headers. |
| Description | Description of the application that you want to register. |
| Tunnel Interface Authentication Key | TIAK is a 32-hexadecimal digits key generated with a high entropy that is associated with the connection to secure the upstream. Option details |
| Basic HTTP compliance | Use this option if your application server is only compliant with Basic HTTPS connection |
| Send Raw Decoded Format | With this option, only the decoded part of the message is sent. See decoded payload only |
| Strict Mode | Define the behavior of the connection when the application server refuse a message. Option details |
| Uplink Validity | Define the maximum delay allowed for transmit a message. After this delay, the message is dropped. |
| Debug Mode | Reserved for troubleshooting, this option should be used for obtain more communication informations. This option is automatically deactivated after two days. |
Tunnel Interface Authentication Key option
The TIAK is a system-generated security key shared between ThingPark X IoT Flow and your HTTPS application server (AS). It provides an application-level signature for uplink messages sent to the application server.
IoT-Flow compute the <token> as: SHA-256(<body-elements> + <query-parameters> + <TunnelInterfaceAuthenticationKey>).
The <body-elements> is composed like this:
- For an uplink frame (extract from the DevEUI_uplink body):
CustomerID,DevEUI,FPort,FCntUp,payload_hexAn example of<body-elements>is199906997FADE8F83D9663F5B23a0b2(concatenation of 199906997, FADE8F83D9663F5B, 2, 3, a0b2)
A FPort value 0 is used if no FPort is set in the DevEUI_uplink body.
An empty payload_hex value is used if no payload_hex is set in the DevEUI_uplink body.
-
For a downlink frame sent report (extracted from the
DevEUI_downlink_sentbody):CustomerID,DevEUI,FPort,FCntDnAn example of<body-elements>is:199906997FADE55B9F72E224381(concatenation of 199906997, FADE55B9F72E2243, 8, 1) -
For a multicast summary report (extracted from the
DevEUI_multicast_summarybody):CustomerID,DevEUI,FPort,FCntDnAn example of<body-elements>is:199906997FADED697A91154B714(concatenation of 199906997, FADED697A91154B7, 1, 4) -
For a location report (extracted from the
DevEUI_locationbody):CustomerID,DevEUIAn example of<body-elements>is:199906997fadec8b7fce3e6fb(concatenation of 199906997, fadec8b7fce3e6fb) -
For a notification report (extracted from the
DevEUI_notificationbody):CustomerID,DevEUIAn example of<body-elements>is:199906997FADED5D619611575(concatenation of 199906997, FADED5D619611575) -
The query parameters could be similar to this:
LrnDevEui=20635F028100003E&Time=2023-12-19T16:46:44.35Z&LrnFPort=0&AS_ID=TWA_100002164.1105.AS&Token=19bd0f024187122a2d2479e89a941e39511faa58f5099dba46d9d11468ef13d2Some query parameters are optionals likeAS_IDorLrnFPort.
An example of <token> is: SHA‑256(199906997FADE8F83D9663F5B23a0b2LrnDevEui=FADE8F83D9663F5B&Time=2024-01-04T10:43:49.185+01:000eeb1d3dafc5def386223787062b6b91)
Strict mode option
If StrictMode is disabled, all unaccepted messages by the application server (Return code different than 2xx) are lost without any retry. If the application server is not reachable, the connection is CLOSED and the connection retry strategy is applied. See Reconnection strategy
If StrictMode is enabled, when the application server reject a message (Return code different than 2xx) or the application server is not reachable, the connection is CLOSED and the connection retry strategy is applied. See Reconnection strategy
Proxy option
When creating an HTTP connection, you can configure a proxy. This option is available only on OCP version of Thingpark (Standalone version).
proxy: {
  "hostname": "192.168.155.1:8080",
  "username": "myusername",
  "password": "mypassword"
}
| Property | Description |
|---|---|
| Hostname | The hostname of the proxy server or IP:Port |
| Username | Credential used to connect to the server. |
| Password | Credential used to connect to the server. |
Creating a Connection With API
To do this, you need to use the Connections group resource:
POST /connectionsto create a new Connection instancePUT /connectionsto update a Connection instanceDELETE /connectionsto delete a Connection instance
We follow the REST-full API pattern, when updating configuration properties for a connection resource. Thus, you must also provide the whole configuration again.
Example for creation of a new connection instance :
POST /connections
{
  "connectorId": "actility-http-iot",
  "name": "Test HTTP Connection",
  "configuration": {
    "headers": {
      "Authorization": "Bearer eg89a53sx!=",
      "X-Thing": "{DevEUI}",
      "X-Site": "BuildingA"
    },
    "destinationURL": "https://posthere.io/4b29-45f6-94tc",
    "lrcCompliance": true,
		"downlinkAsId": "TWA_199983788.1972.AS",
		"downlinkAsKey": "9311e22d7d44fc52215b0dc154aa1d22",
		"downlinkPort": "1"
  }
}
The following table lists the properties applicable to a connection instance.
| Field | Description |
|---|---|
connectorId | Must be set to actility-http-iot for AWS IoT cloud platform. |
Headers | All the keys-value which represents the HTTP headers |
destinationURL | Destination URL should contain http:// or https:// protocol |
All properties are not present in this example. You can check the rest of these properties in the common parameters section.
Limitations
As for now, there is no known limitations to the HTTP connection.
Connection Testing
-
Go to the Devices List section, and click on the device you want to affect to your HTTP application.

- When you are on the device's details page, click on Add an application.
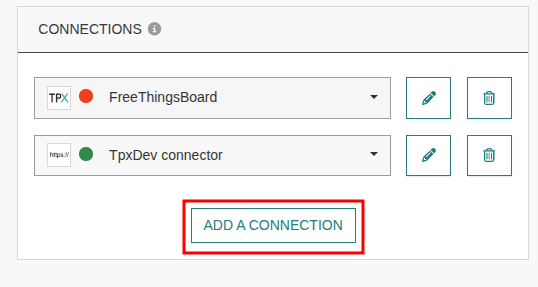
- Select your HTTP application and click on the Confirm icon.
- A notification appears to confirm that the application has been added to the device.
- Go to the destination URL. For the application above, this is https://posthere.io/6317-4654-94db
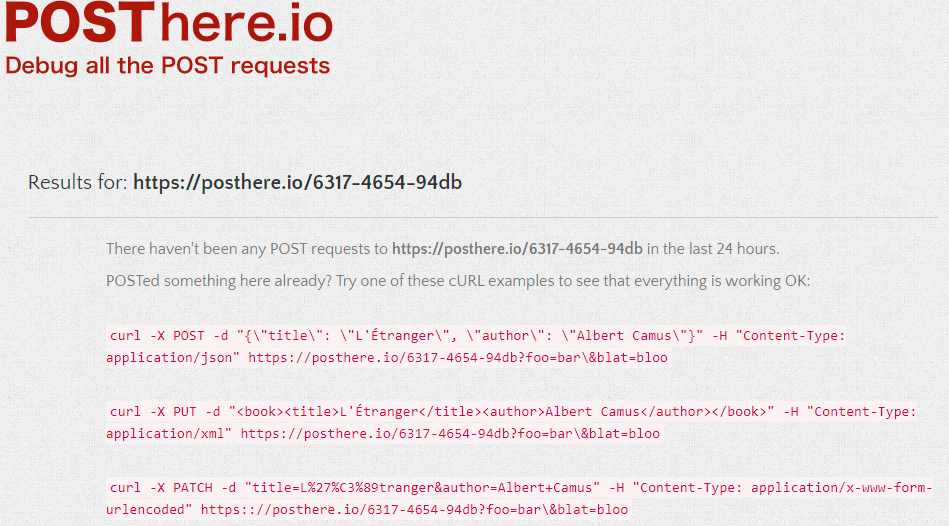
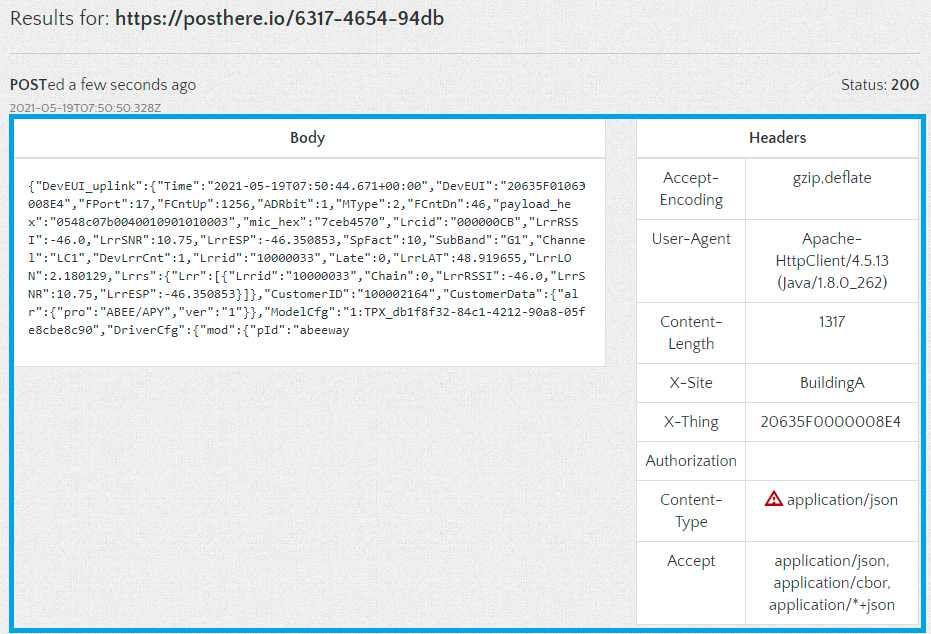
- You can then verify if the uplinks are correctly sent.
Sending a downlink
On each uplink message, a URL is provide on the field downlinkURL. You can use this URL in order to POST a downlink message.
Follow this documentation to know the expected message format of a downlink.
Troubleshooting
As for now, there are no detected bugs.