CREATING A YANDEX CONNECTION
Configuring your YANDEX account
If you don't have the Yandex.Cloud command line interface yet, install and initialize it.
- Open the command line (CMD) and type the command
yc init. You should see a similar result:
    yc init
    Welcome! This command will take you through the configuration process.
    Please go to https://oauth.yandex.ru/authorize?response_type=token&client_id=1a0967aa636643d9b2ef855fa7bec2fb in order to obtain OAuth token.
- Go to the link and connect to your account in order to get the OAuth token needed for the next step.
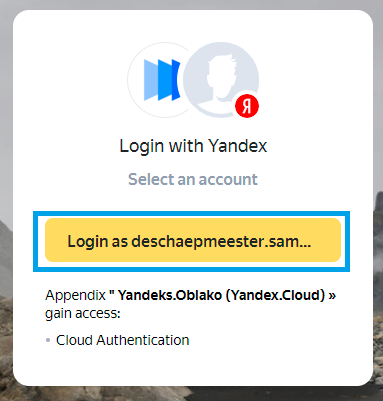
- You will be redirected to a page that will show the token.

- After entering the OAuth token, you will need to choose a folder.
 You have one cloud available: 'cloud-sdeschaepmeester' (id = b1guj45qubqp266nra43). It is going to be used by default.
 Please choose folder to use:
  [1] default (id = b1go9m152l1drhp8khe6)
  [2] Create a new folder
 Please enter your numeric choice: 1
- Finally, you will need to choose a compute zone like below.
   Your current folder has been set to 'default' (id = b1go9m152l1drhp8khe6).
   Do you want to configure a default Compute zone? [Y/n] Y
   Which zone do you want to use as a profile default?
   [1] ru-central1-a
   [2] ru-central1-b
   [3] ru-central1-c
   [4] Don't set default zone
   Please enter your numeric choice: 1
   Your profile default Compute zone has been set to 'ru-central1-a'.
Creating a Connection With API
The creation of a connection establishes a bidirectional messaging transport link between ThingPark X IoT Flow and the cloud provider. Events and commands from multiple Devices will be multiplexed over this messaging transport link.
To do this, you need to use the Connections group resource:
POST/connectionsto create a new Connection instancePUT/connectionsto update a Connection instanceDELETE/connectionsto delete a Connection instance
We follow the REST-full API pattern, when updating configuration properties for a connection resource. Thus, you must also provide the whole configuration again.
Example for creation of a new connection instance :
POST /connections
{
  "connectorId": "actility-yandex-iot",
  "name": "Test Yandex Connection",
  "configuration": {
    "serviceAccountId": "ajeolm791v8k2qje7tht",
    "authorizedKeyId": "auve9n3a5peq39kcuhtg",
    "authorizedPrivateKey": "-----BEGIN PRIVATE KEY-----...-----END PRIVATE KEY-----",
    "folderId": "b1f7re11con4ut4g3s6v"
  }
}
The following table lists the properties applicable to a connection instance.
| Field | Description |
|---|---|
connectorId | Must be set to actility-yandex-iot for YANDEX platform. |
serviceAccountId | Service account ID that allows the management of registry and devices |
authorizedKeyId | Defines the ID of the key for the service account. |
authorizedPrivateKey | Defines the private key of the authorization. |
folderId | The Folder ID that you want to use. |
All properties are not present in this example. You can check the rest of these properties in the common parameters section.
Creating a Connection From UI
You must have an active YANDEX account prior to creating a YANDEX connection in ThingPark.
Register a new account if you don't have one already.
You also need to know the parameters that are required to perform this task. To learn more, check Parameters required for connecting to a YANDEX platform below in this topic.
- Click Connections -> Create -> ThingPark X IoT Flow.
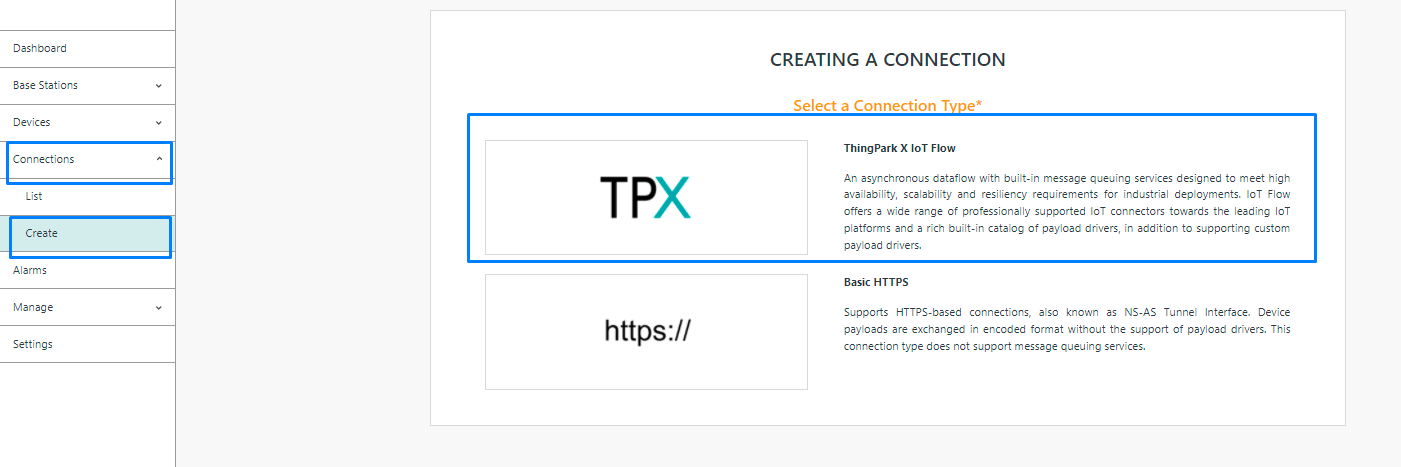
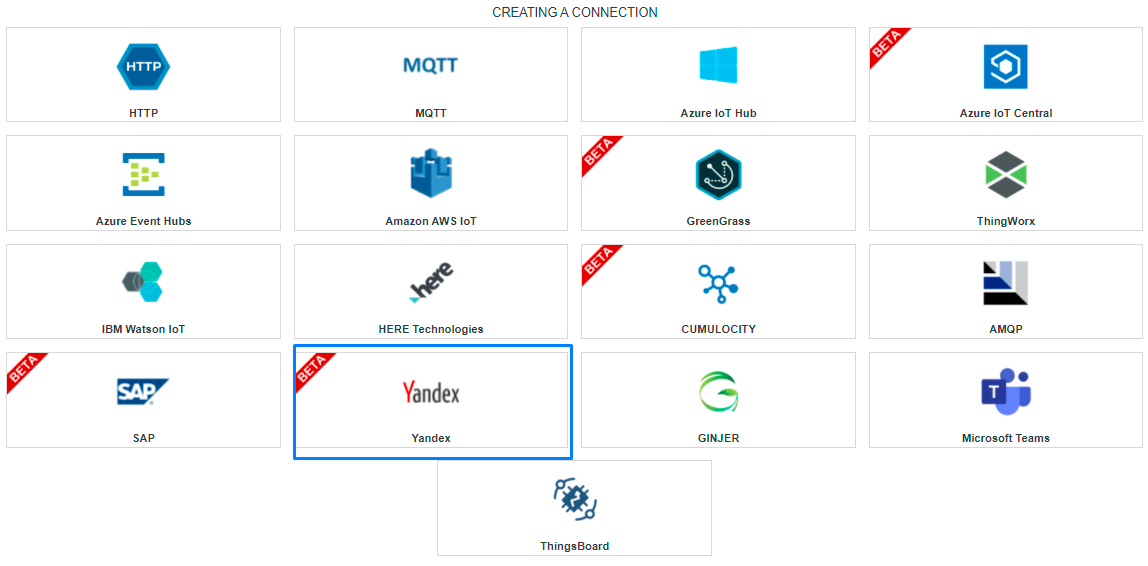
Then, a new page will open. Select the connection type : YANDEX.
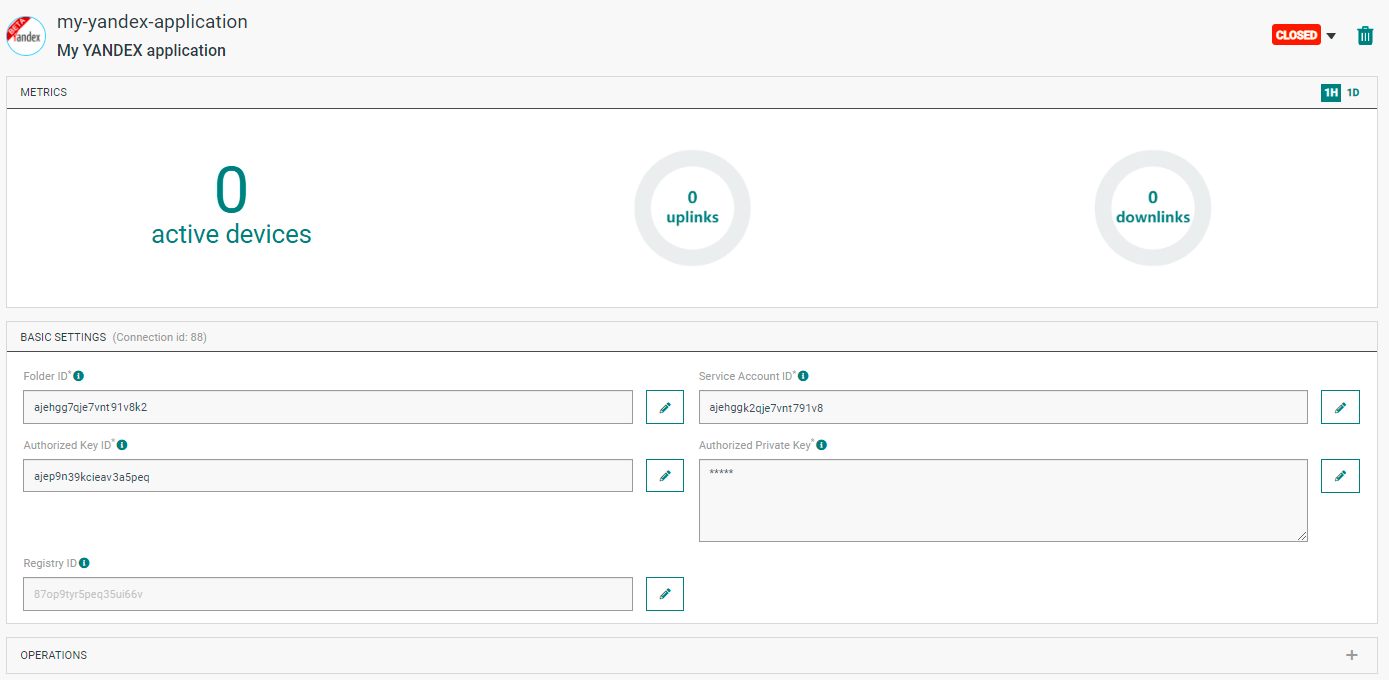
- Fill in the form as in the example below and click on Create.
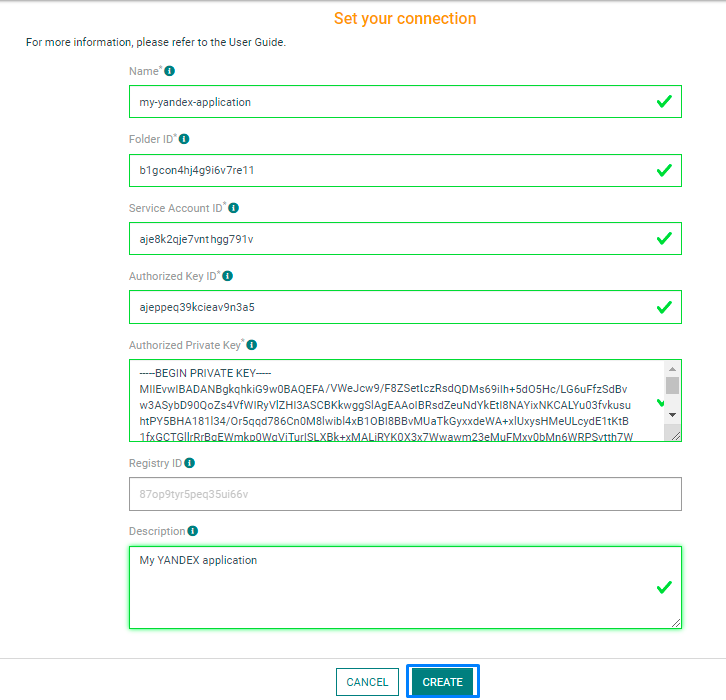
Parameters marked with * are mandatory.
- A notification appears on the upper right side of your screen to confirm that the application has been created.

- After creating the application, you will be redirected to the application details.
Creating a new registry
Follow these steps in order to add a new registry.
- In the management console, select the folder where you want to add a new registry.
- Click on Yandex IoT Core in the left menu.
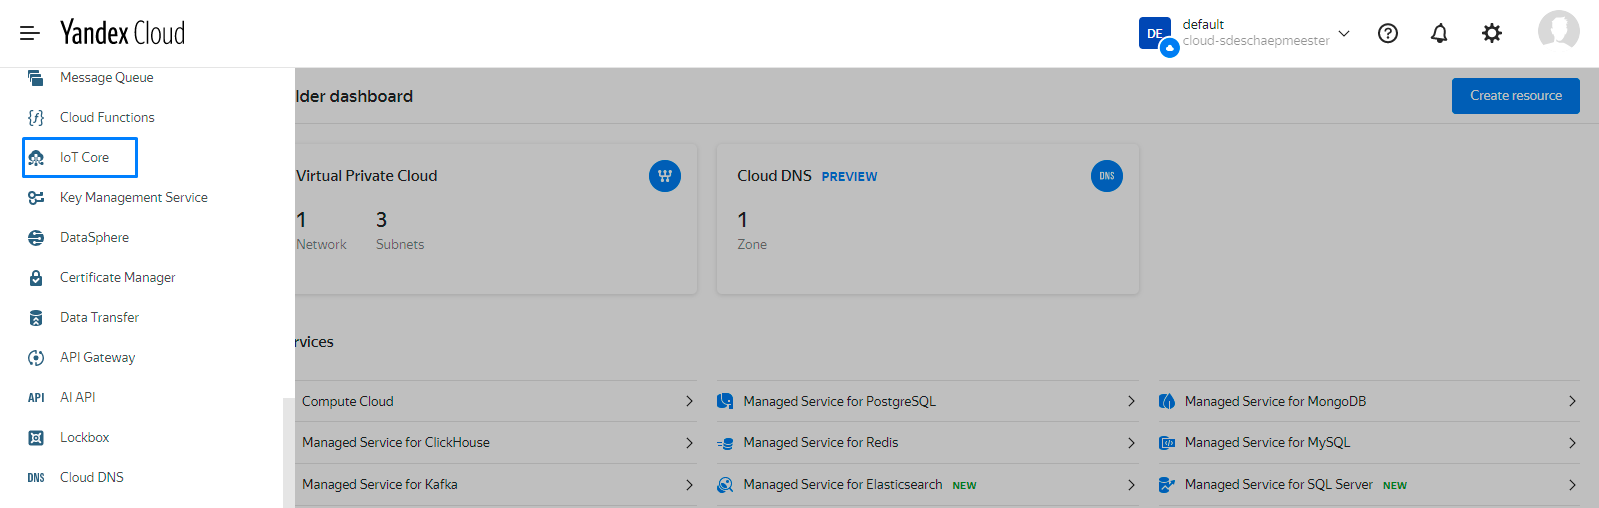
- Click on Create registry.
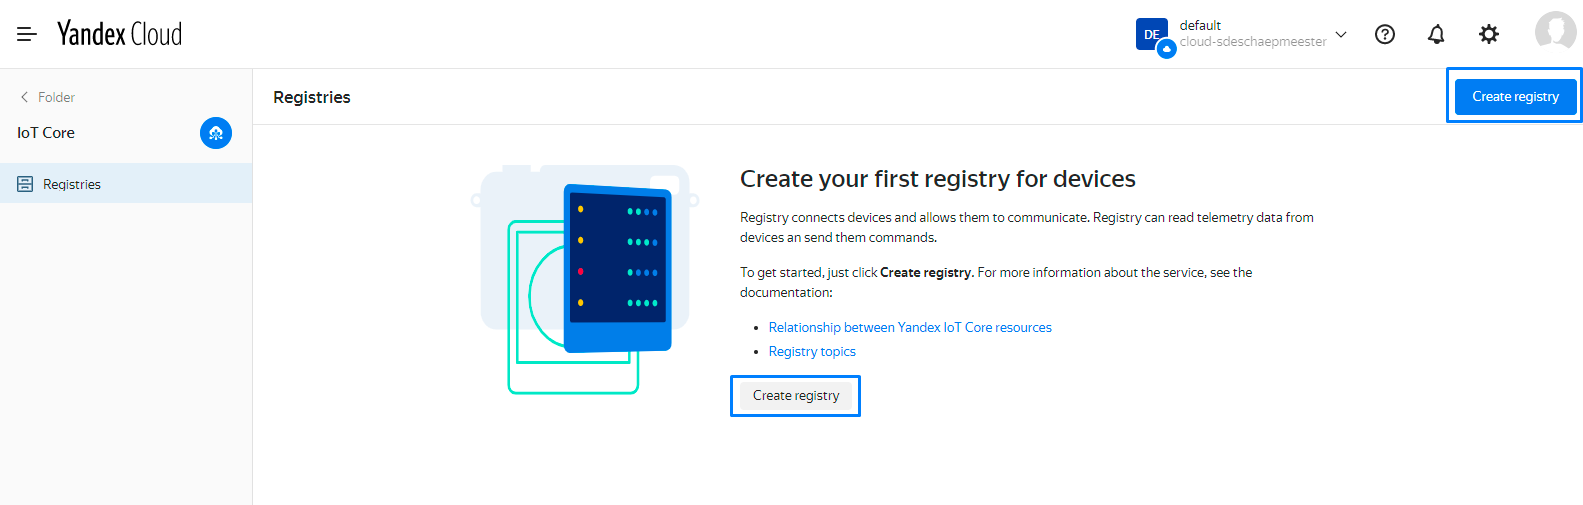
- Fill in the form like the example below.

- Click on Create.
Adding devices to the registry
Follow these steps in order to add a new device to your registry.
- In the management console, select the folder where you want to add a new device.
- Click on Yandex IoT Core in the left menu.
-
Select the registry.
-
In the left part of the window, select Devices.
-
Click on Add device.
-
Enter the name and the password of the new device.
-
Click on Create.
Changing the Settings after Creation
You can change the settings parameters of the YANDEX application.
To do this, proceed as follows:
-
Select the Yandex application for which you want to change one or several parameters.
-
In the application information dashboard, click on the Edit button corresponding to the parameter you want to change.

- Enter the new value, and click on the Confirm icon.

- The Confirmation window displays,
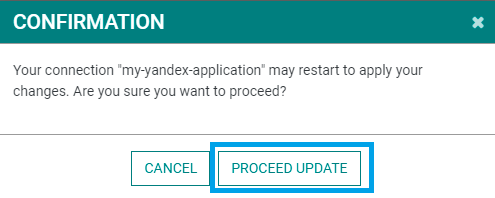
- A notification will inform you that the parameter is updated.

Collecting Expected Information
Parameters required
| UI Field | Description |
|---|---|
| Application Name* | Name of the application that you want to register (Editable). |
| Folder ID* | The Folder ID that you want to use (Editable). |
| Service Account ID* | Service account ID that allows the management of registry and devices (Editable). |
| Authorized Key ID* | Defines the ID of the key for the service account (Editable). |
| Authorized Private Key* | Defines the private key of the authorization (Editable). |
| Registry ID | An existing registry could be used. If empty, a new registry named "Actility_ThingPark" will be created (Editable). |
| Description | Description of the application that you want to register (Editable). |
Collecting Expected Information
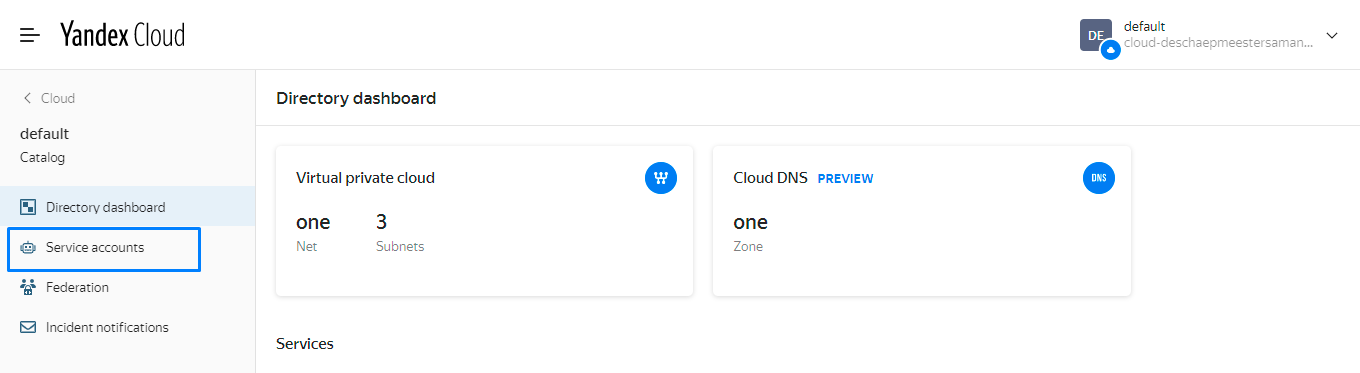
Service Account ID
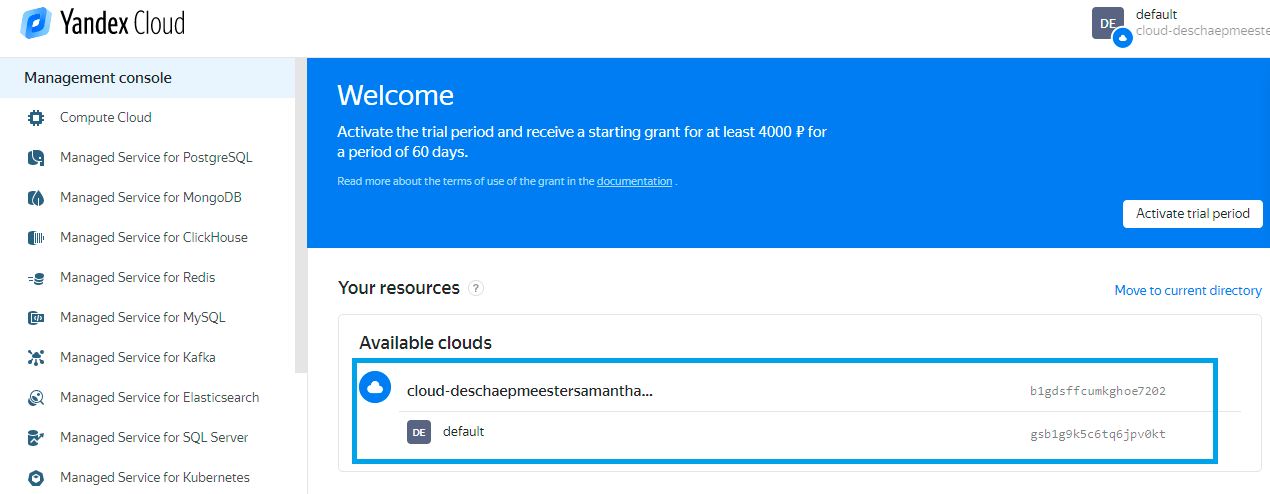
After you have created your YANDEX account, you need to retrieve the parameter values that will be required to configure the YANDEX connector.
-
Go to the Yandex Cloud service
-
Click on the Management Console tab and select the Overview tab.
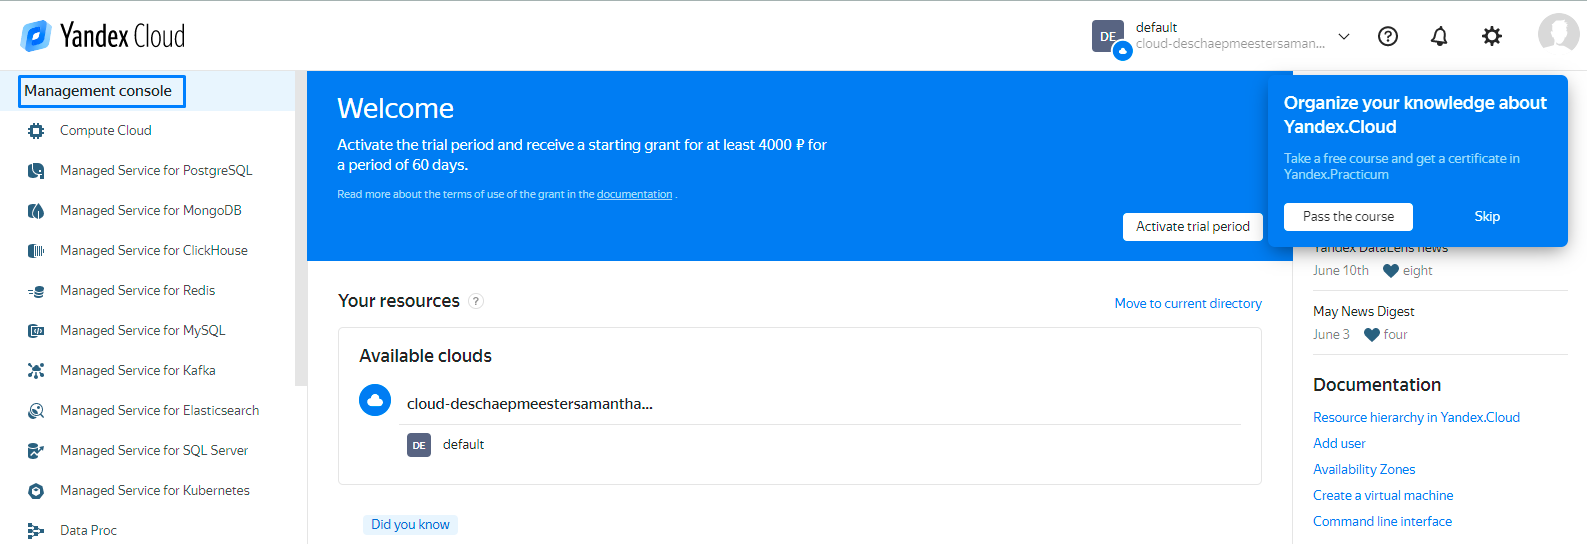
- You can then retrieve the service account ID parameter.
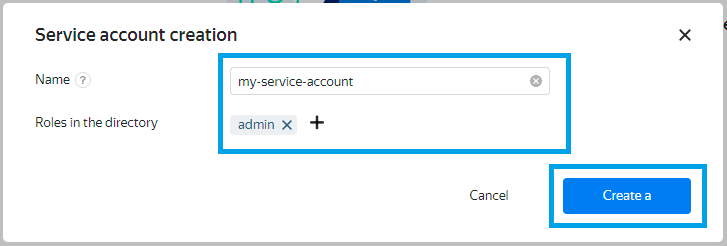
Authorized Key ID and Authorized Private Key
- Go to the Yandex Cloud service and select your service.
- Click on the Service accounts tab.
- Click on Create a service account if you don't have one already.

- Choose a name and add one or several roles for your service account, then click on Create. You will need to create or link a billing account.
-
Go back to the Service accounts tab. Choose the service account and click the line with its name.
-
Click Create new key in the top panel.
-
Click Create API key. Enter a description of the key so that you can easily find it in the management console.
-
Save the ID and private key.
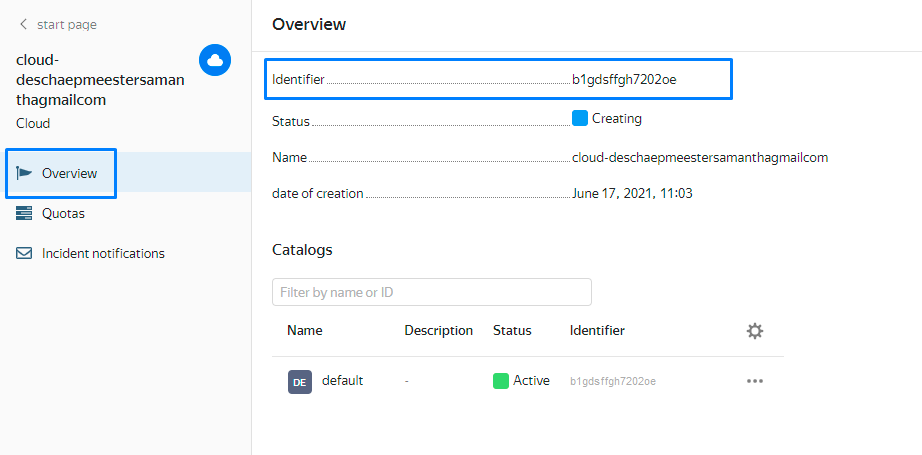
Folder ID
- Go to the management console. You can see the folder ID. Otherwise, select a folder.
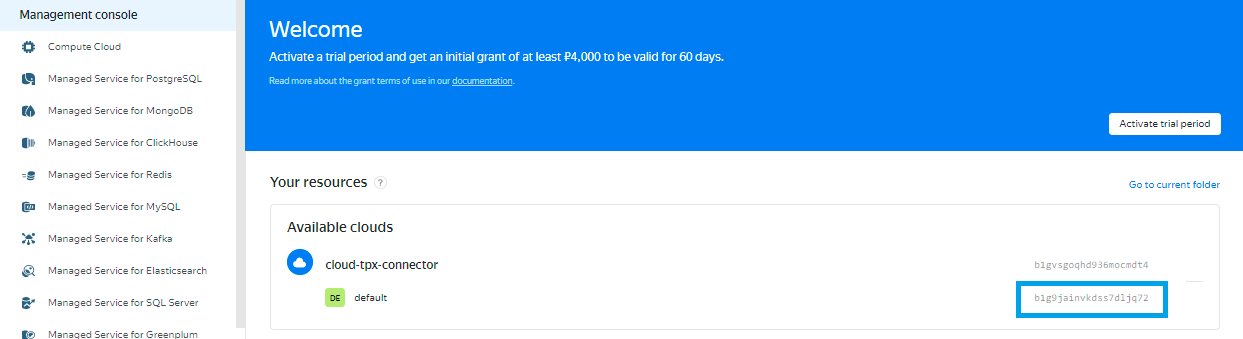
- You can see the folder ID in the URL. For the example above, the folder ID is :

https://console.cloud.yandex.com/folders/b1g9jainvkdss7dljq72
- b1gd129pp9ha0vnvf5g7 is the folder ID.
Registry ID (optional)
-
Open the Yandex.Cloud command line.
-
Get the list of registries in the default folder with the command below:
$ yc container registry list
You should see a result like this :
$ yc container registry list +----------------------+--------+----------------------+ | ID | NAME | FOLDER ID | +----------------------+--------+----------------------+ | udol16490s9a2t1gr8mi | my-reg | b1g13tyubu5ek1omtsu0 | +----------------------+--------+----------------------+
- The folder specified in the CLI profile is used by default. You can specify a different folder using the --folder-name or --folder-id parameter.
Limitations
There are currently no known limitations to the YANDEX connector.
Displaying information to know if it worked
You need to have MQTT.fx and Mosquitto installed prior to these steps.
- Open MQTT.fx and create a connection with the following parameters :
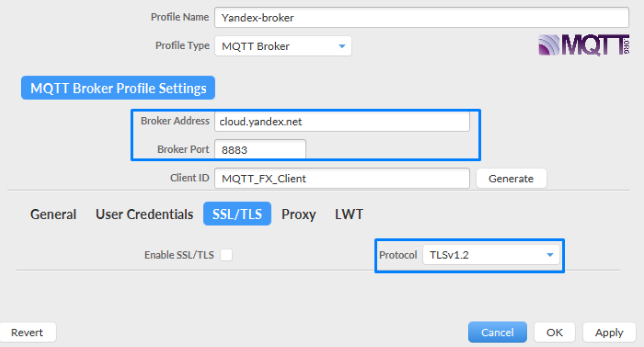
| Parameter | Description |
|---|---|
| Certification authority certificate | Security certificate needed to connect to the broker. |
| Broker address | mqtt.cloud.yandex.net |
| Broker port | 8883 |
| Protocol | TLSv1.2 |
- Go to the root folder of Mosquitto, open a new command prompt and enter this command :
net start mosquitto
- Subscribe a registry to a single device's topic by entering the following command :
    mosquitto_sub -h mqtt.cloud.yandex.net \
    -p 8883 \
    --cafile rootCA.crt \
    --cert registry-cert.pem \
    --key registry-key.pem \
    -t '$devices/<device ID>/events' \
    -q 1
- Send data to the device's topic with following command :
    $ mosquitto_pub -h mqtt.cloud.yandex.net \
    -p 8883 \
    --cafile rootCA.crt \
    --cert device-cert.pem \
    --key device-key.pem \
    -t '$devices/<device ID>/events' \
    -m 'Test data' \
    -q 1
- You will see the result in the MQTT's window.
Troubleshooting
As for now, there are no detected bugs.