CREATING A DATACAKE CONNECTION
Collecting Expected Information
Parameters required
| Field | Description |
|---|---|
Access Token | Generated in your Datacake settings. |
Generate Access Token
Access Token is a key that will offer you the possibility to authenticate you.
-
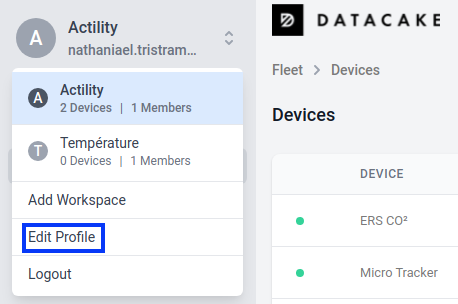
To get it, you must first go to your profile settings.
-
Then go to API section, and copy your Access Token

Creating a Connection With API
The creation of a connection establishes a unidirectional messaging transport link to the cloud provider.
To do this, you need to use the Connections group resource:
POST/connectionsto create a new Connection instancePUT/connectionsto update a Connection instanceDELETE/connectionsto delete a Connection instance
We follow the REST-full API pattern, when updating configuration properties for a connection resource. Thus, you must also provide the whole configuration again.
Example for creation of a new connection instance :
POST /connections
{
  "name":"Actility To Datacake",
  "connectorId":"actility-http-iot",
  "configuration": {
      "destinationURL":"https://api.datacake.co/integrations/lorawan/actility",
      "headers": {
          "Authorization": "Token {YOUR-ACCESS-TOKEN}"
      }
  },
  "brand":"DATACAKE"
}
The following table lists the properties applicable to a connection instance.
| Field | Description |
|---|---|
connectorId | Must be set to actility-http-iot for Datacake platform. |
configuration/headers/accessToken | Must be replaced by "Token " followed by your Access Token created in your datacake account. |
brand | Must be set to DATACAKE. |
All properties are not present in this example. You can check the rest of these properties in the common parameters section.
Creating a Connection With UI
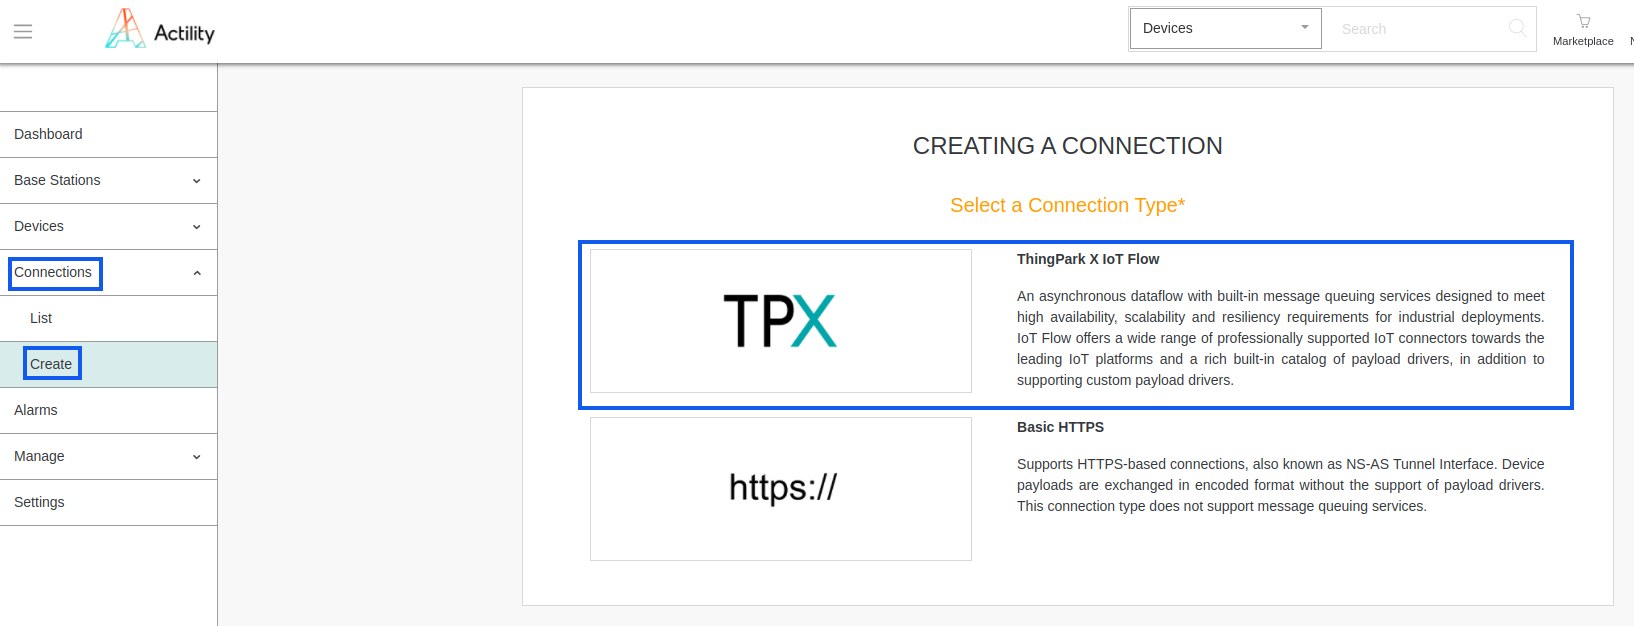
-
Click Connections -> Create -> ThingPark X IoT Flow
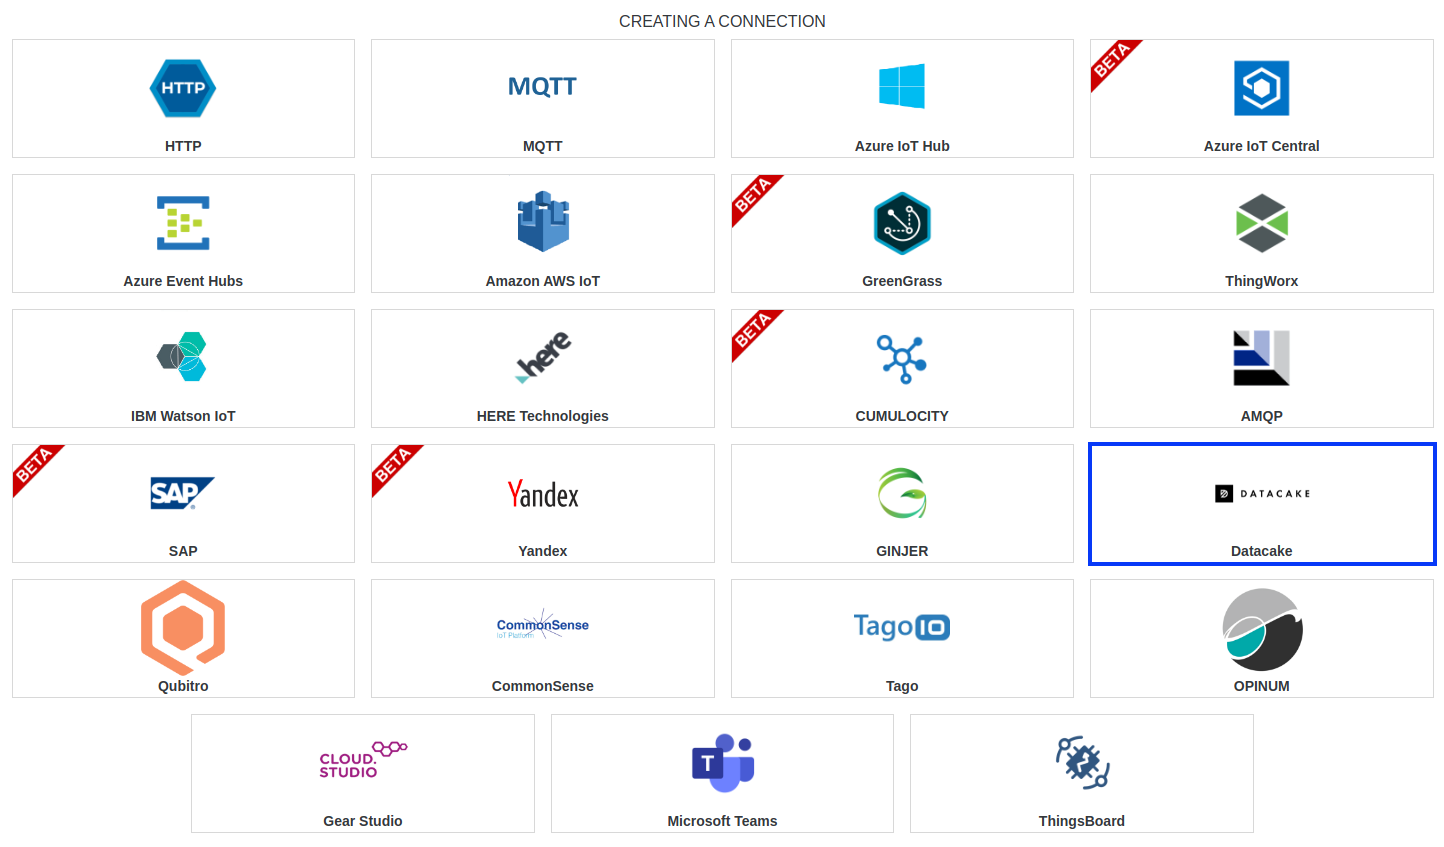
-
Then, a new page will open. Select the connection type: Datacake.
-
Fill in the form as in the example below and click on Create.
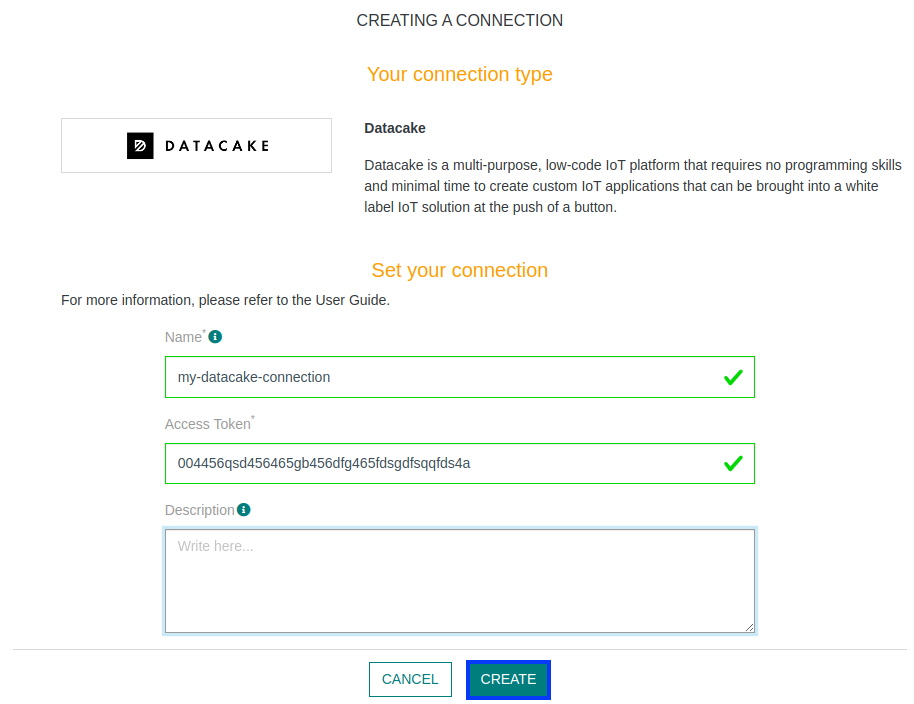
Parameters marked with * are mandatory.
-
A notification appears on the upper right side of your screen to confirm that the application has been created.
-
After creating the application, you will be redirected to the connection details.
Limitations
Limitations depends on Account Plan you own.
Displaying information to know if it worked
-
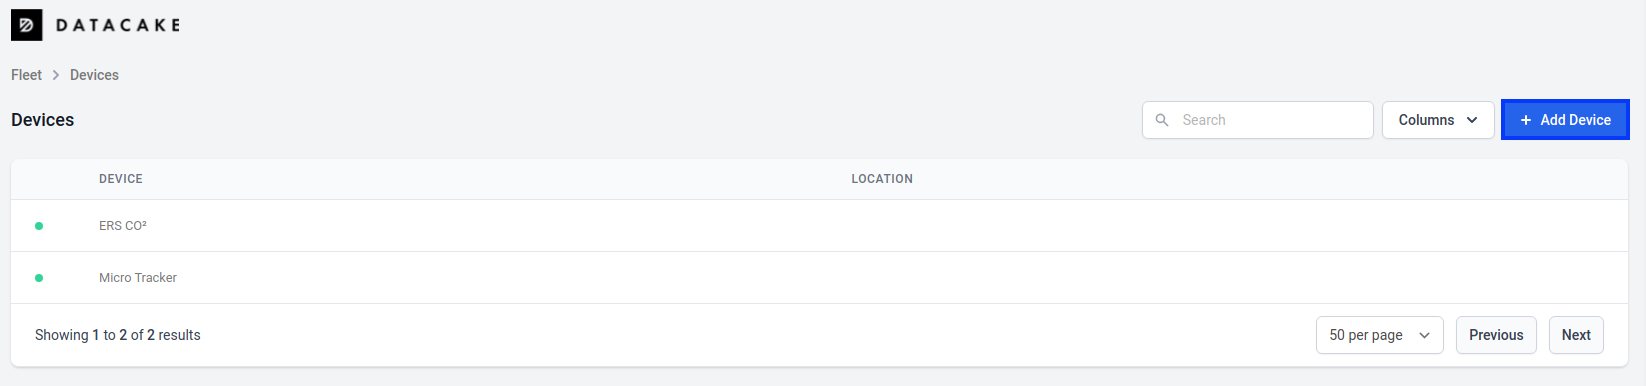
Connect to your Datacake account.
-
Press the + Add Device button.
-
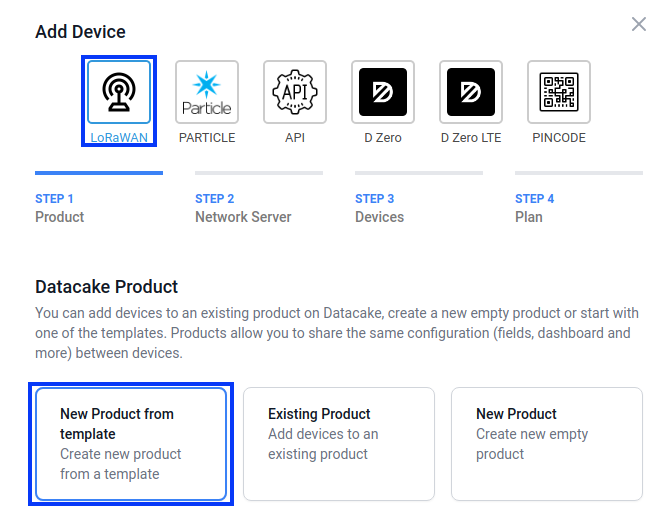
Choose LoRaWAN, and select New Product from template (You can create a New product if your device model doesn't appear, refer to this link to get more informations)
-
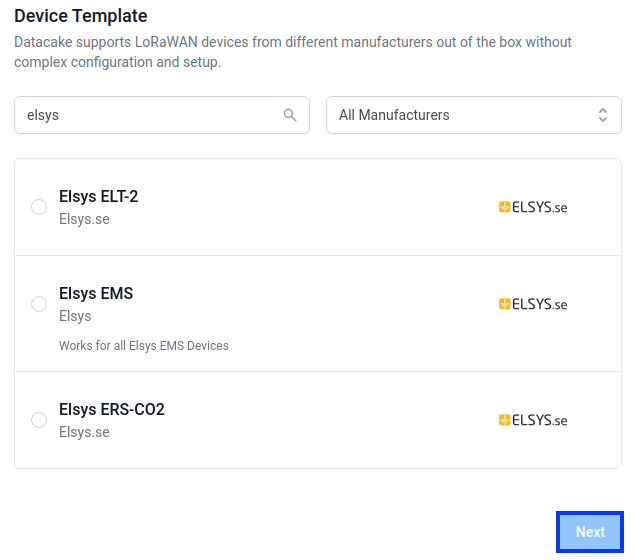
Select your device in the Device Template list bellow. And chose Actility for Network Server.
-
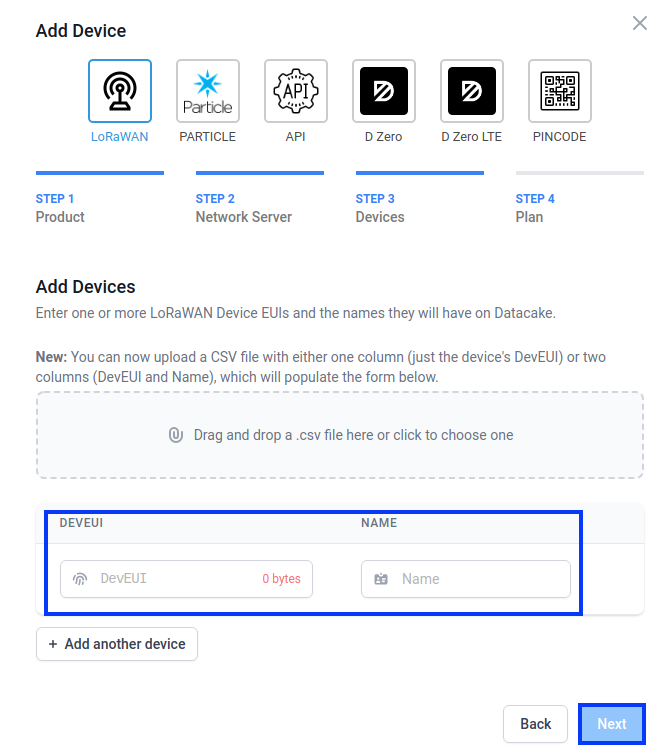
Fill in the DEVEUI and NAME fields. Then, go Next and chose your Plan.
-
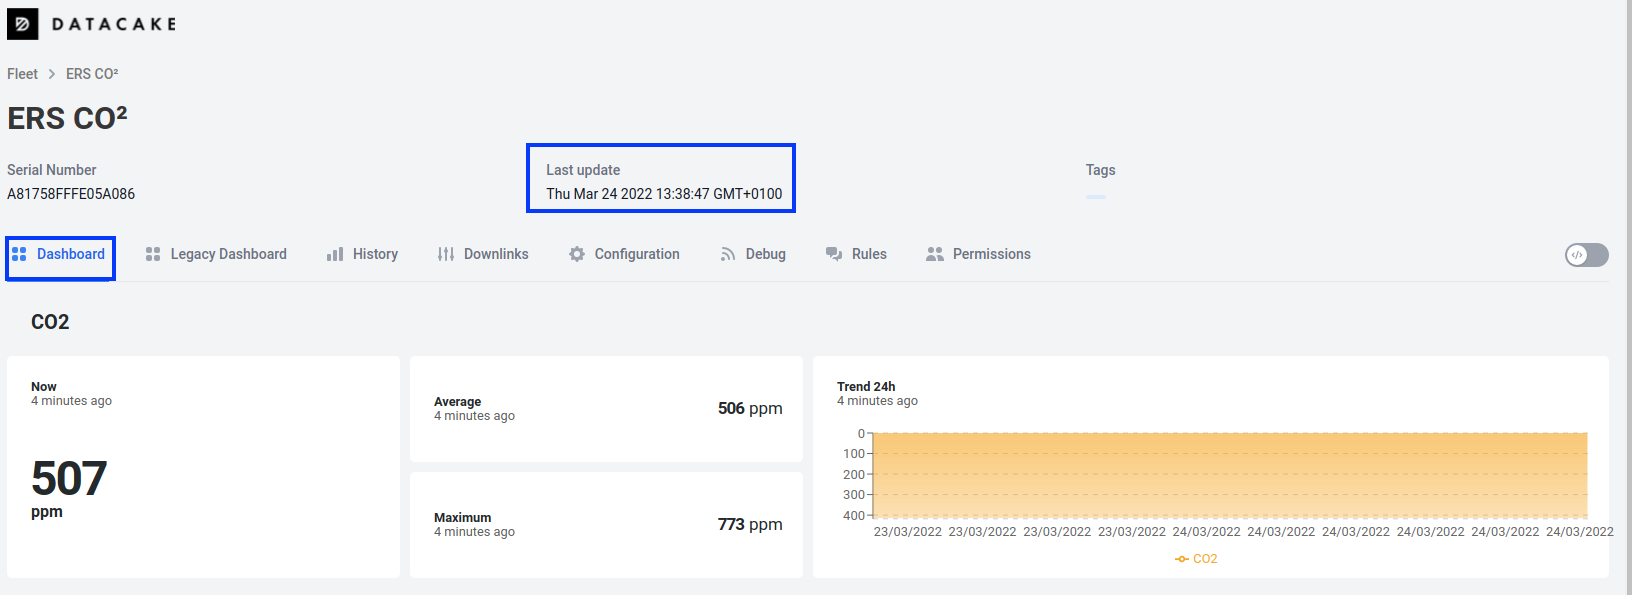
After waiting a few minutes, you'll be able to see a dashboard for you device by clicking on it in your device list.
Troubleshooting
As for now, there are no detected bugs.
- Datacake documentation: https://docs.datacake.de/