CREATE AN API KEY IN ARDUINO CLOUD
-
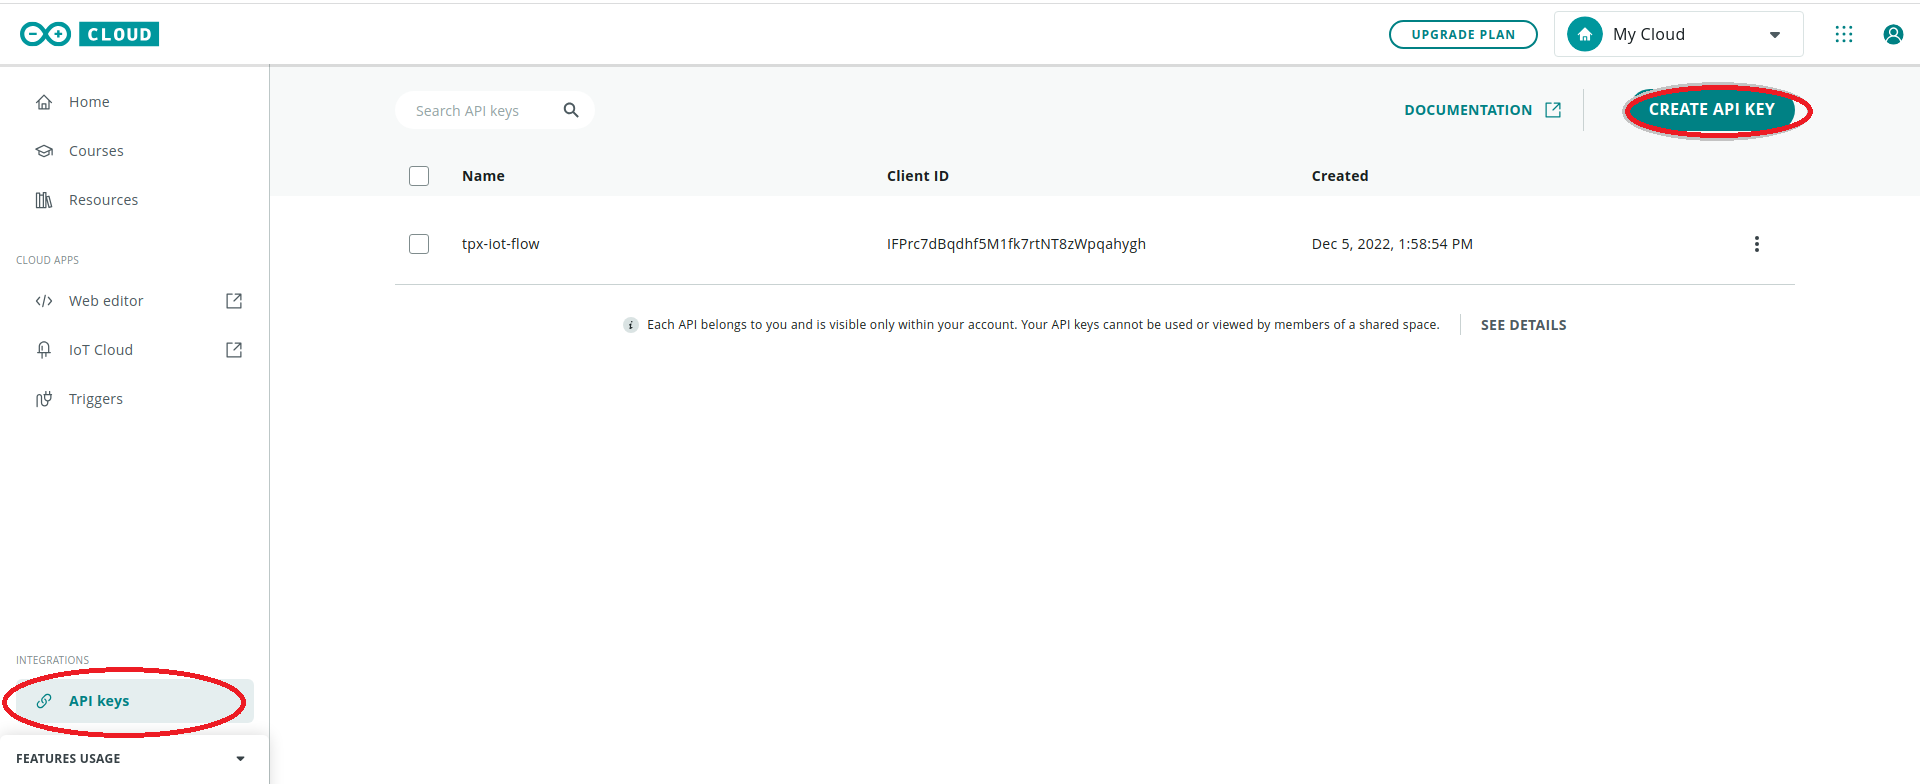
On the Arduino Cloud portal main page click API keys -> CREATE API KEY
-
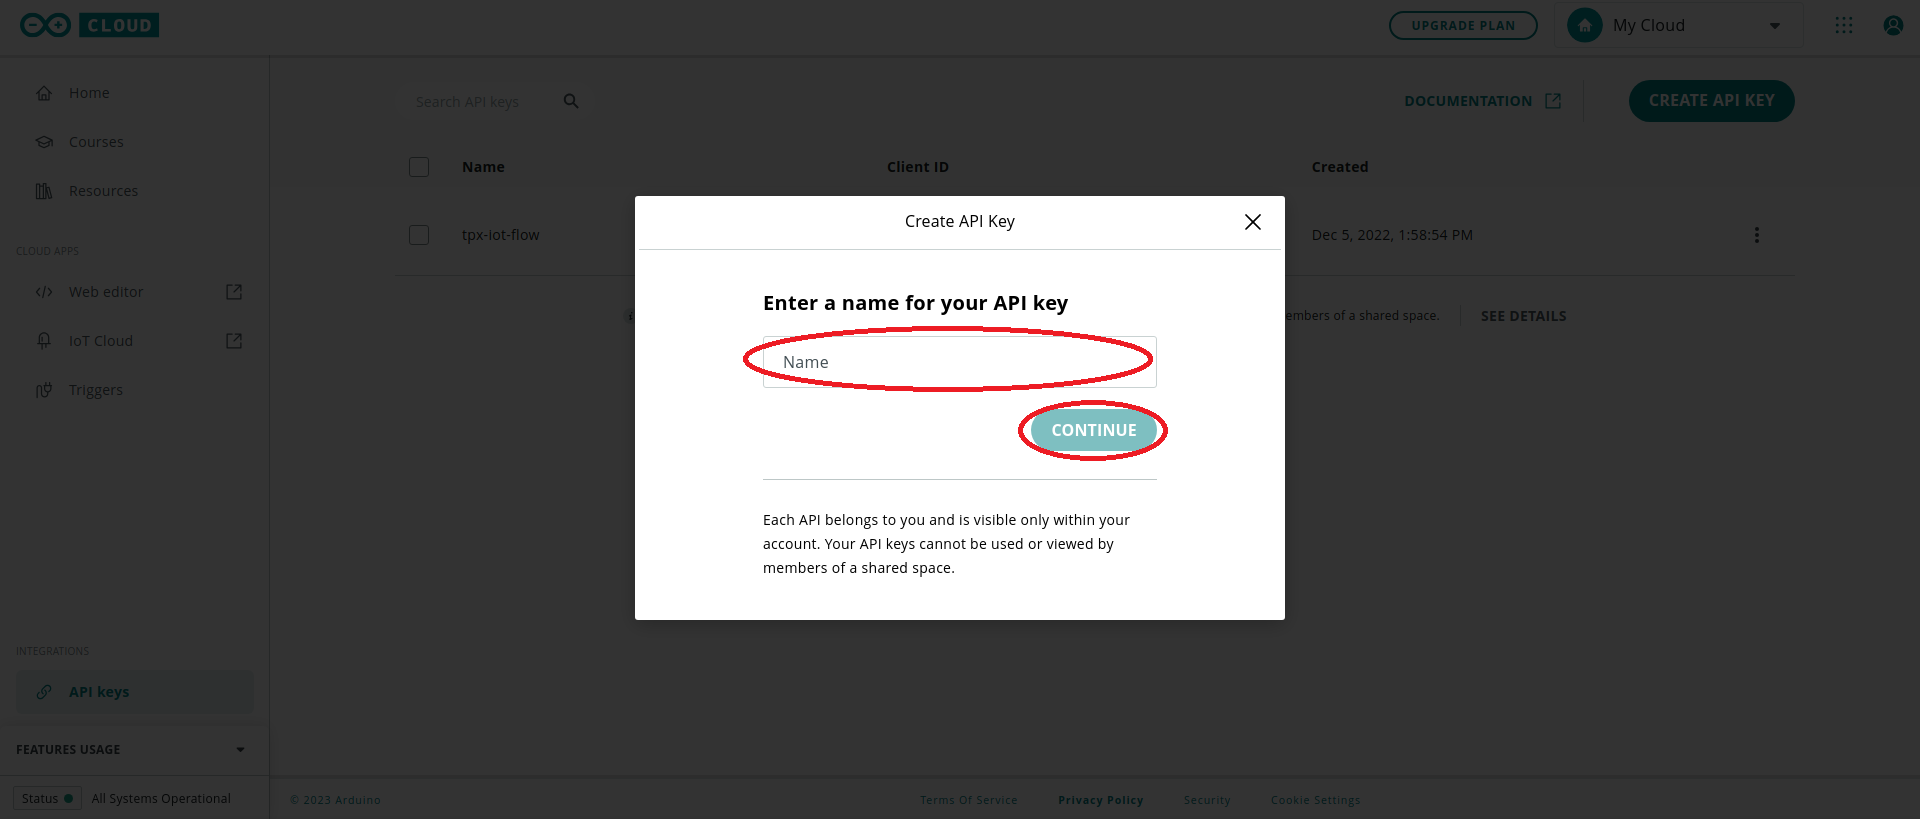
Give a name to the API KEY to be created and click the CONTINUE button
CREATING AN ARDUINO PRO CONNECTION
Creating a Connection With UI
Not implemented yet.
Creating a Connection With API
To do this, you need to use the Connections group resource:
POST/connectionsto create a new Connection instancePUT/connectionsto update a Connection instanceDELETE/connectionsto delete a Connection instance
Note
We follow the REST-full API pattern, when updating configuration properties for a connection resource. Thus, you must also provide the whole configuration again.
Example for creation of a new connection instance :
POST /connections
{
   "connectorId": "actility-arduino-pro-iot",
   "name": "Test Arduino Pro Connection",
   "configuration": {
      "clientId": "IFPrc7dBqdhf5M1fk7rtNT8zWpqahygh",
      "clientSecret":"uXk9HDkUctqqZ8VFxG3g4LPtCpoCM5vHkyy5Dvm3Md7BSfpeSRflMqFR2hmpBHPs"
   }
}
The following table lists the properties applicable to a connection instance.
| Property | Expected results |
|---|---|
connectorId | Must be set to actility-arduino-pro-iot. |
configuration/clientId | The Client ID of the Arduino Cloud API Key that you have created. |
configuration/clientSecret | The Client Secret of the Arduino Cloud API Key that you have created. |
Important note
All properties are not present in this example. You can check the rest of these properties in the common parameters section.