Provision the Device
Access the Device Creation Page
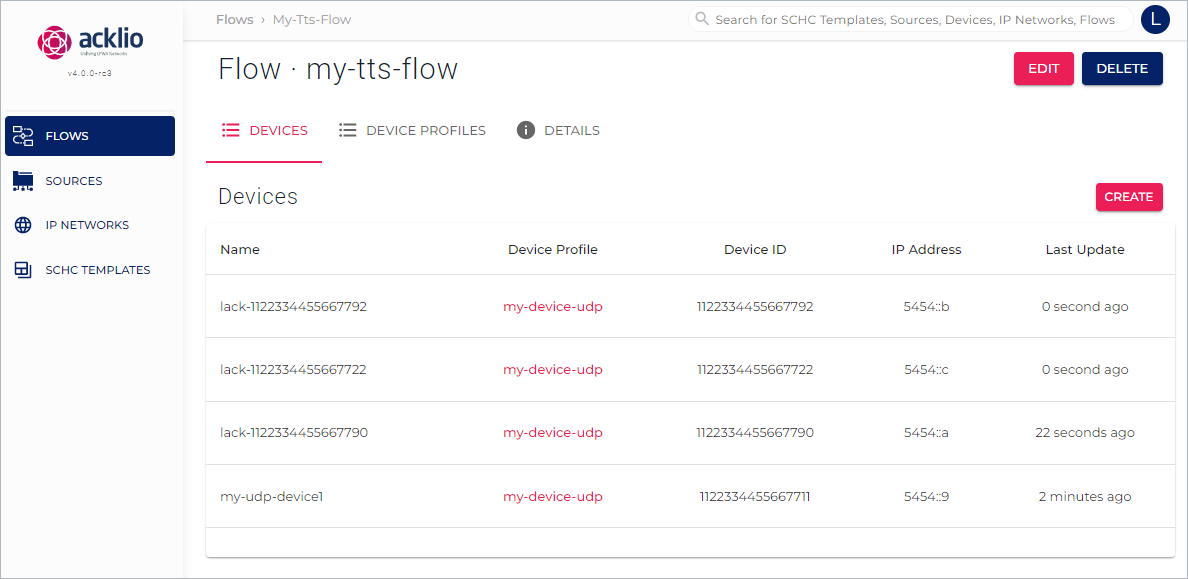
Click Flows to display the list of flows.
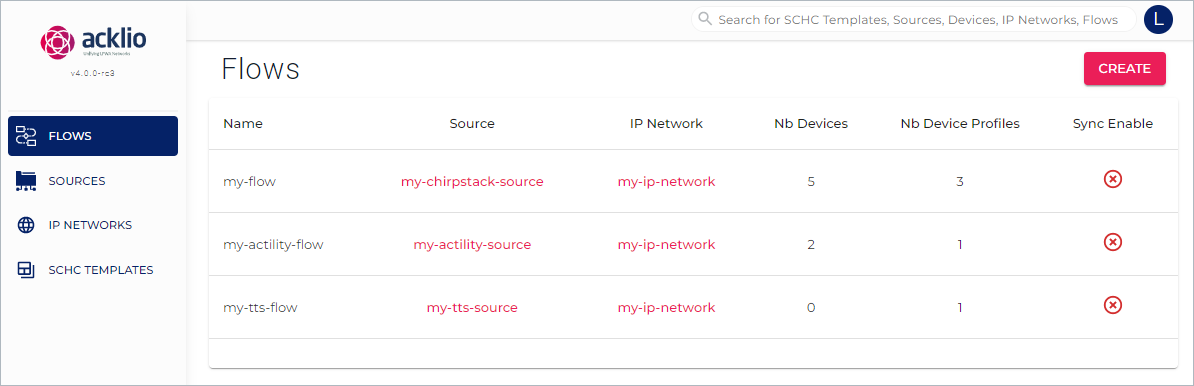
On the illustration above, the flow named "my-tts-flow" has no devices and one device profile.
- Click the line in the list to display the details of the flow.
- Click the Devices tab.
- Click Create to open the device profile creation page.
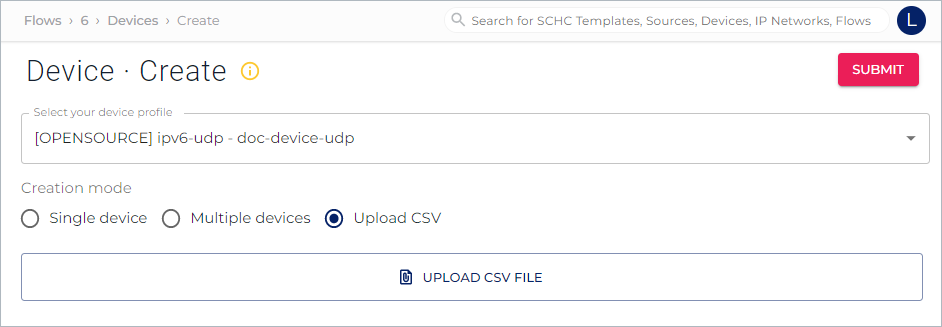
An empty Device - Create page opens. Select a device profile in the drop-down list:
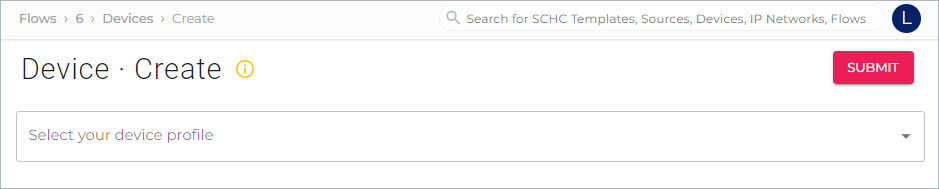
Read recommendations before starting the creation process by clicking the yellow information icon ![]() .
.
This message warns you that not all the mode are possible for all the cases.
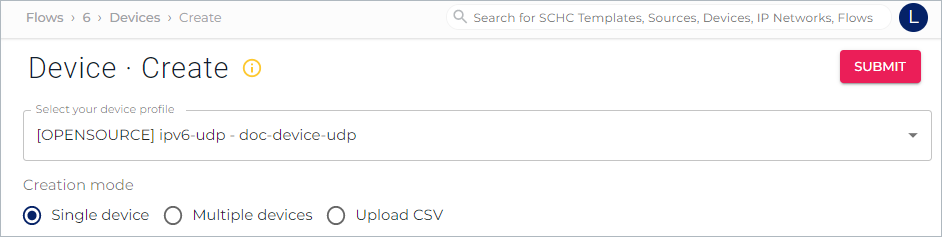
Then, choose one of the three creation modes:
- Single device for manual provisioning
- Multiple devices for auto-provisioning on uplink
- Upload CSV for mass-provisioning
Provision a Single Device
With this manual creation mode, you specify each device indidually.
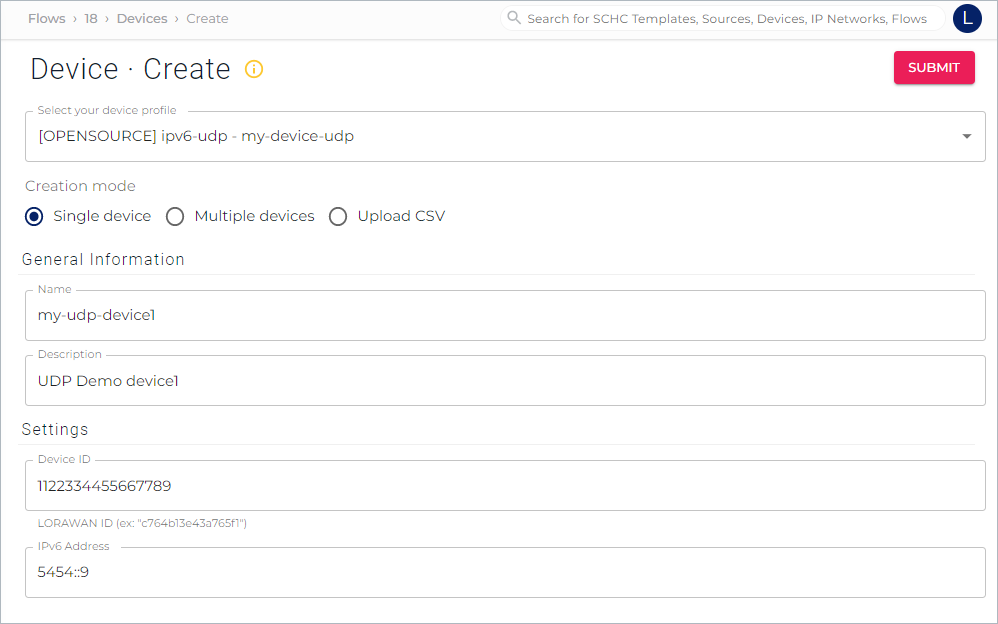
- Name: Specify a name.
- Description: Add a description (this is not mandatory).
- Device ID: Specify a LoRaWAN device ID, or a valid device EUI if your source is an LNS.
- IP Address: The IP address is assigned dynamically from the IP Network you selected when creating the flow.
Click Submit to add the device to the flow.
Provision Multiple Devices
This creation mode allows to add a series of devices at once by just entering their IDs.
This option is recommended when the selected SCHC Template contains a DevIID compute function and Sync is enabled for flow and template.

- Specify a device ID in the text area and then, press Enter to add it to the free space above. If your source is an LNS, specify a valid device EUI, else a device ID will be required.
- Click Submit to add all devices to the flow at once.
The devices will be created with dynamically allocated IPs. Device names are generated automatically by combining the user name with the device ID.
Upload a CSV
This creation mode allows you to provision devices with static IPs by uploading a CSV file.
This option is recommended to upload bulk number of devices with their IPs statically defined by the user.
Do NOT choose it, if the selected SCHC Template contains a dynamic function like GetDeviceIP6Prefix, GetDeviceIP6IID (default templates).
Click the Upload CSV file button to search for the file on your drive.
Expected Format
Note that the CSV must comply with some expectations:
- Separators must be commas, no comma at the end of the line, no upper case, no spaces (separate words visually if need be by using an underscore), no special characters. For example:
name,device_id,device_ip. - All IP addresses must belong to the same IP network.
Exemple
name, device_id, device_ip
device1,1122334455667888,224.0.0.1
device2,1122334455667899,224.0.0.2
device3,1122334455667800,224.0.0.3
DTLS Encryption
Complete the CSV with two columns corresponding to the pre-shared key (psk) loaded on both device and on IPCore sides in these cases:
- The "Enable DTLS Encryption" has been selected at flow creation time (case of a non-natively DTLS source).
- The source used in the Flow is an IP-DTLS source.
Exemple for an IPv6 DTLS source
name, device_id, device_ip,psk_id,psk_value
device1,1122334455667888,5454::d,14141414,33223322332233223322332233223322
device2,1122334455667899,5454::e,,
device3,1122334455667800,5454::f,,
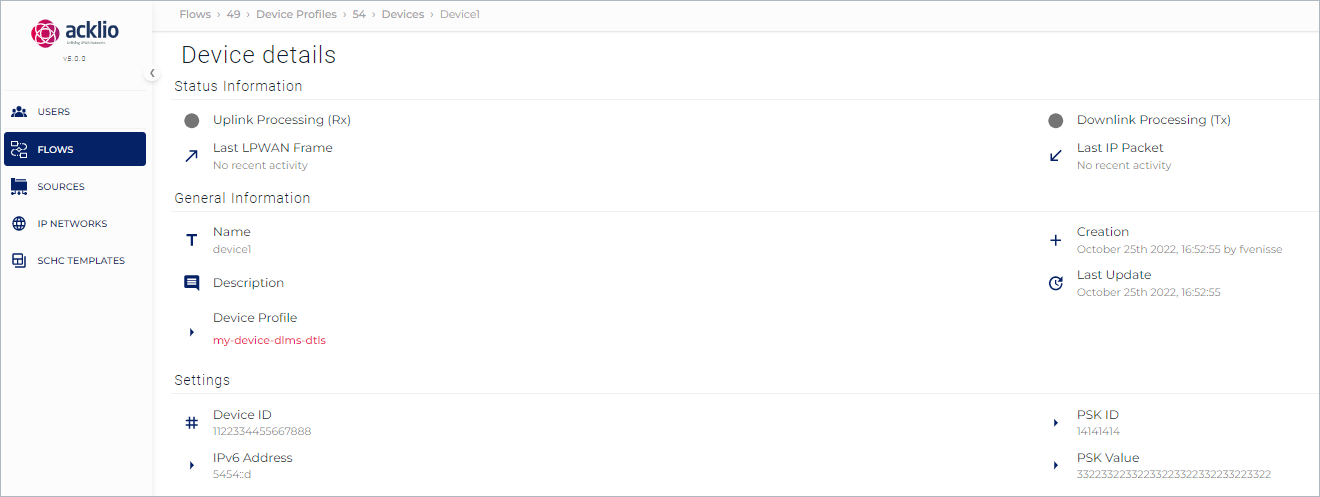
The PSK ID and PSK Value are displayed in the Device details page. The illustration below shows the details for device1 created with the CSV file above.
Note that PSK ID and PSK Value are not editable but their content can be copied.
Error Message
In case of error, a message is displayed and a bug icon appears next to the Upload CSV file button.

A report is generated: click the bug icon to download the report. Note that the report will disappear if you refresh the page.
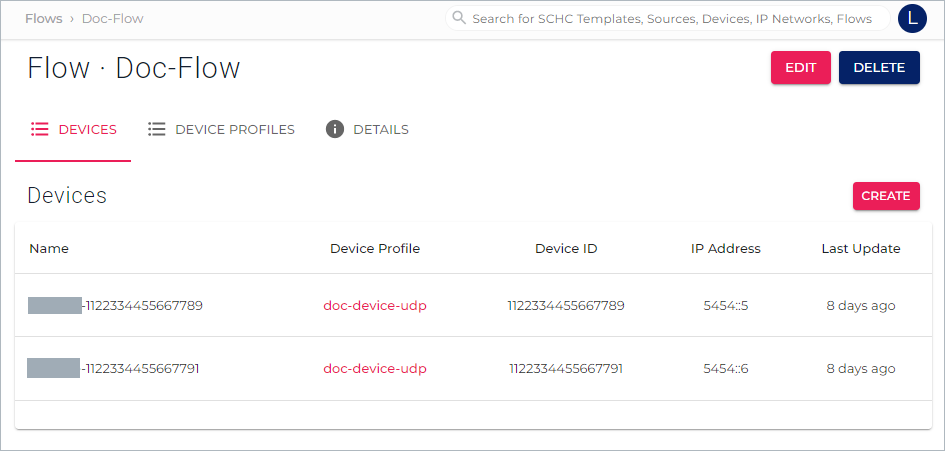
View the Devices
Return to the list of flows to see that it now has two devices.
Click the digit in the Nb Devices column to display the details on the devices. Then, click the name of a device to display a Device details page.
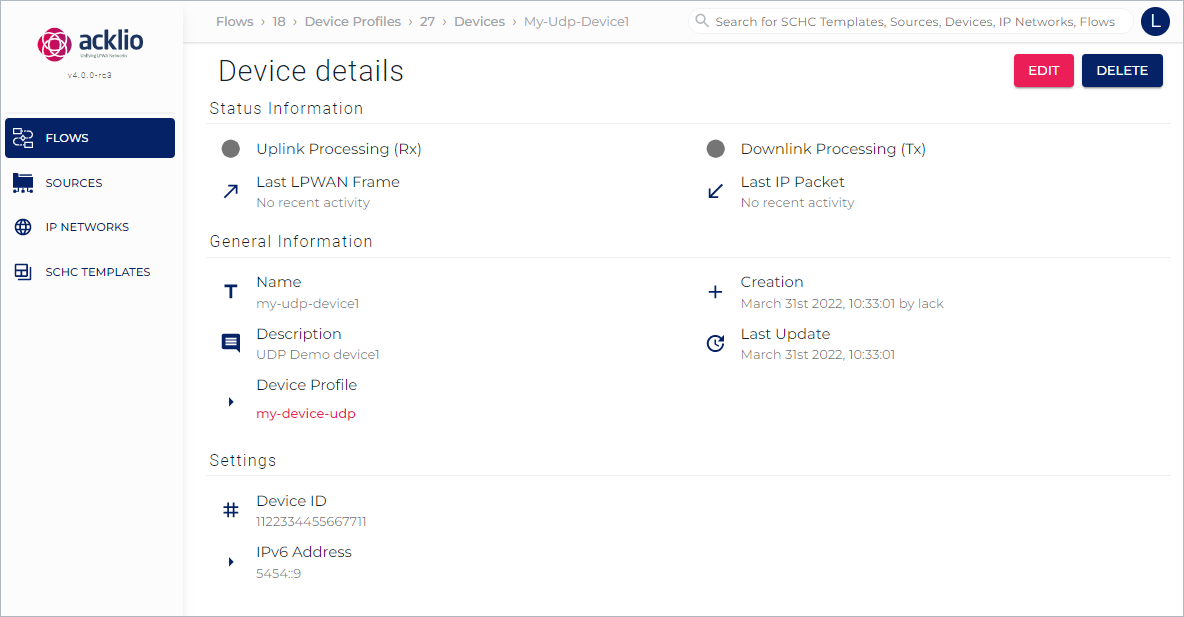
From this page, you can edit or delete the devices.
The detail page provides three types of information:
- Status information: Delivers information on the downlink and the uplink, with a color code and the date of the last connection. The colors can be:
- Grey: Unknown status or the source has never been connected.
- Green: Ok. The source is connected.
- Red: Connection error detected.
- General information: A summary of the device such as the name and the device profile.
- Settings: A summary of the settings in the form of a bullet list, and notably the device ID.
Legacy devices do no send compressed data in the uplink, but raw data.
In Acklio IPCore, the packet will be constructed as a full IPv6/UDP/CoAP packet (in the case of such a stack). UDP source and destination ports must be specified, as well as the IP destination address. The CoAP URI path must be declared as legacy resource. The packet will be transferred to the destination CoAP server (or the destination application).
Conversely in the downlink, the IP packet will be decompressed and only raw data will be sent to the legacy device.