Step 5 - configuring Node-RED
ThingPark Enterprise All-in-One uses Node-RED to interface with external application servers. The default Node-RED flow supports MQTT protocol with an embedded MQTT broker.
Additional flow samples are available off-the-shelf to support a seamless integration with BACnet and Modbus protocols. To learn more about the Node-RED functions embedded in TPE All-in-One, see Node-RED.
The task described in this page describes how to change the default MQTT configuration to set an external MQTT broker instead of the pre-configured internal broker.
If you want to keep the internal MQTT broker, you may ignore this step and directly jump to the next step Step 6 - provisioning your devices.
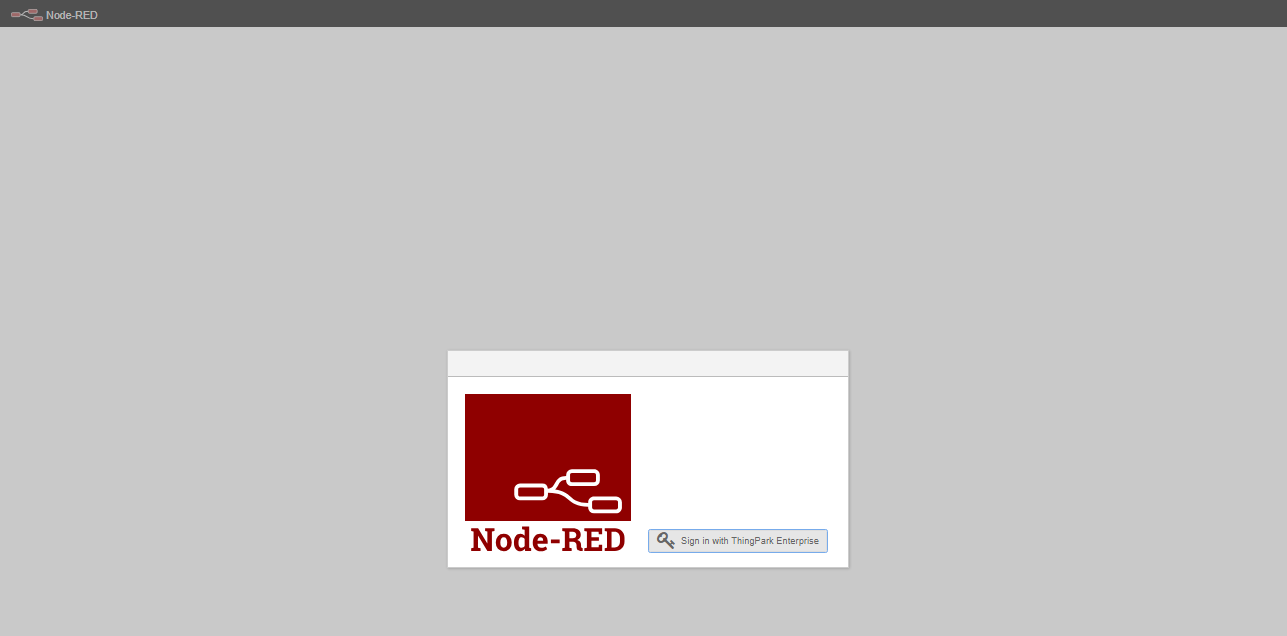
Connect to Node-RED by clicking Node-RED from the left panel of the user interface.
Click Sign in with ThingPark Enterprise and eventually sign-in again with your password.

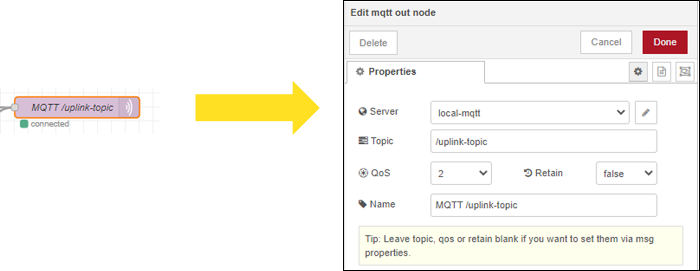
To modify the MQTT broker configuration, double-click the
MQTT /uplink-topicnode of the UPLINK/DOWNLINK flow, then configure the MQTT node:
You may change here the standard MQTT settings:
- Topic: the topic where you will receive the uplinks
- QoS, Retain: standard MQTT attributes
- Name: the display name of the node.
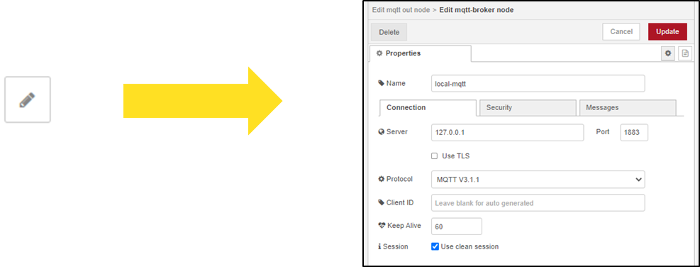
Click on the server "pen" icon to configure the MQTT server: the default configuration is the local MQTT broker, but you may change it to configure an external MQTT broker:

You may change here the main server attributes: server address, server security, server secure connection...
Do not forget to apply your configuration by clicking
. Then click
to save the MQTT node configuration.
Repeat the same steps for the
MQTT /downlink-topicnode, the server configuration is global to both nodes.After you have completed all your Node-RED reconfiguration, you must click Deploy to push your new flow on the server.

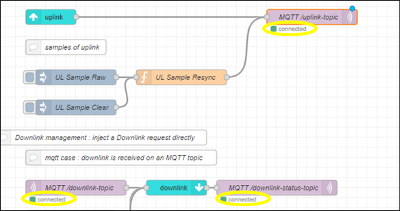
-> After few seconds, you should see that your MQTT nodes get connected:
