Step 6 – Visualizing sensor data with AWS IoT Analytics & Quicksight
To complete this getting started guide, Step 6 will show you how you can leverage AWS IoT services to visualize data from your LoRaWAN® sensors.
Note To perform this step, you need to make that all 3 services (AWS IoT Core, IoT Analytics & Quicksight are available in the same region).
Routing message from AWS IoT Core to AWS IoT Analytics
As we have seen in Step 4 – Connecting your Abeeway Micro-Tracker with AWS IoT, Abeeway Tracker's messages are successfully delivered to AWS IoT Core MQTT queues. We will know create a rule to send those messages to IoT Analytics.
-
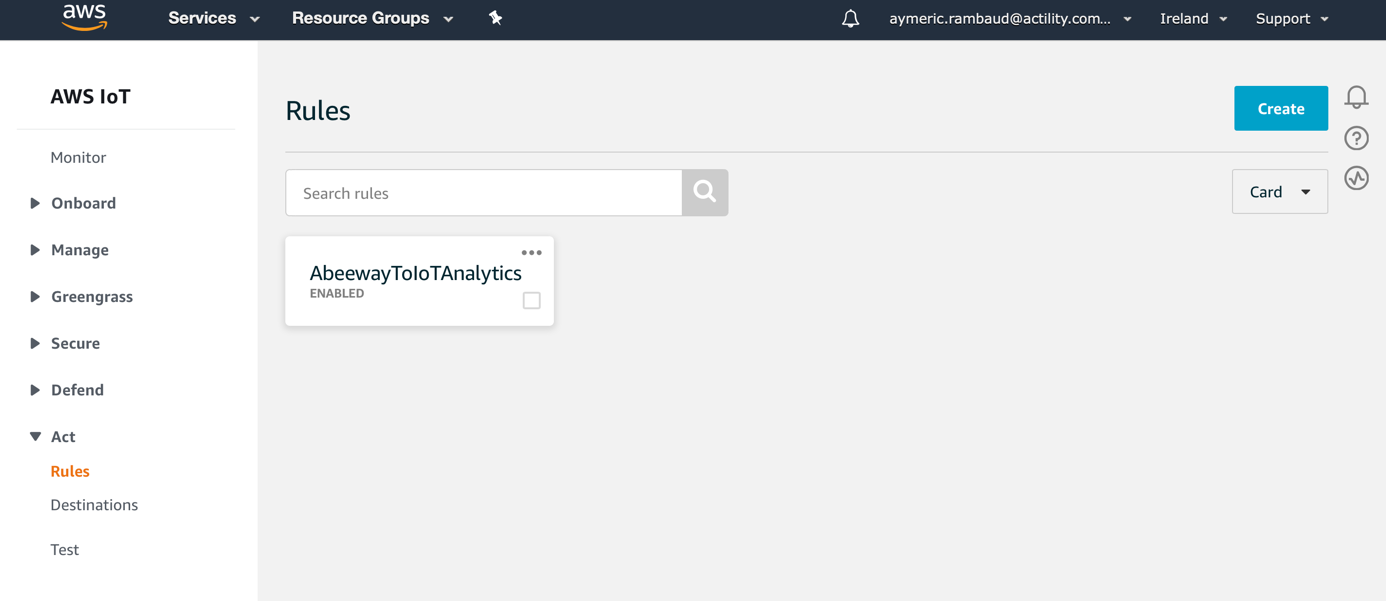
From AWS Management console, open AWS IoT Core service, select the Act > Rules menu and create a new rule.
-
Name and describe this new rule at your convenience.
-
Enter the following rule query statement.
select 'TpxLE' as AwsRule, substring(time, 0, 19) as datetime, deviceEUI as DevEUI, customerId as customerId, get(coordinates, 0) as coordinates_lon, get(coordinates, 1) as coordinates_lat, horizontalAccuracy as horizontalAccuracy, processedFeed.deviceProfileId as deviceProfileId, processedFeed.SF as SF, processedFeed.sequenceNumber as sequenceNumber, processedFeed.temperatureMeasure as temperatureMeasure, processedFeed.processedPacket.baseStationId as baseStationId, rawPosition.rawPositionType as rawPositionType resolvedTracker.batteryLevel as batteryLevel from 'aws/things/+/uplink'
-
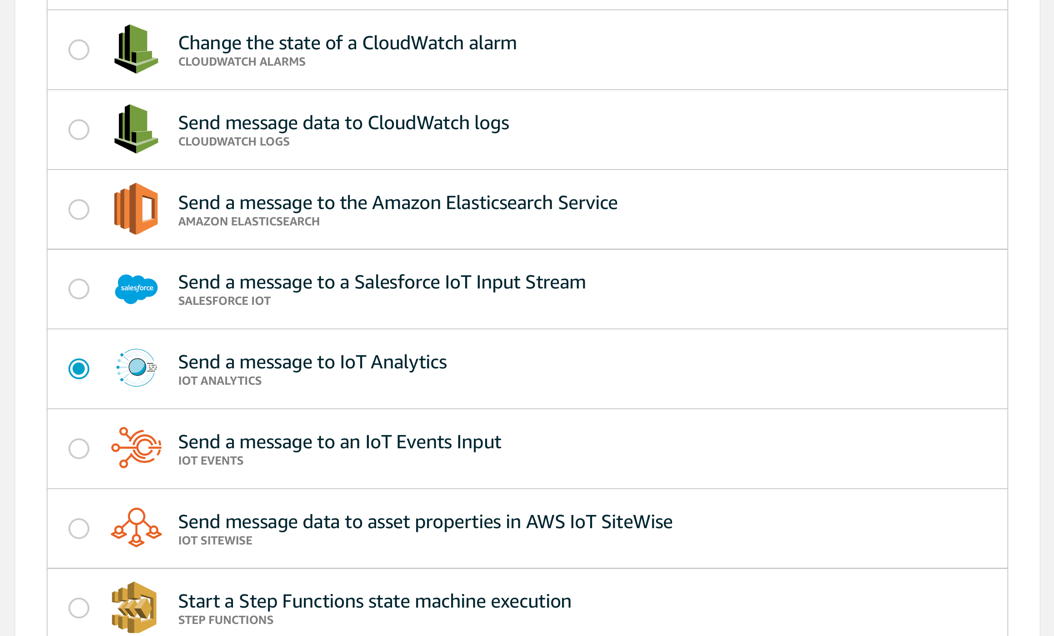
Add an action to the rule : Send a message to IoT Analytics.
-
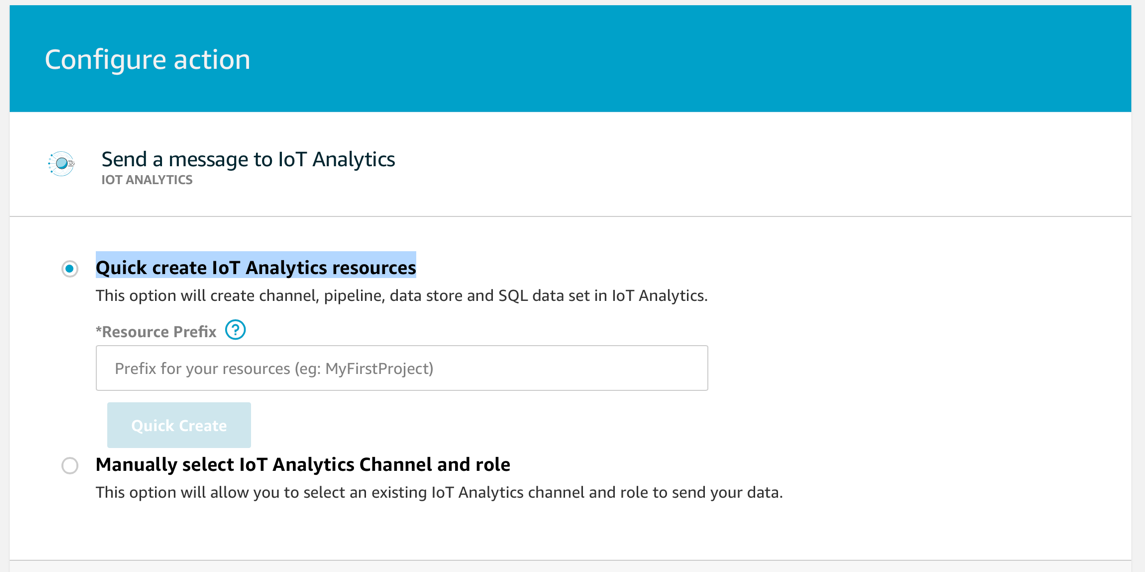
Configure and add the action selecting the Quick create IoT Analytics resources option. All needed resources will be automatically created in IoT Analytics based on the resource prefix set.
-
Finalize rule creation with no additional options.
- All the uplink messages are now routed from AWS IoT Core to AWS IoT Analytics.
Note The rule query statement set only applies to Abeeway Trackers when positions are processed through ThingPark Location. If your AWS IoT Core service already receives uplinks from other devices, you need to adapt the rule to narrow the matching MQTT topics. As an example, you can replace 'aws/things/+/uplink' by 'aws/things/20635f010800167c/uplink' where 20635f010800167c is the devEUI of your tracker.
Configuring AWS IoT Analytics dataset
All AWS IoT Analytics resources have been created automatically at the previous step. The only remaining action is to schedule automatic dataset updates in IoT Analytics to make sure it takes into account the latest uplinks.
From AWS Management console:
-
Open IoT Analytics management panel.
-
Select your newly created data set from the Data sets menu.
-
In your data set details, edit the schedule.
-
Select the data set refresh frequency at your convenience.

-
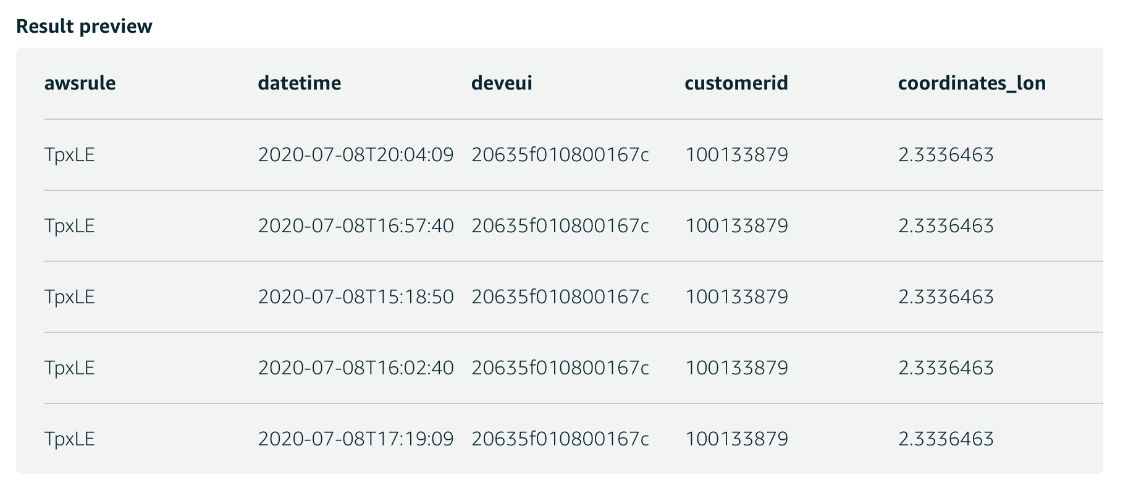
Your data set is now regularly refreshed and ready to be used in Quicksight. You preview the data set from the Result preview panel in your data set details page.
Creating an IoTAnalytics data source with AWS Quicksight
Now that your data set is ready, let's analyze it with AWS Quicksight.
-
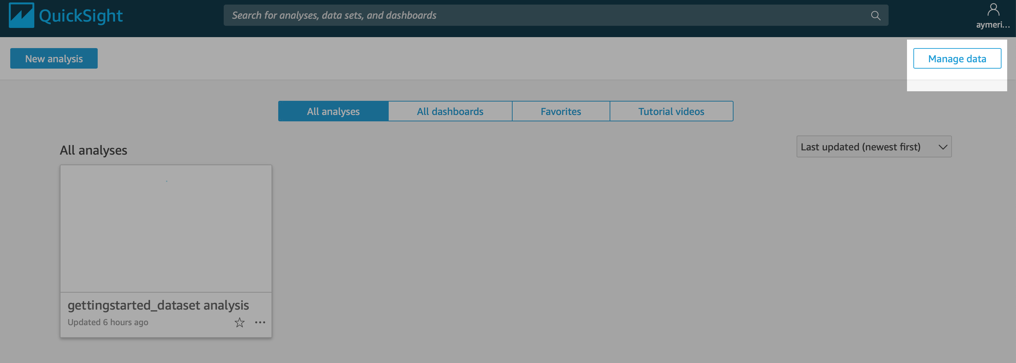
From the AWS Management console, open QuickSight.
-
Select the region that matches the one of your IoT Analytics data set.

-
Click Manage data.
-
Create a new dataset.
-
Select AWS IoT Analytics as the datasource.

-
Select the previously created IoT Analytics data set and create data source.

-
Finish data source creation by clicking Visualize.
Congratulations! You are now ready to build you first dashboard with QuickSight!

Monitoring temperature with AWS QuickSight
Visulazing data is made easy with QuickSight. This short video shows how to monitor the evolution of the temperature reported by your Abeeway Tracker.