Configuration Steps
Below is the complete list of all the steps to follow until you can run the Demo example.
All the elements required to run the Demo are already configured and available in Acklio IPCore
You just need to click them, view the details and make some actions to learn how it works. You can edit them to rename them and/or specify your own settings such as your LNS server.
Go deeper in your knowledge of Acklio IPCore and configure your own flow by reading "Acklio IPCore User Manual. A link to each appropriate page is provided at each step.
Steps 1️⃣, 2️⃣, 3️⃣ and 4️⃣ are common for all the Demo examples. They are described in the AT Modem UDP Client Configuration Steps.
5️⃣ Configure the Device Profile
Read how to configure a device profile.
Click the name my-flow in the list of Flows, then the Device profiles tab to access the list of device profiles associated to this flow.
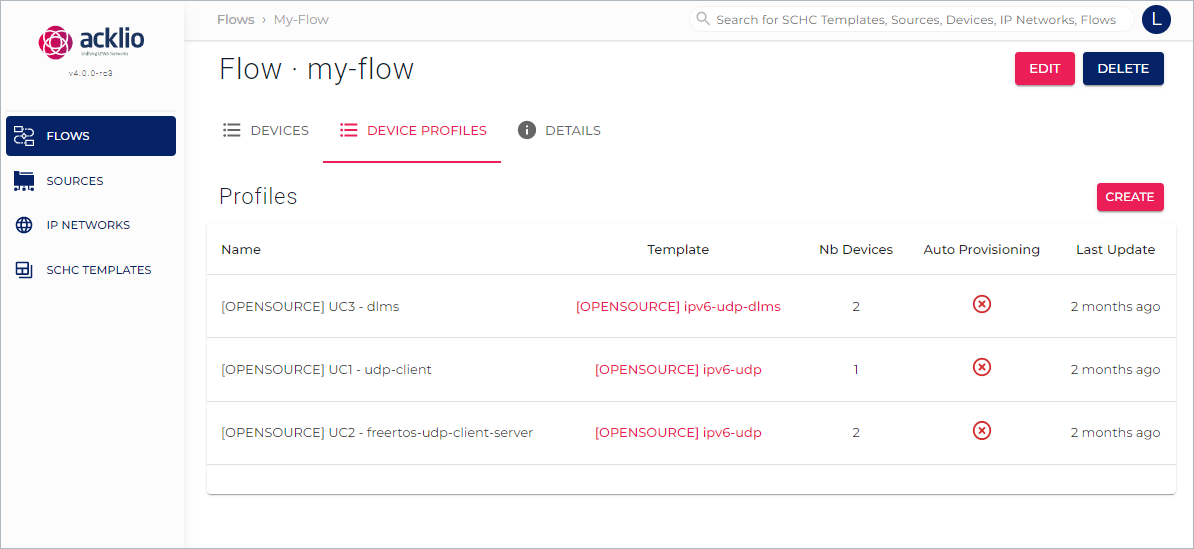
Then, click the name [OPENSOURCE] UC3 - dlms to display the Device profile details page and check its settings. You can edit the page if you want.
Note that your access path to this page is visible above the page title.
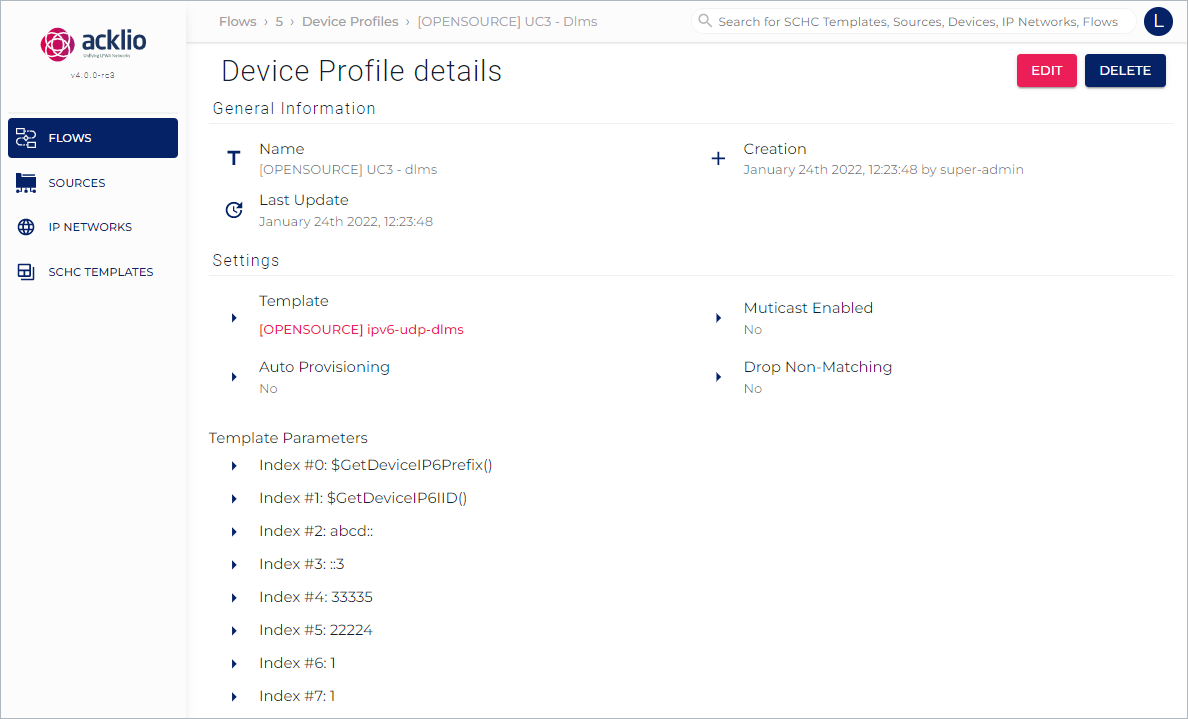
The detail page provides three types of information:
- General information: A summary of the device profile such as the name and the last update.
- Settings: A summary of the settings and the name of the SCHC template "[OPENSOURCE] ipv6-udp-dlms" in particular.
- Template Prameters: A summary of the indices specified when creating the device profile.
- Index #2
abcd::is the IPv6 Prefix of the HES application. - Index #3
::3is the IPv6 IID of the HES application. - Index #4
33335is the UDP port of the device. - Index #5
22224is the UDP port of the HES application. - Index #6 and #7
1are the CSAP and SSAP values in the DLMS Wrapper.
- Index #2
All this content is static and not clickable, except the template name that appears in red.
6️⃣ Provision the Device
Read how to provision a device.
Click the name my-flow in the list, then the Device tab to access the list of devices associated to this flow.
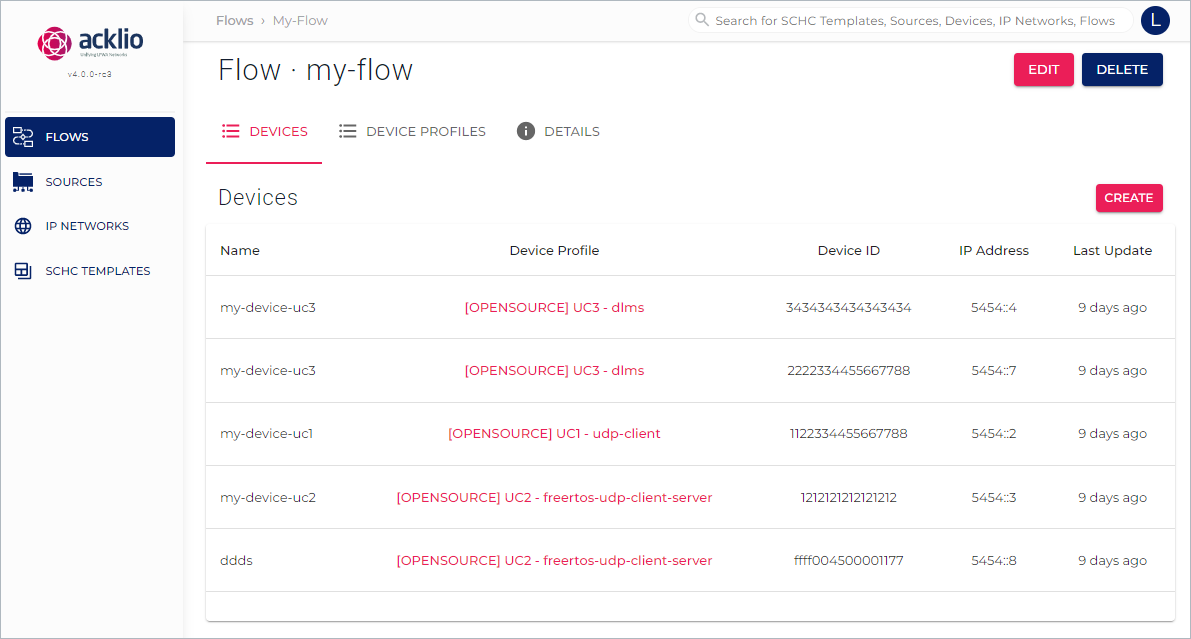
Then, click the name my-device-uc3 in the list to display the Device details page and check its settings. You can edit the page if you want.
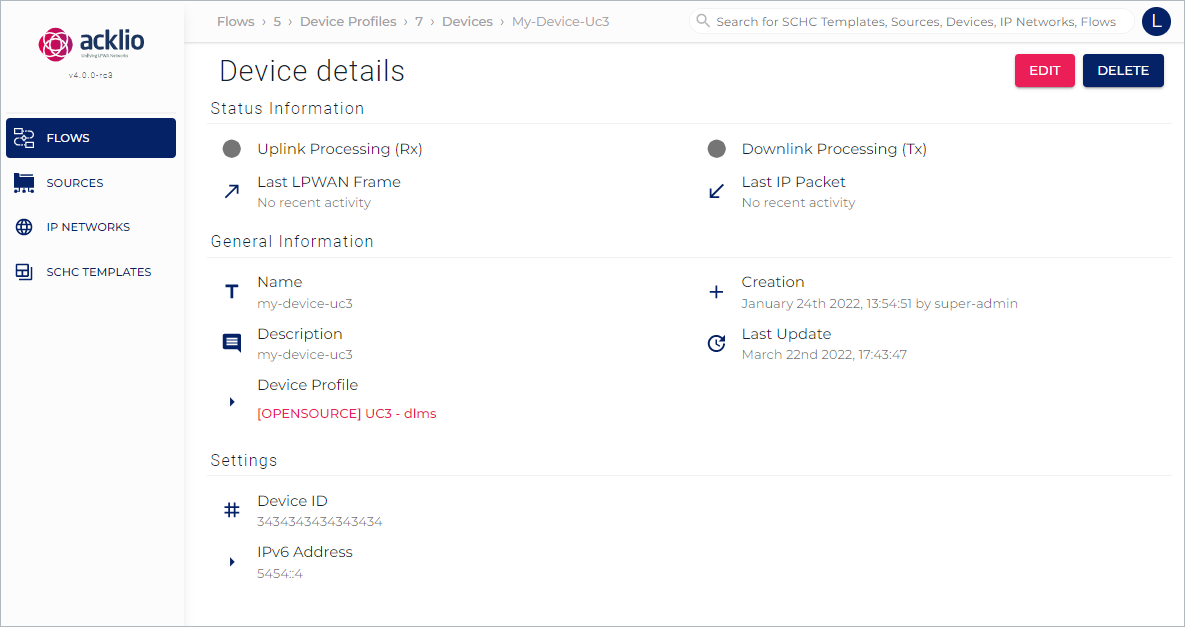
The detail page provides three types of information:
- Status information: Delivers information on the downlink and the uplink, with a color code and the date of the last connection. The colors can be:
- Grey: Unknown status or the source has never been connected (the Demo is not running).
- Green: Ok. The source is connected (the Demo can run).
- Red: Connection error detected.
- General information: A summary of the device such as the name and the device profile "[OPENSOURCE] UC3 - dlms" it is based on.
- Settings: The device ID and the IPv6 address.
All this content is static and not clickable, except the name of the device profile that appears in red.
7️⃣ Flash the Firmware on the Board
AT Modem is a LoRaWAN AT command module integrating the Acklio FullSDK library. In this Demo example, the Network API of the AT Modem application will be used, in a raw mode.
See the page on the SCHC network interface.
Read how to Flash the AT Modem in order to load the firmware on the board.