Installing a Node-RED server
There are two ways to deploy Node-RED applications:
-
If you want to install Node-RED locally, see Installing Node-RED locally.
-
If you prefer to use IBMCloud, see Installing Node-RED on IBM Cloud.
Installing Node-RED locally
You can install Node-RED locally on your computer. The following steps are presented to help you quickly run through the process.
For more information, see the related topic in the official IBM documentation: https://nodered.org/docs/getting-started/local
-
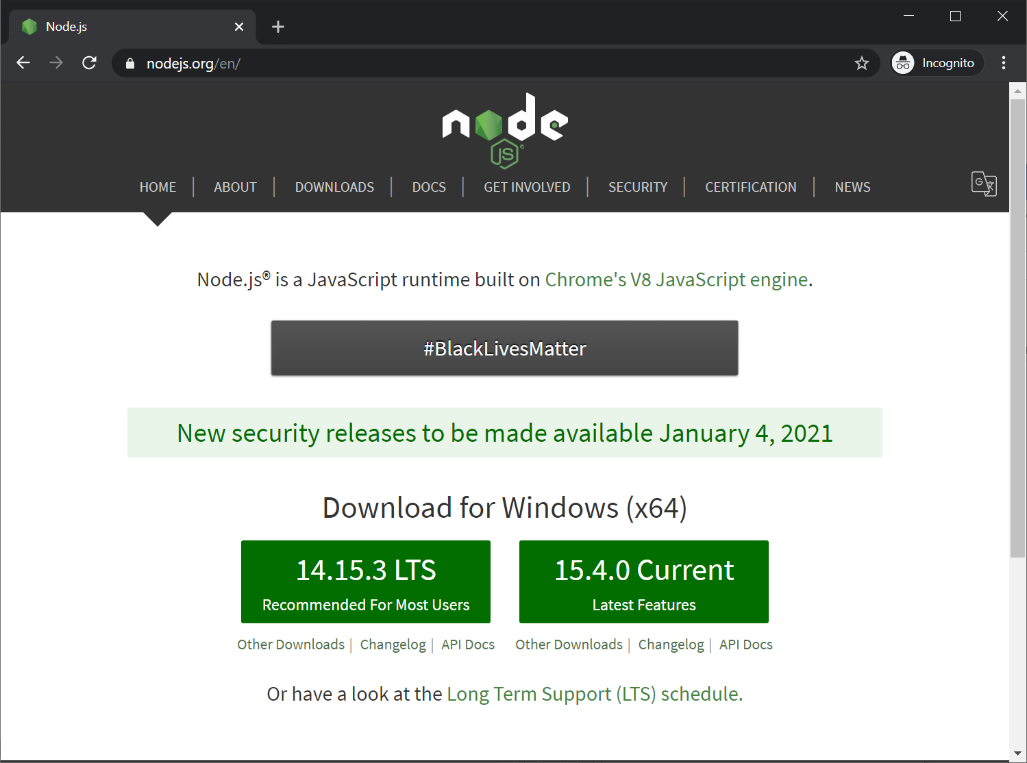
Download and install the latest nodeJS from: https://nodejs.org/en/
-
Open a command prompt and install the Node-RED package using the following command:
npm install -g --unsafe-perm node-red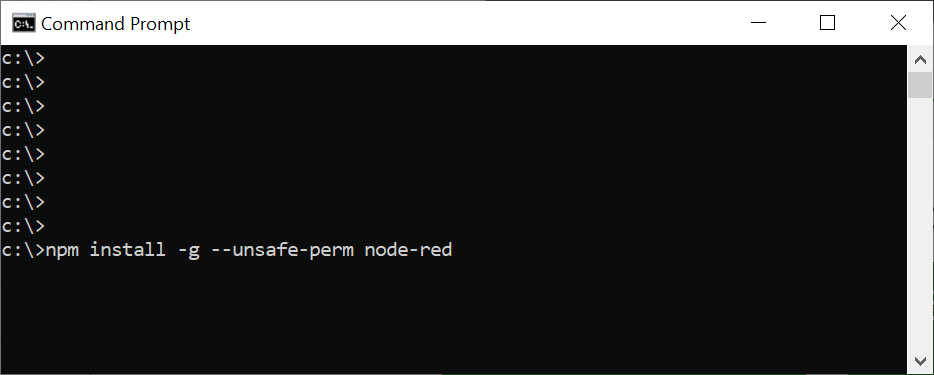
-
Run Node-Red using the following command:
node-red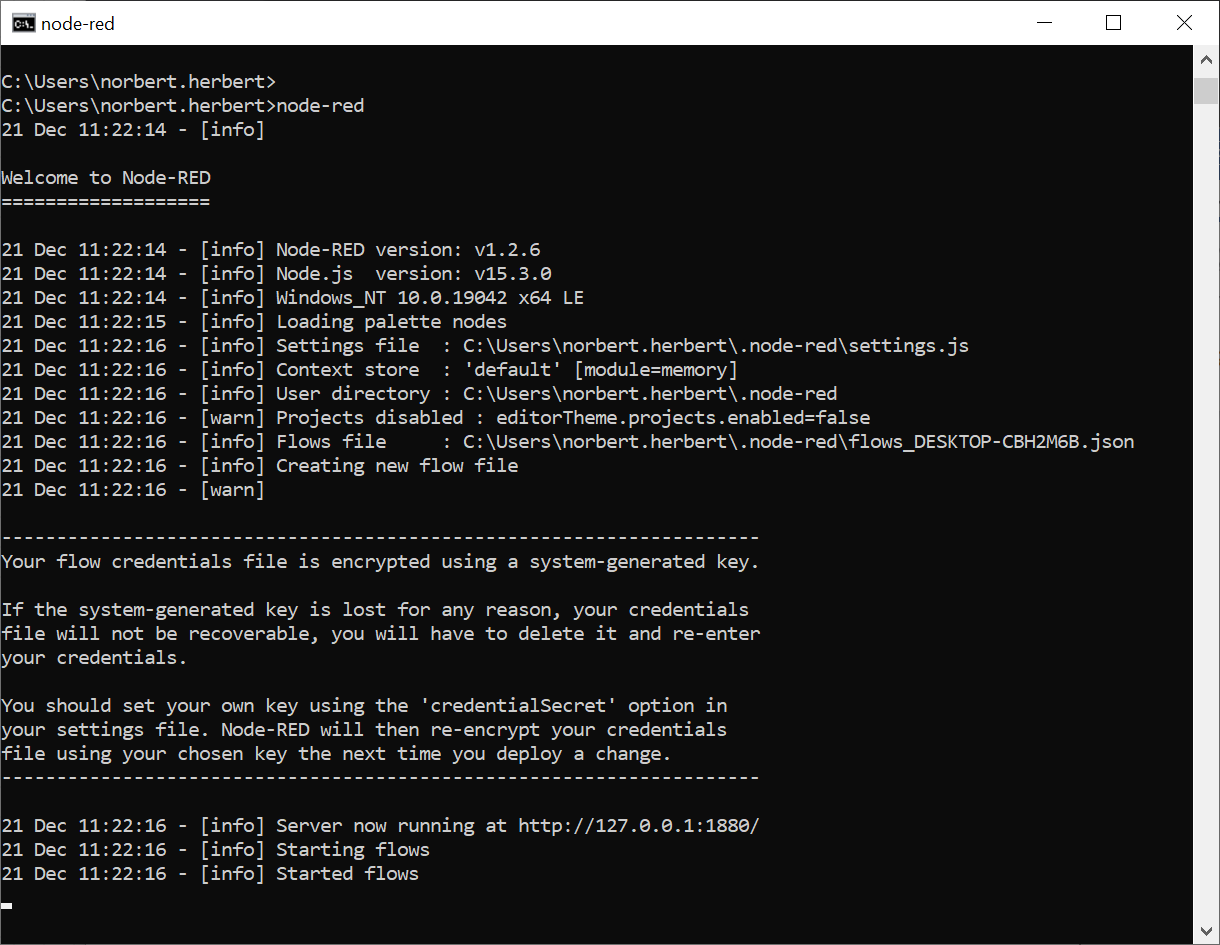
-
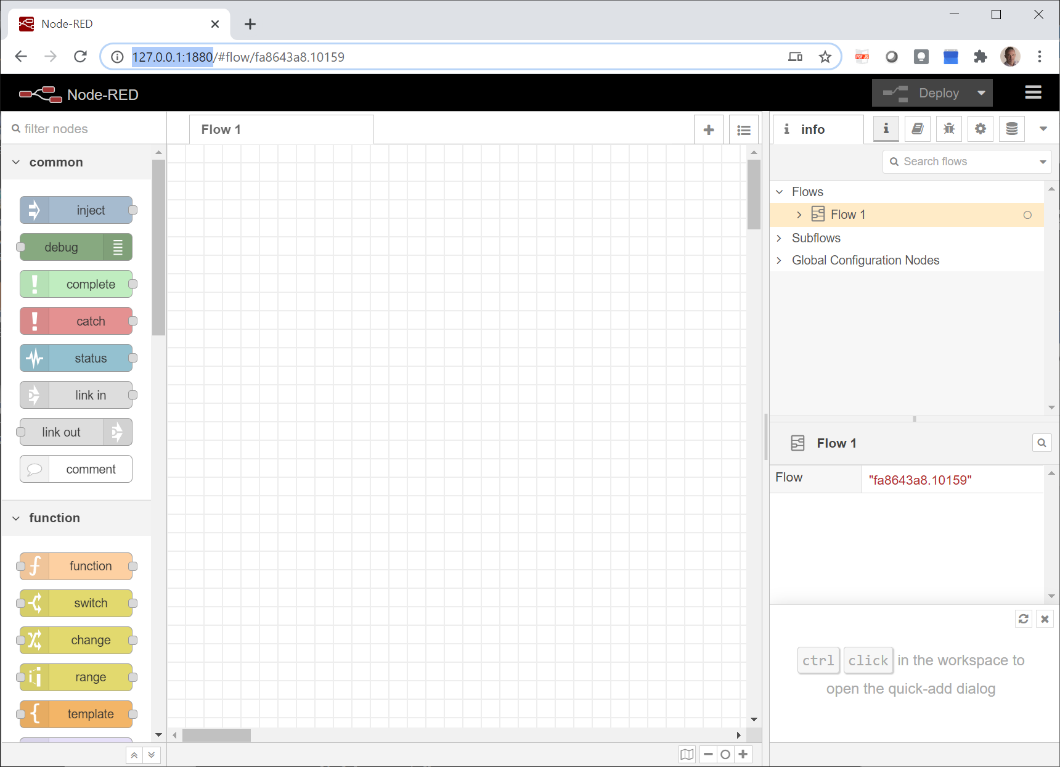
Open Node-RED entering this URL in your web browser: http://127.0.0.1:1880
Installing Node-RED on IBM Cloud
Alternatively to install Node-RED locally, you can install it on IBM Cloud. The following steps are presented to help you quickly run through the process.
For more information, see the related topic in the official IBM documentation: https://nodered.org/docs/getting-started/ibmcloud
-
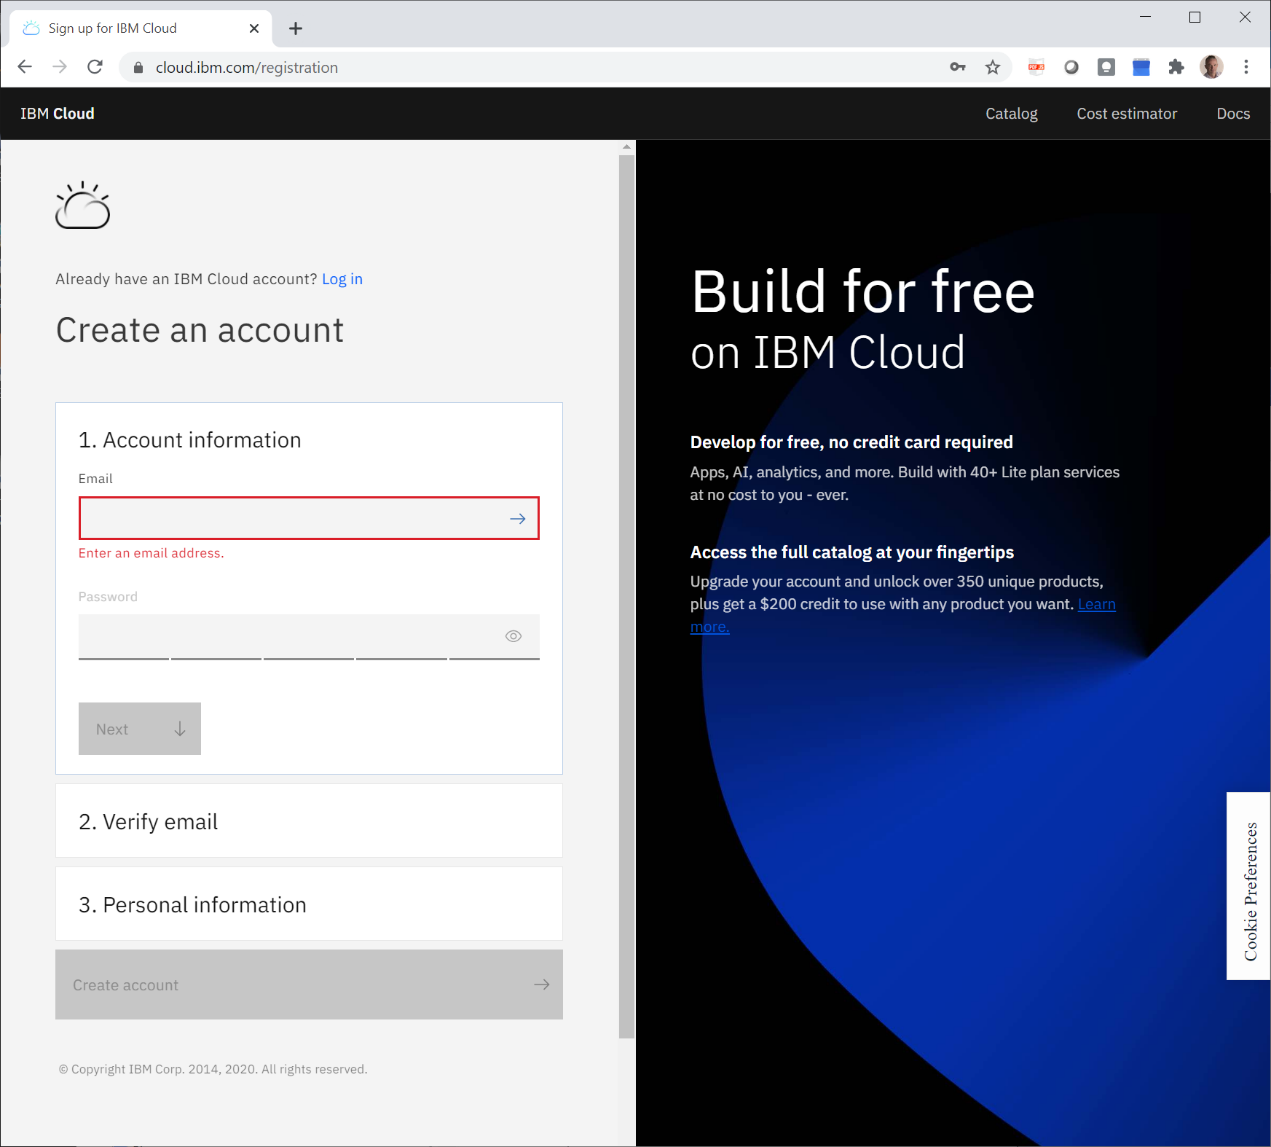
Go to https://cloud.ibm.com, and click Create an account. Then fill in the form and verify your e-mail.
-
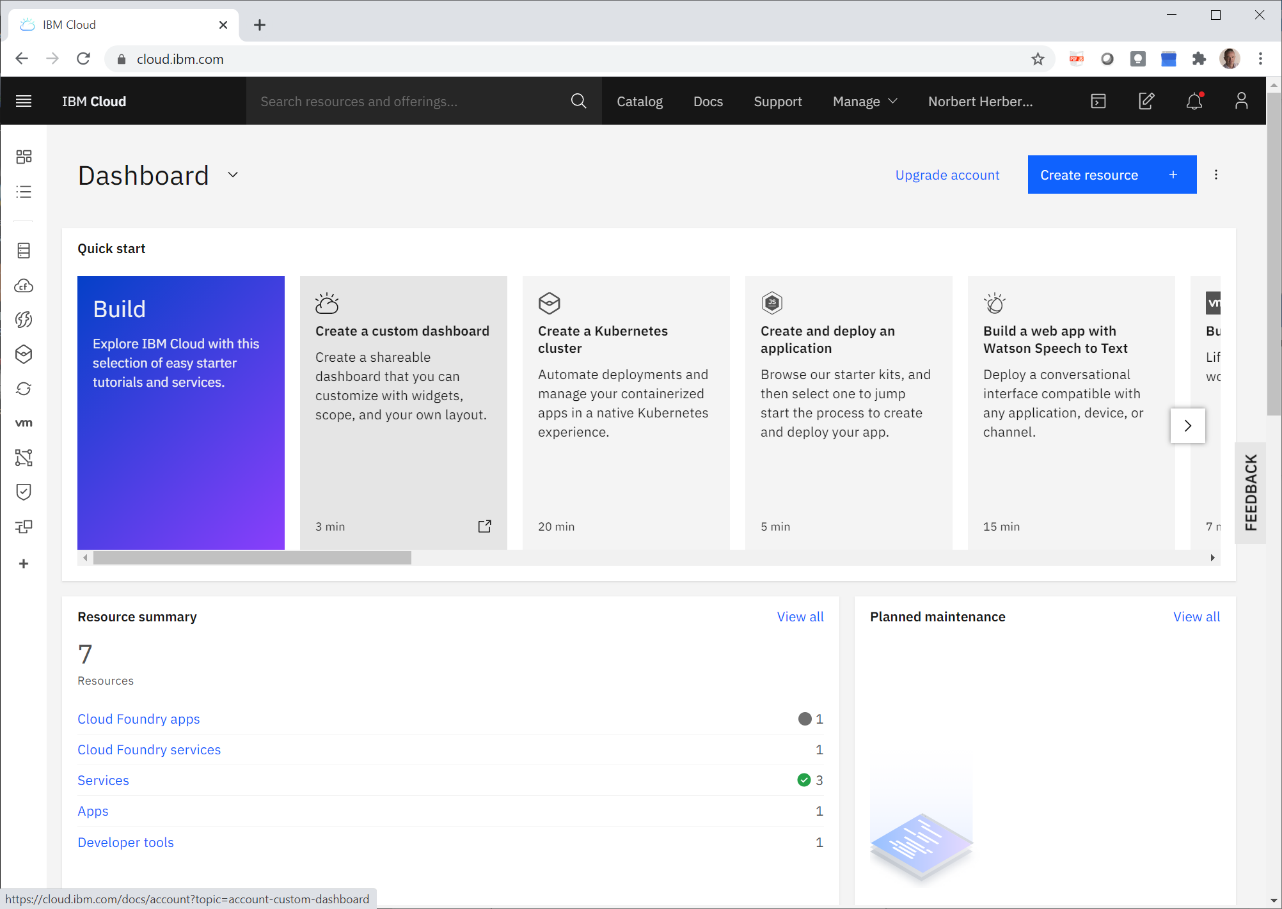
Log in to IBM Cloud using your new account at: https://cloud.ibm.com
-
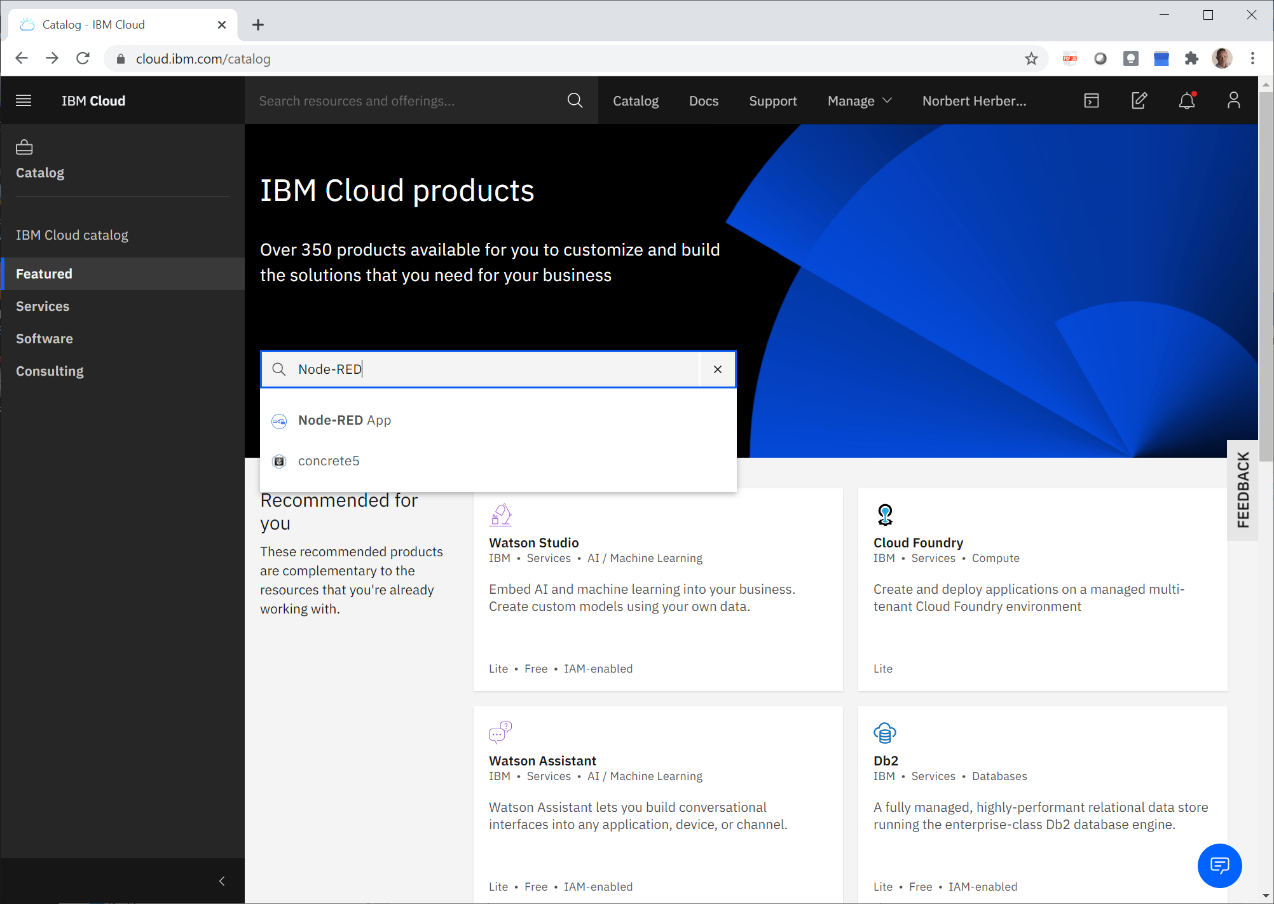
Navigate to Catalog > Featured, then search for .
-
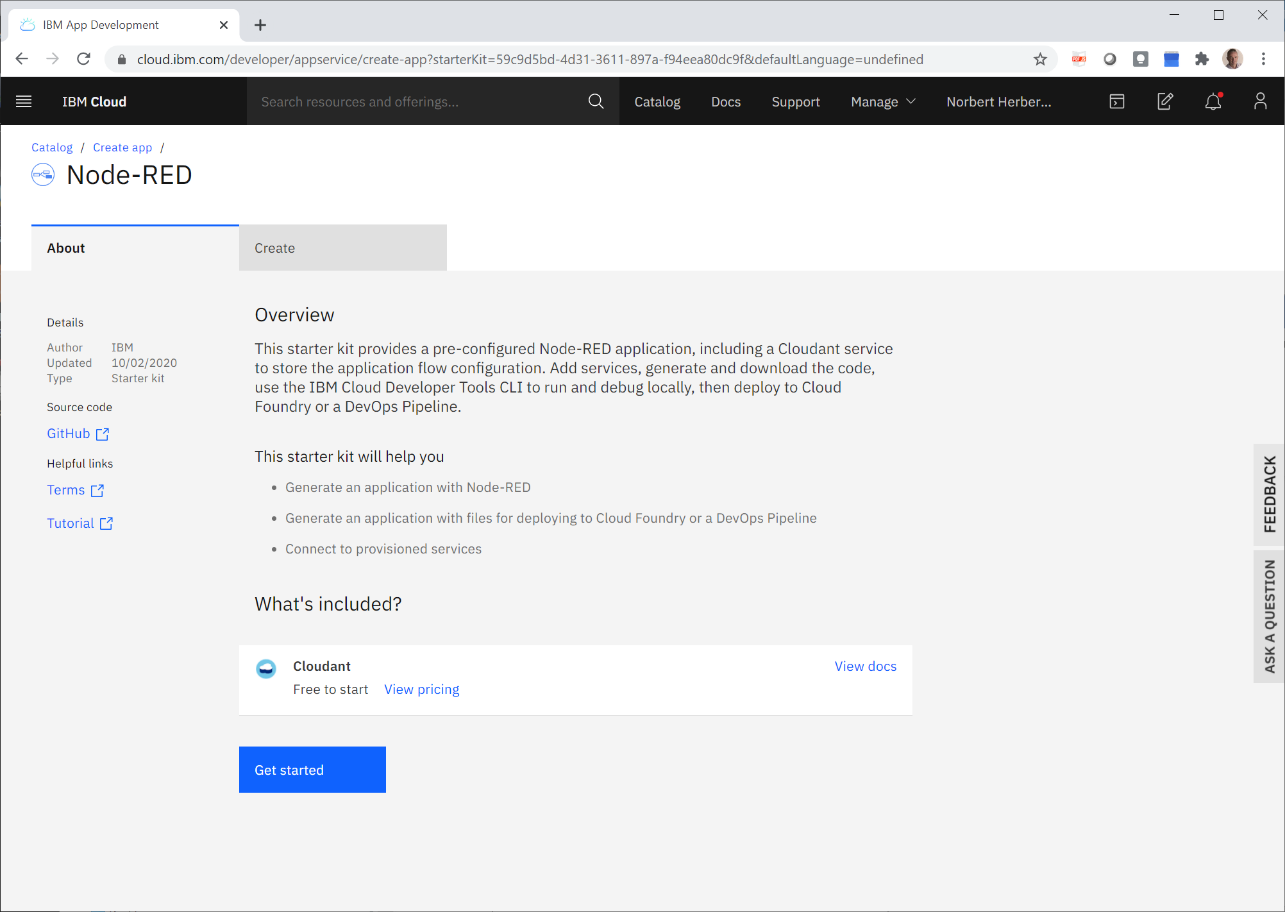
This presents you with the Node-RED starter kit:
-
It gives you a Node-RED instance running as a Cloud Foundry application. It also provides a Cloudant database instance and a collection of nodes that make it easy to access various IBM Cloud services.
-
Click Get started.
-
-
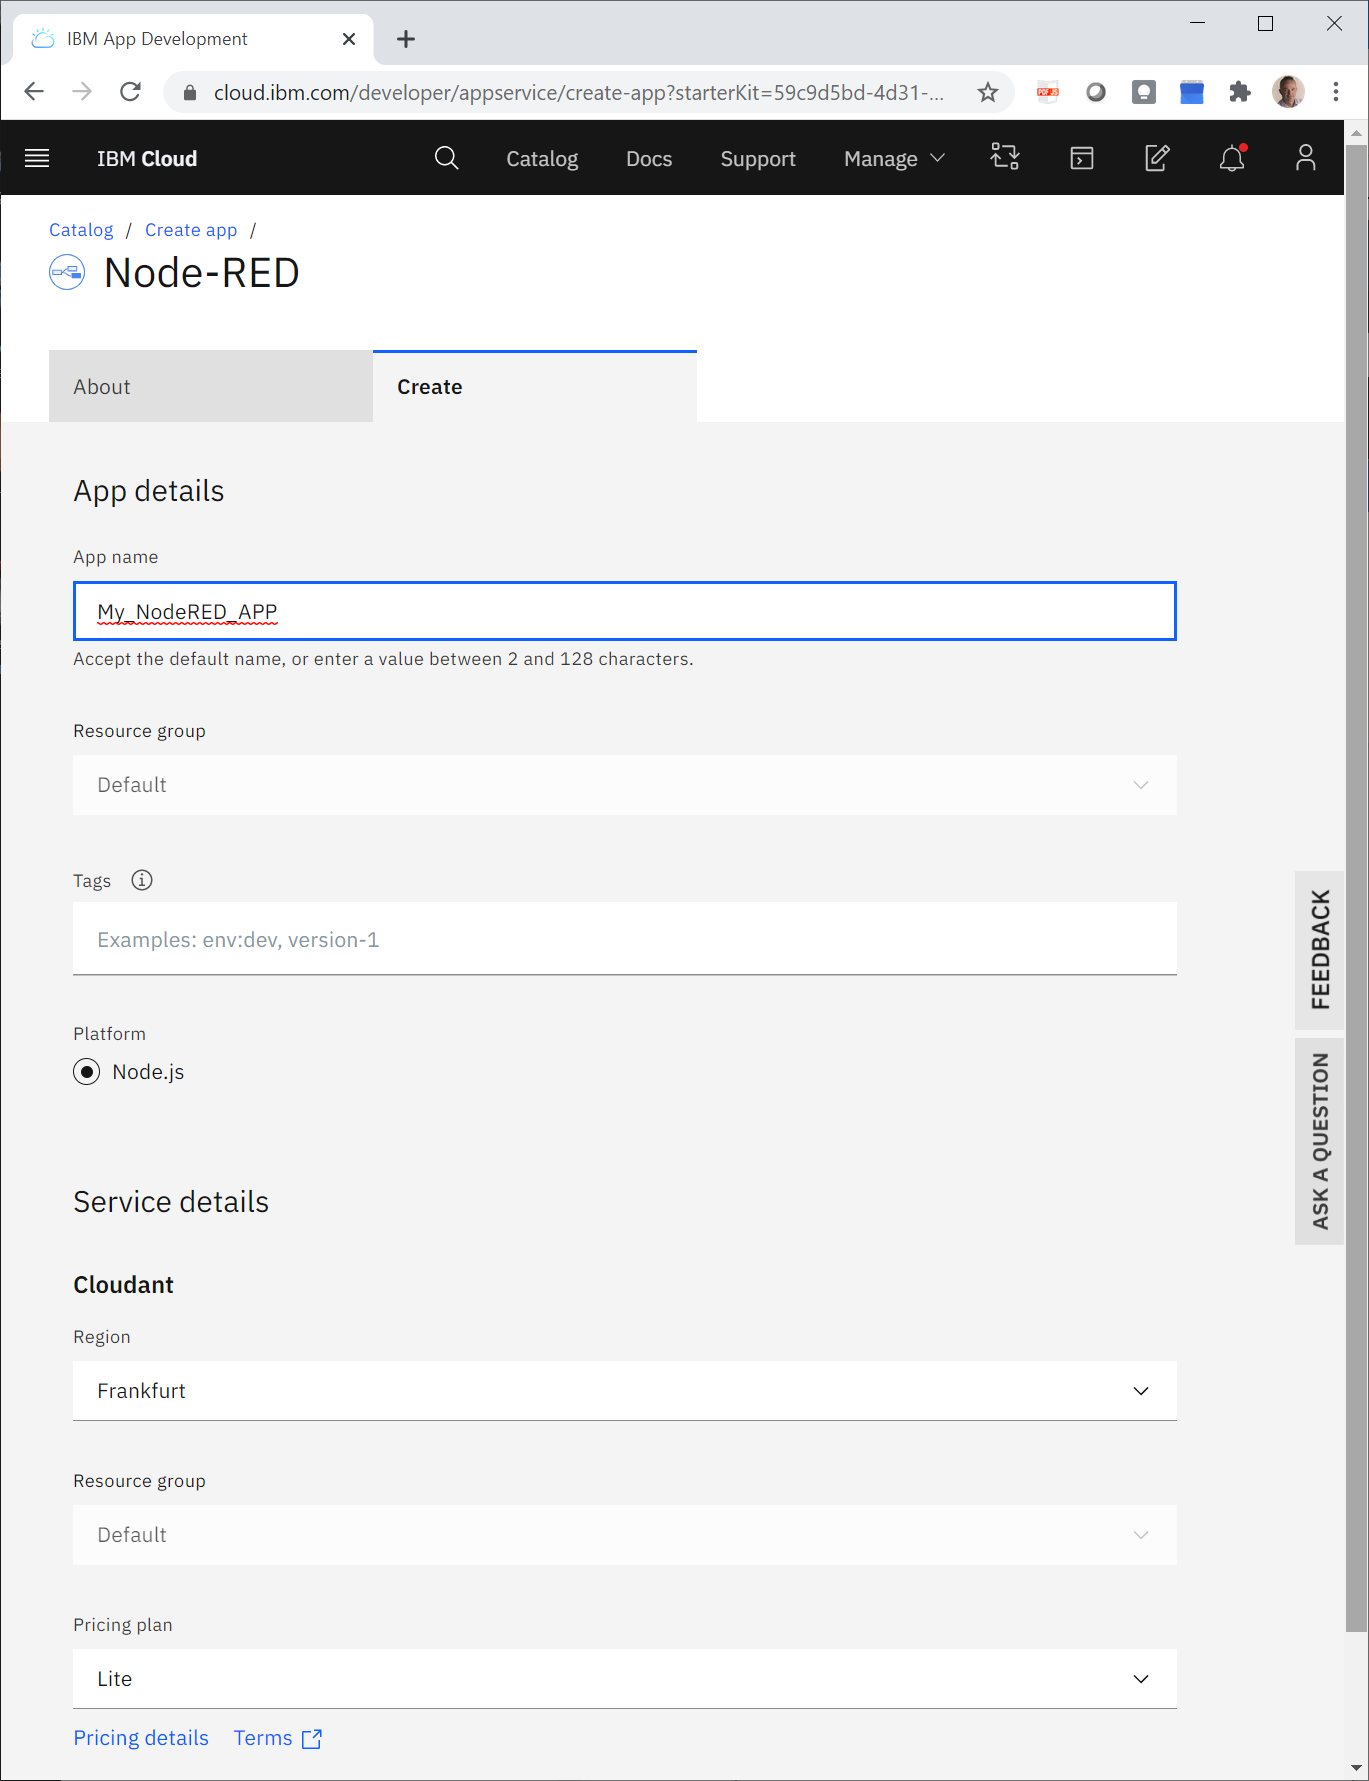
In the form that displays, fill in the App name with a name you want for your application.
-
Click Create and wait for a few minutes until the application has been created.
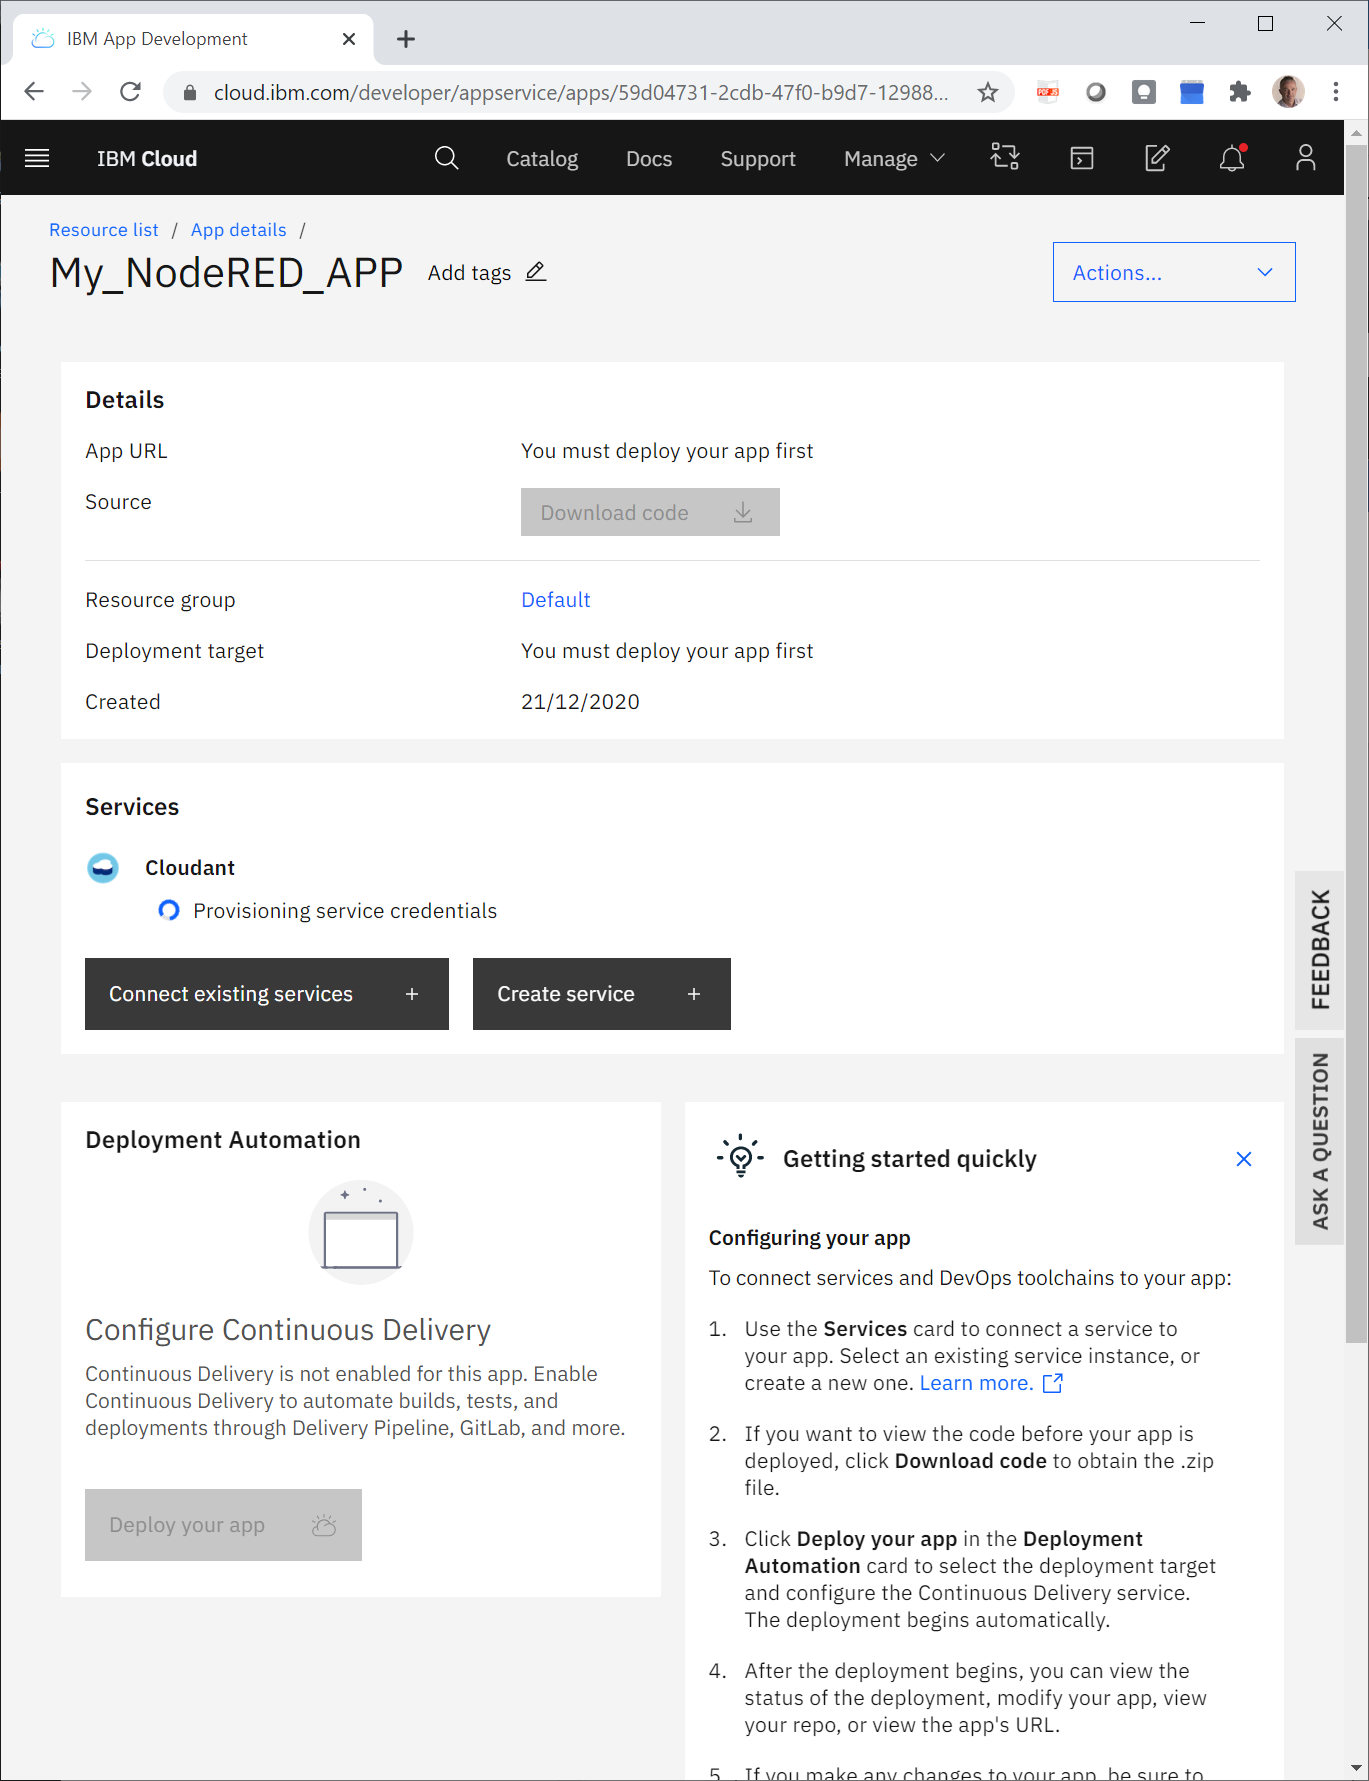 -> Once the App has been created, you will see the following screen:
-
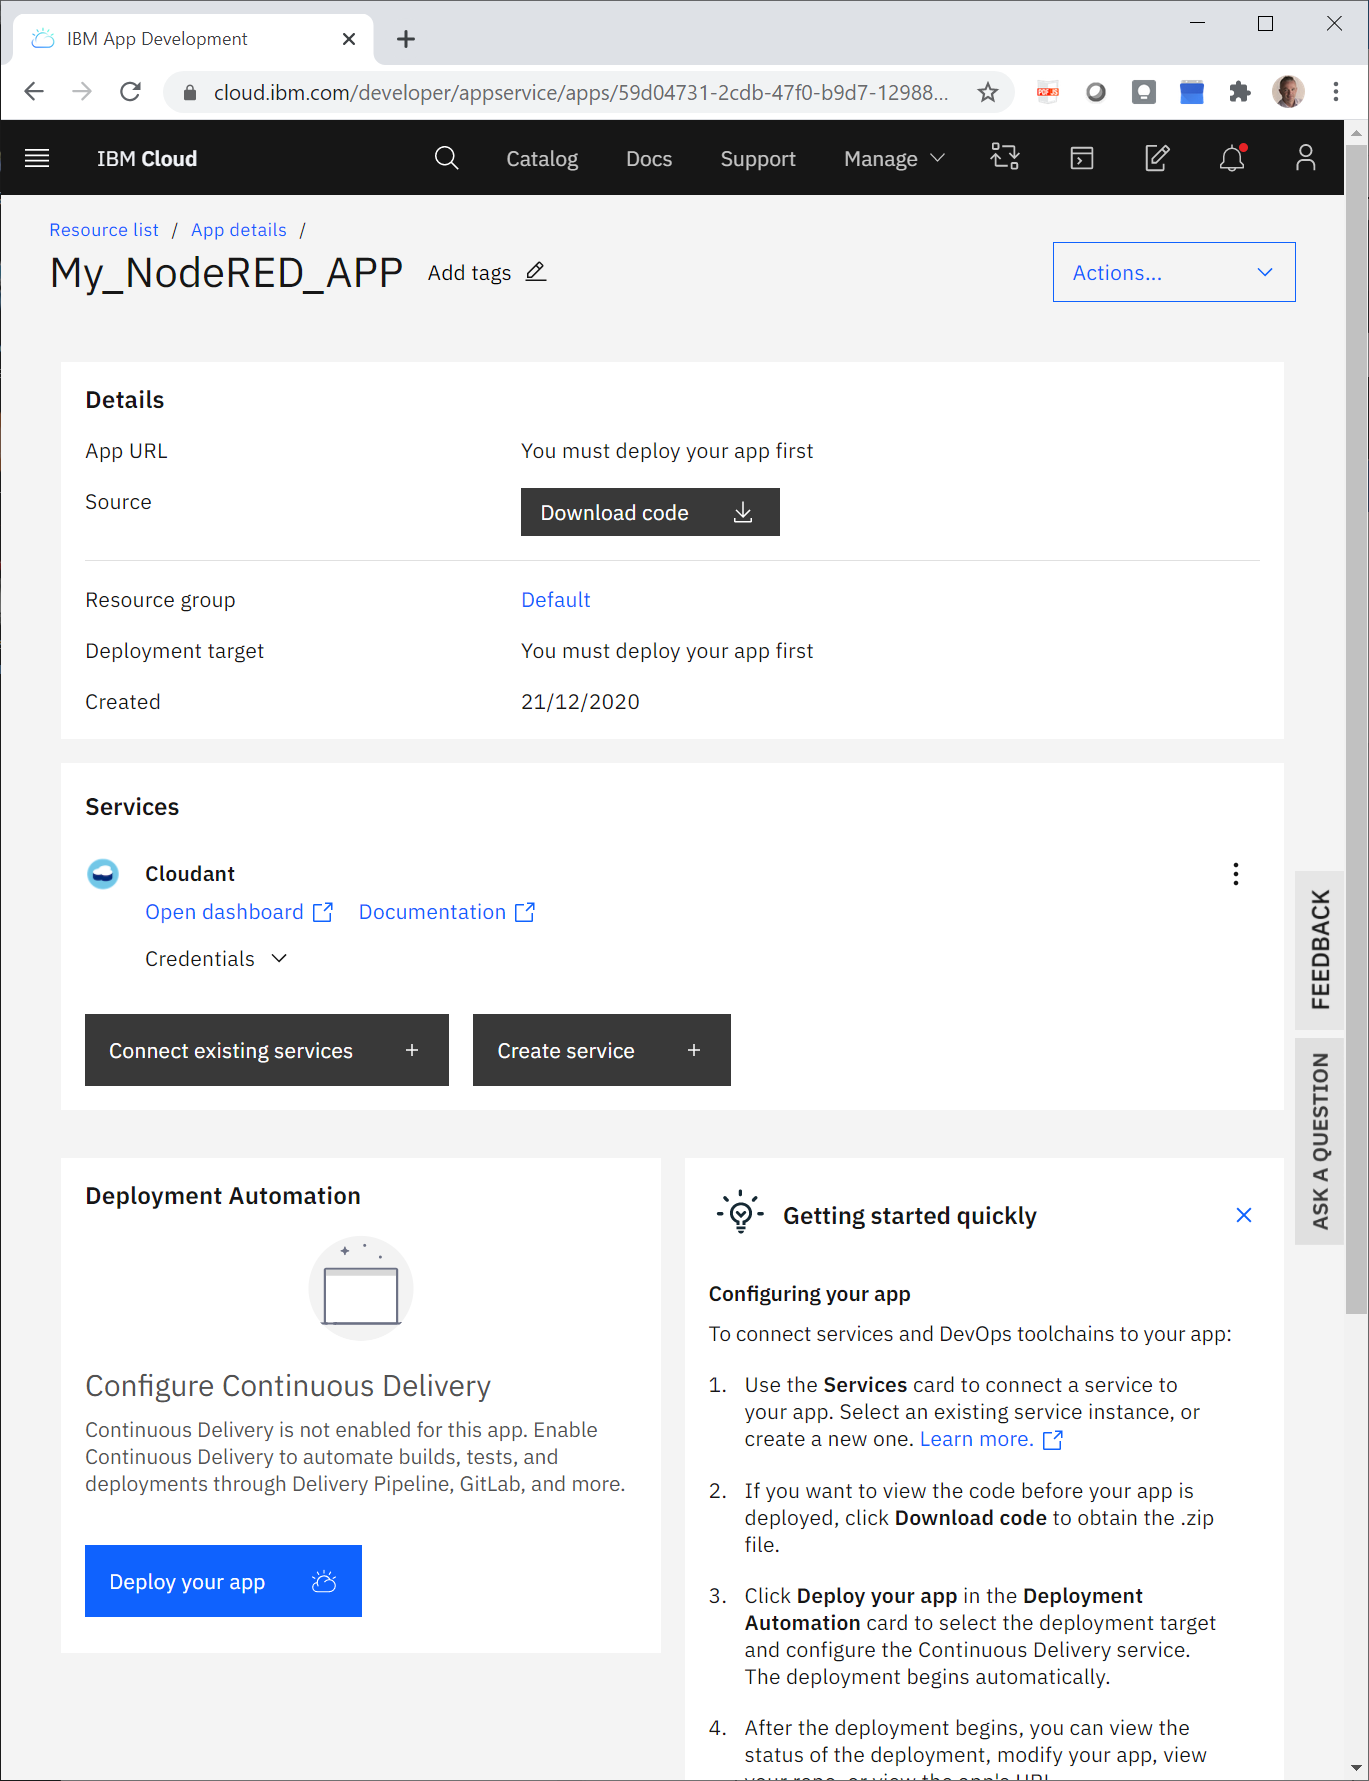
Click Deploy your app, then in IBM Cloud API key select Cloud Foundry for your deployment target.
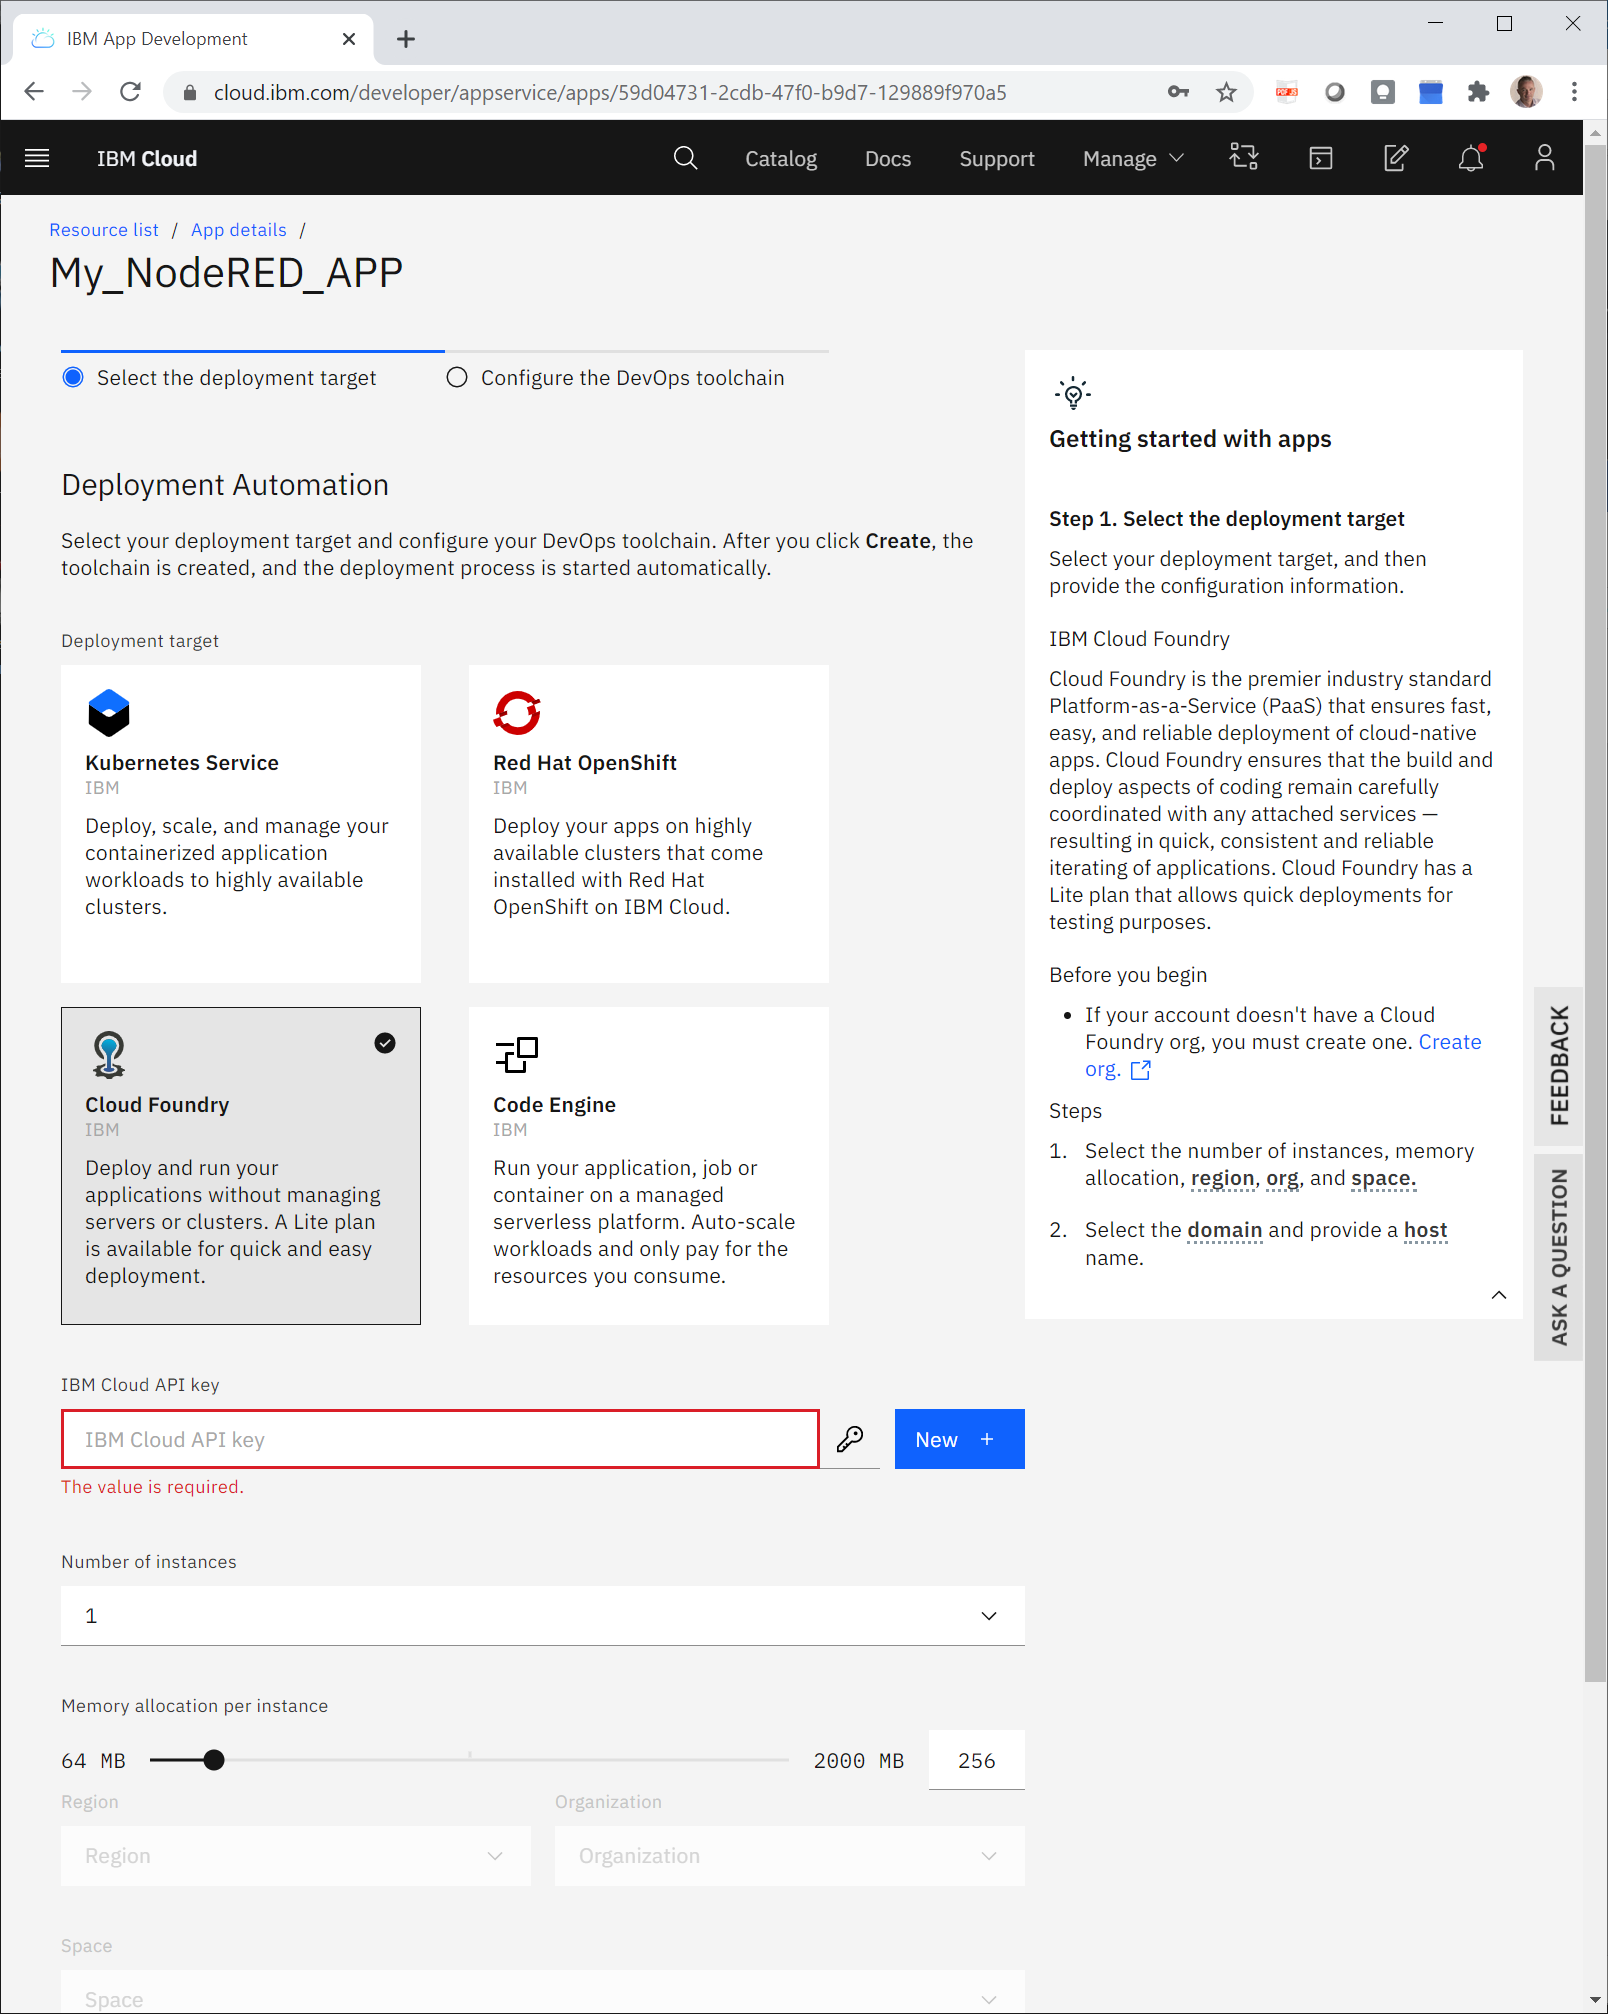
-
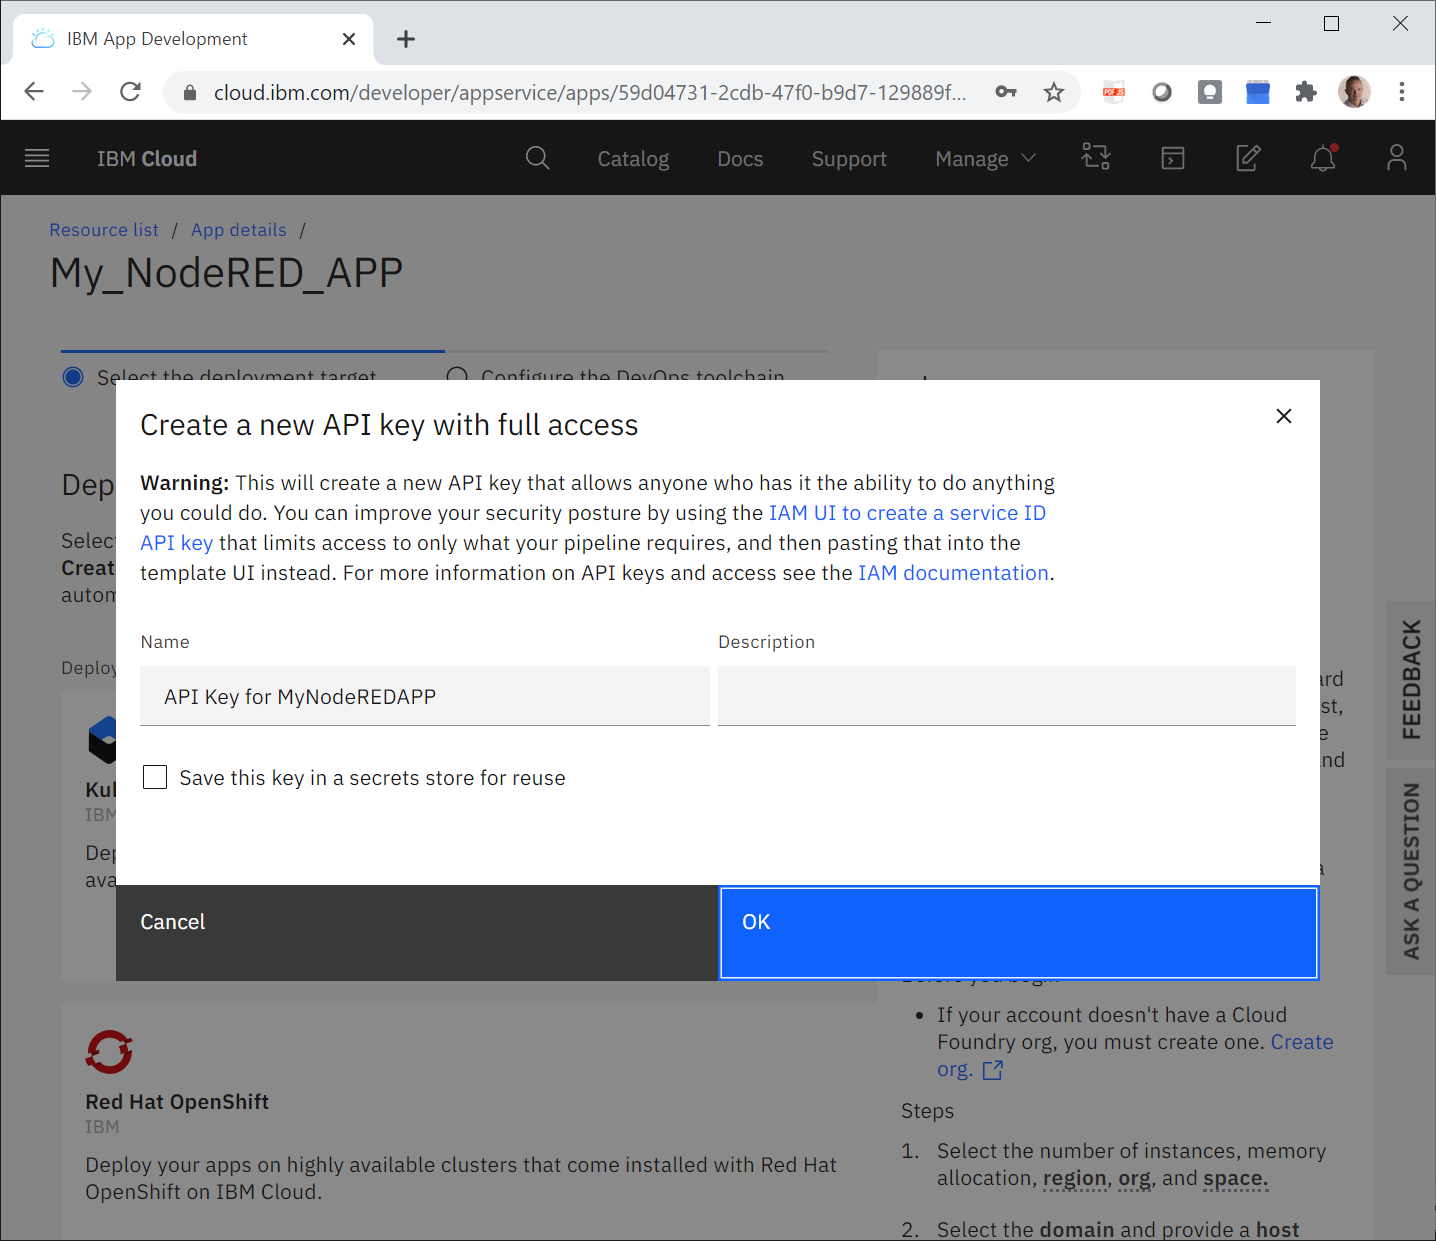
In the IBM Cloud API key area, click New + to generate a new API key, then click OK.
-
In Region, select the region you want for the deployment.
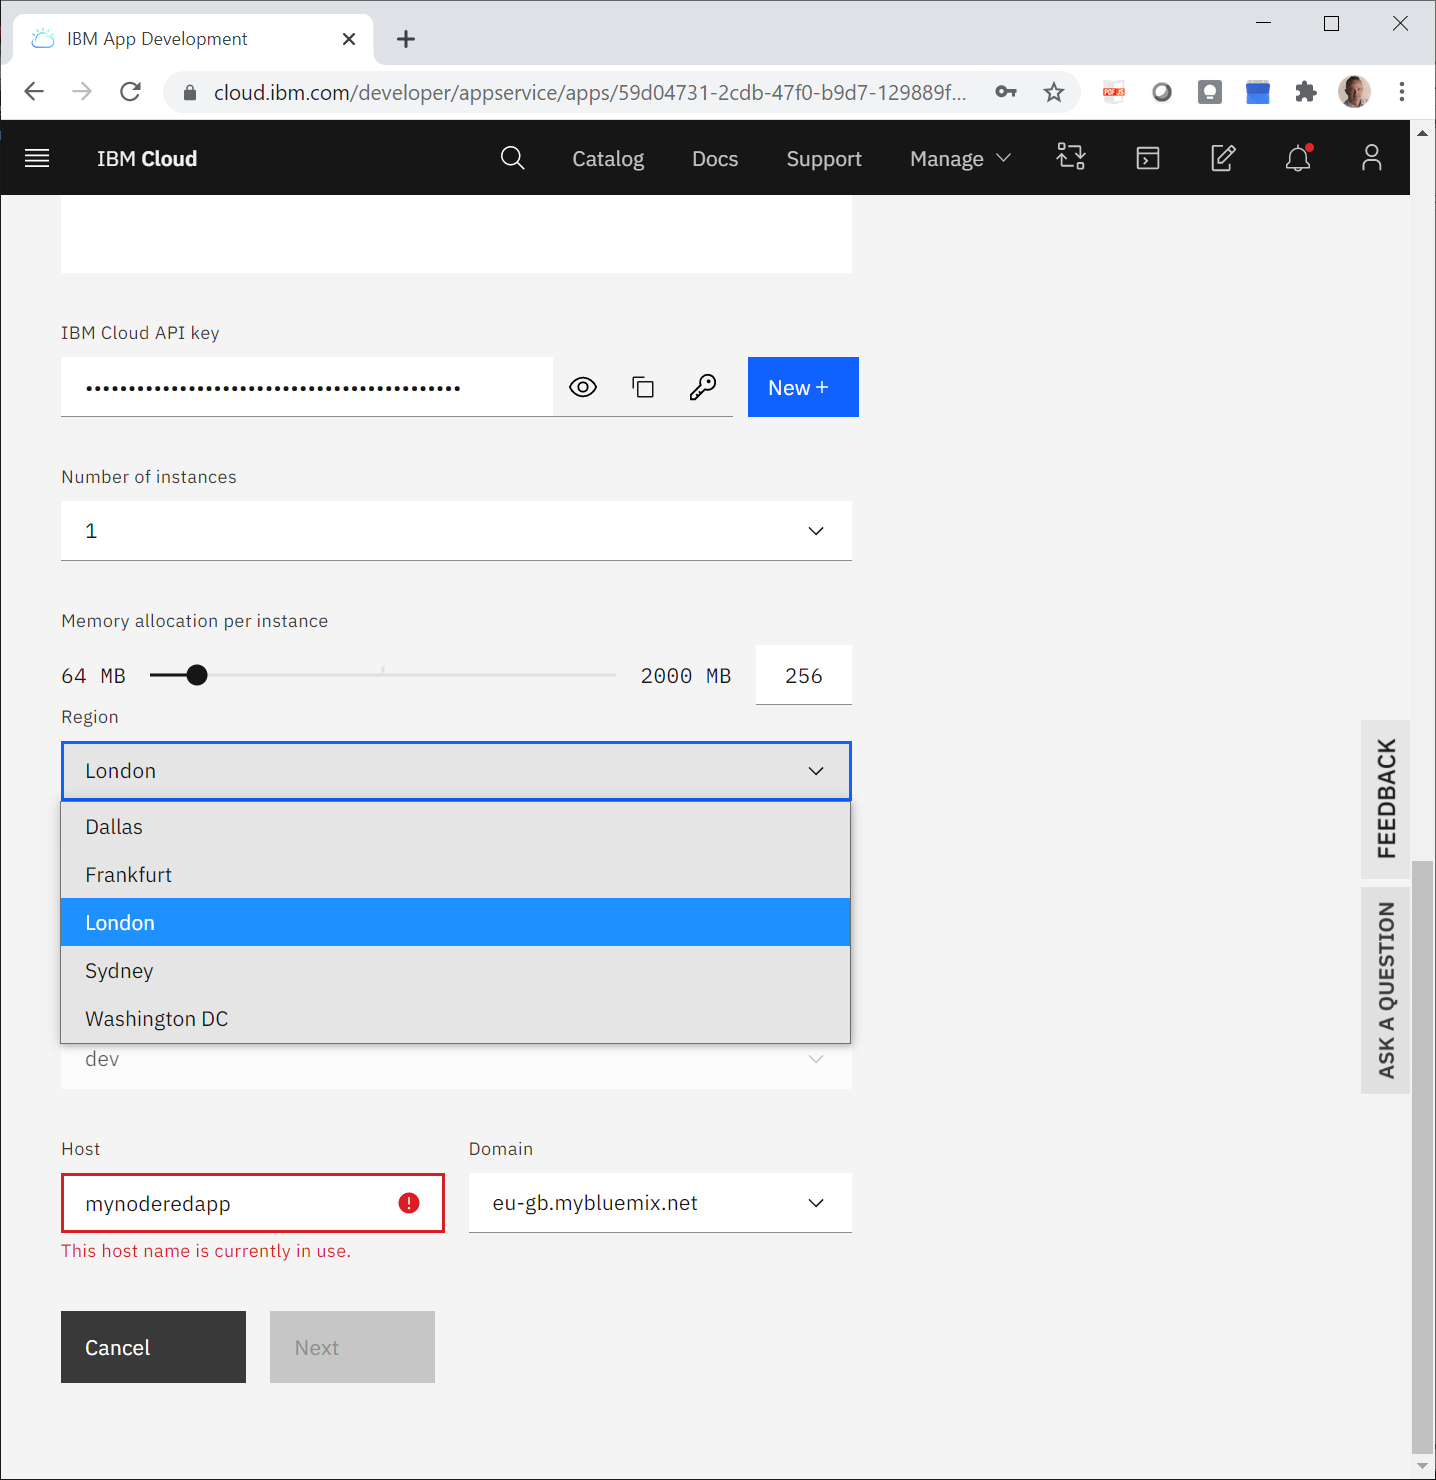
-
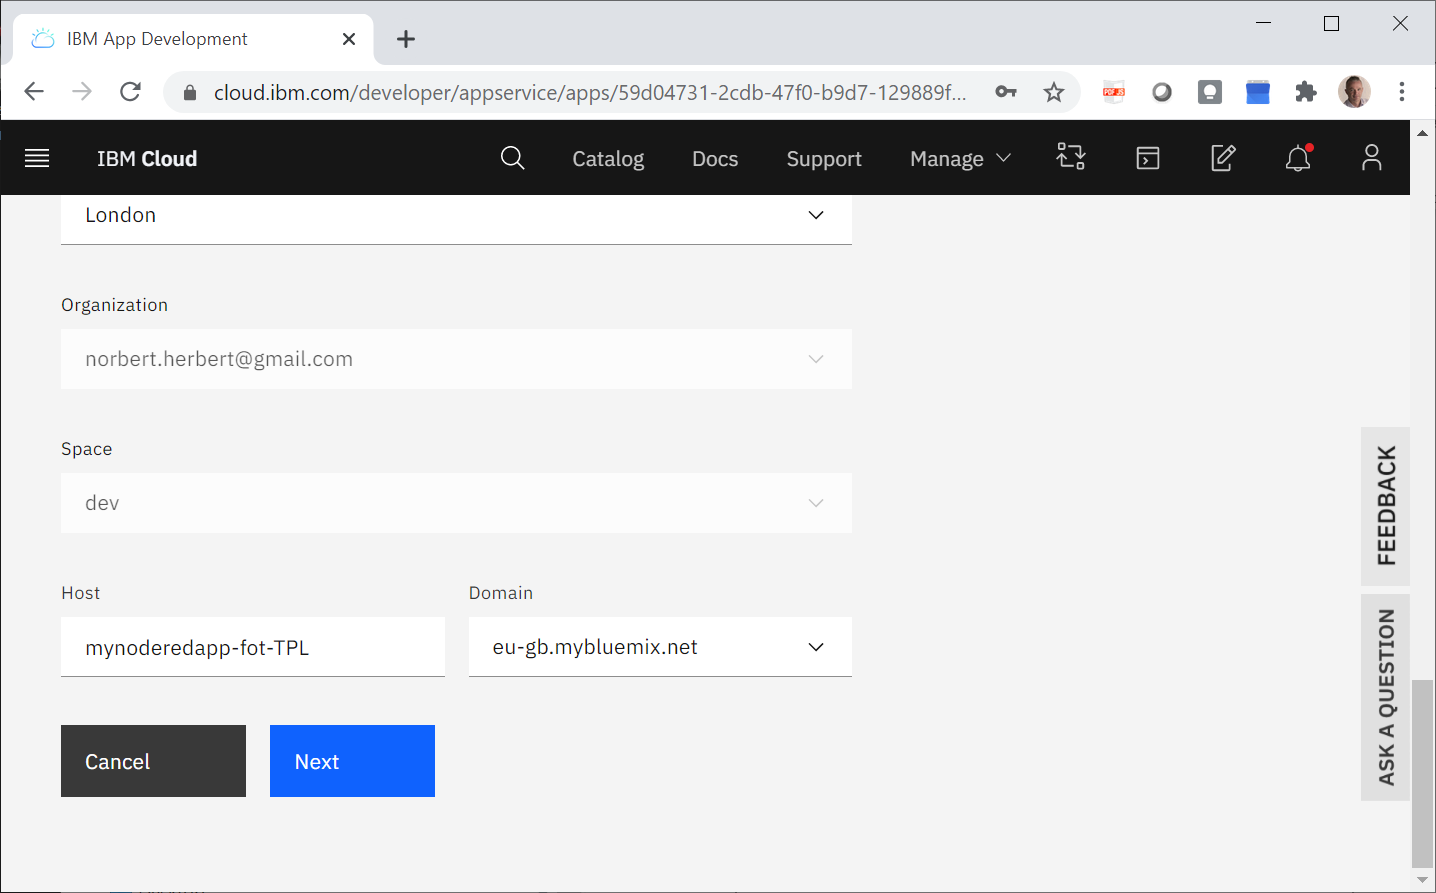
In Host, write a host name and click Next.The host name must be unique.
-
In Region, select the region of your DevOps toolchain and click Create. Wait a few minutes until the deployment is finished.
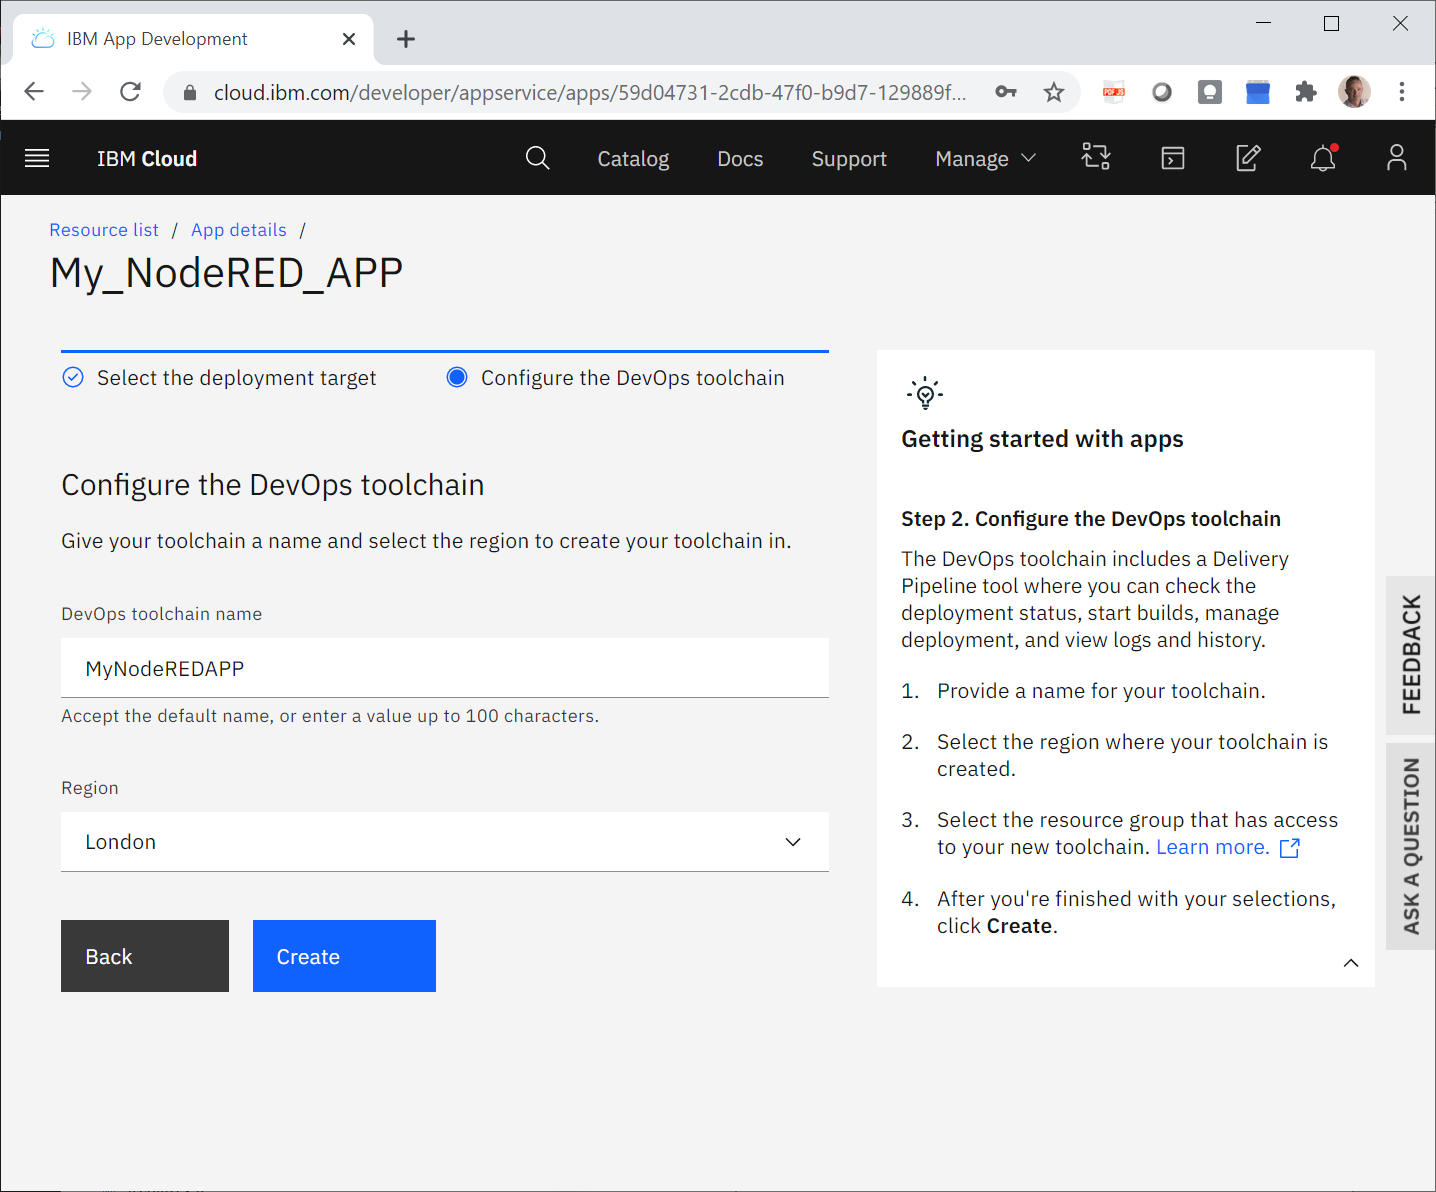
-
In the following screen that appears, verify:
-
In the Delivery Pipelines area: Status must appear as Success.
-
In the Details area: App URL must display a valid URL.
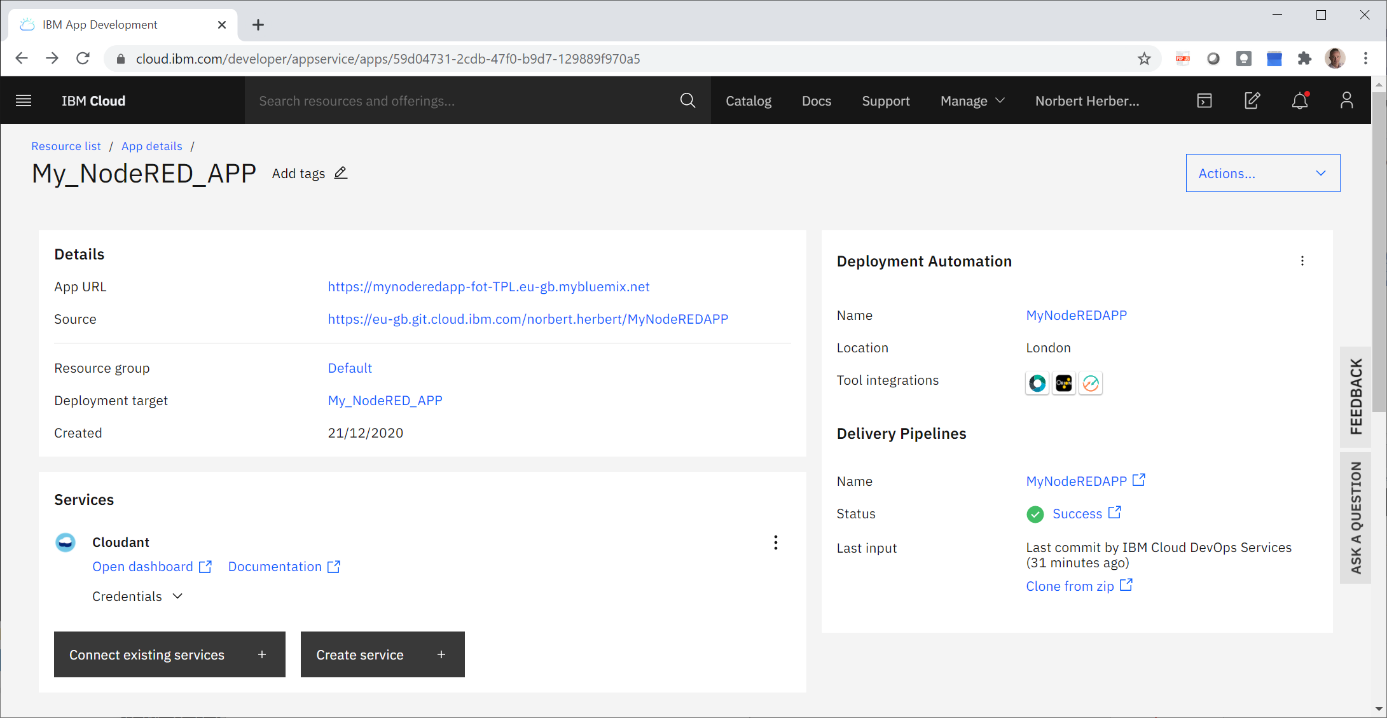
-
-
In App URL, click the URL.
-> Your new Node-RED instance on IBM Cloud opens.
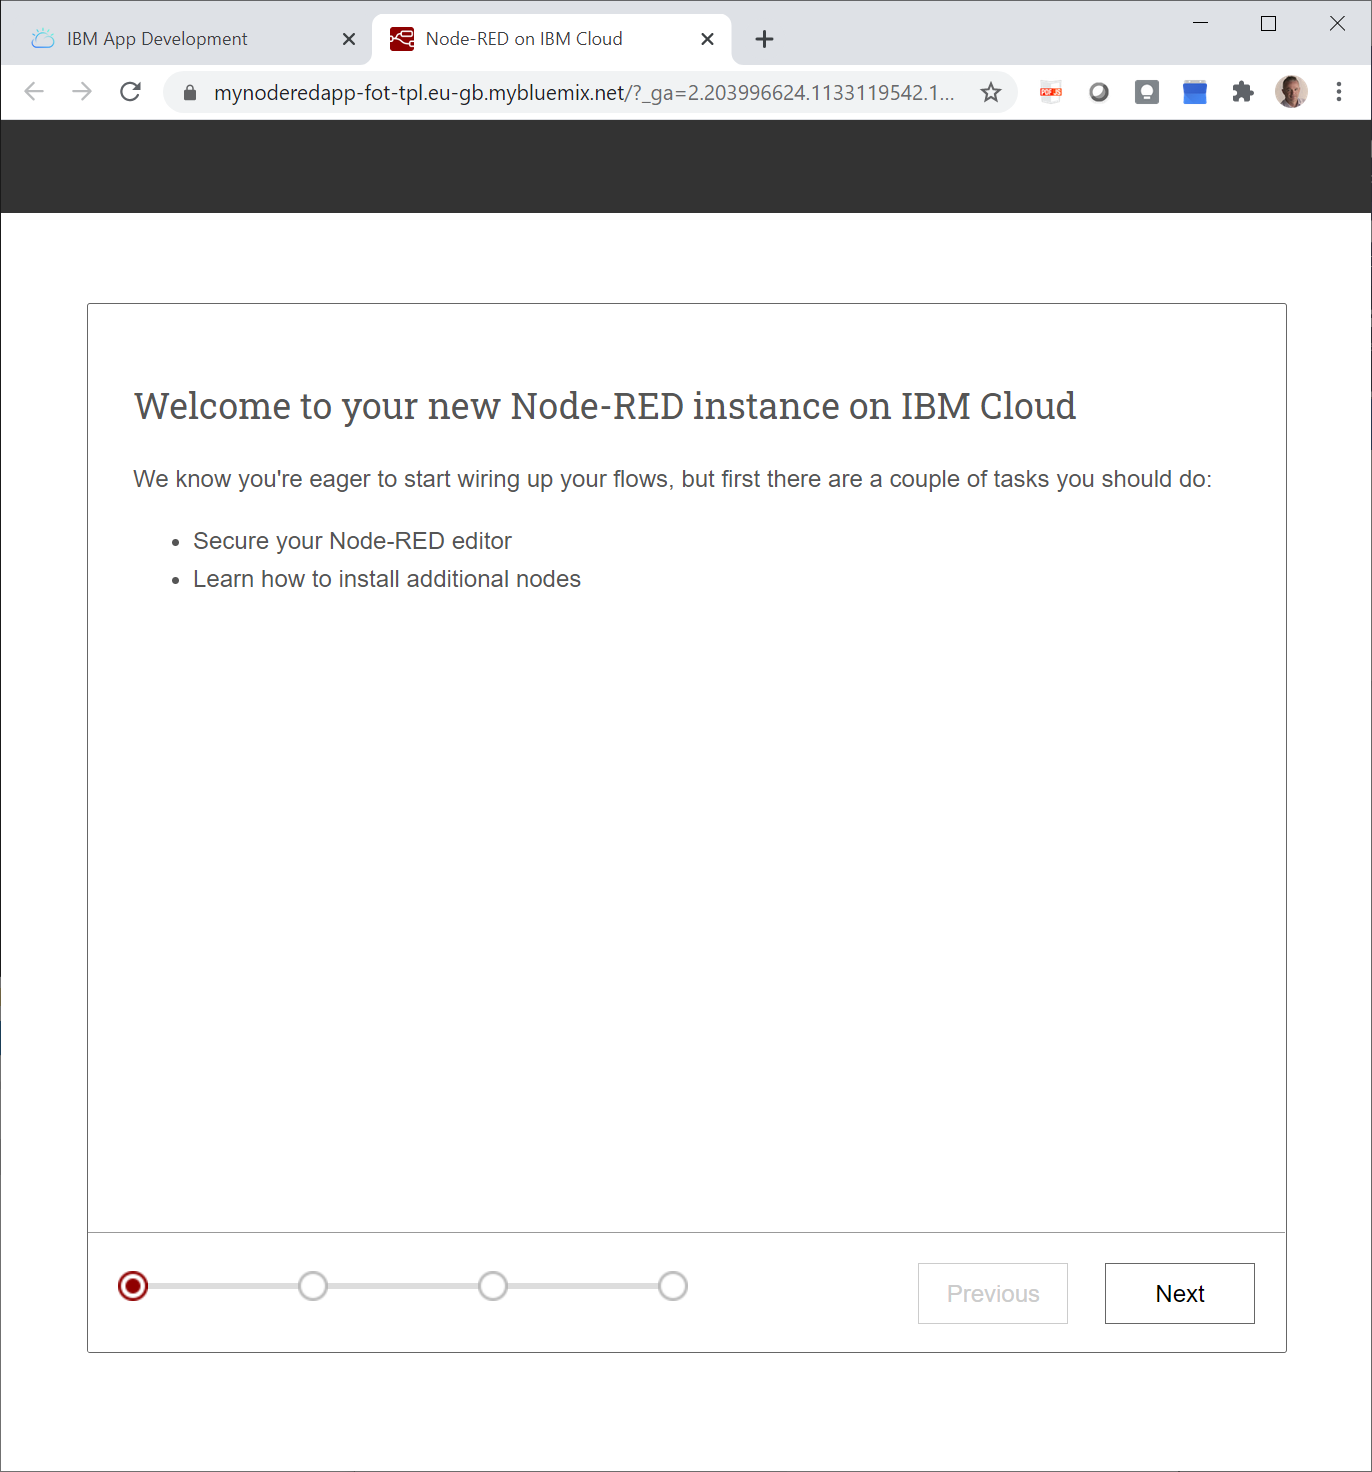
-
Click Next and fill in the form with your Node-RED credentials.
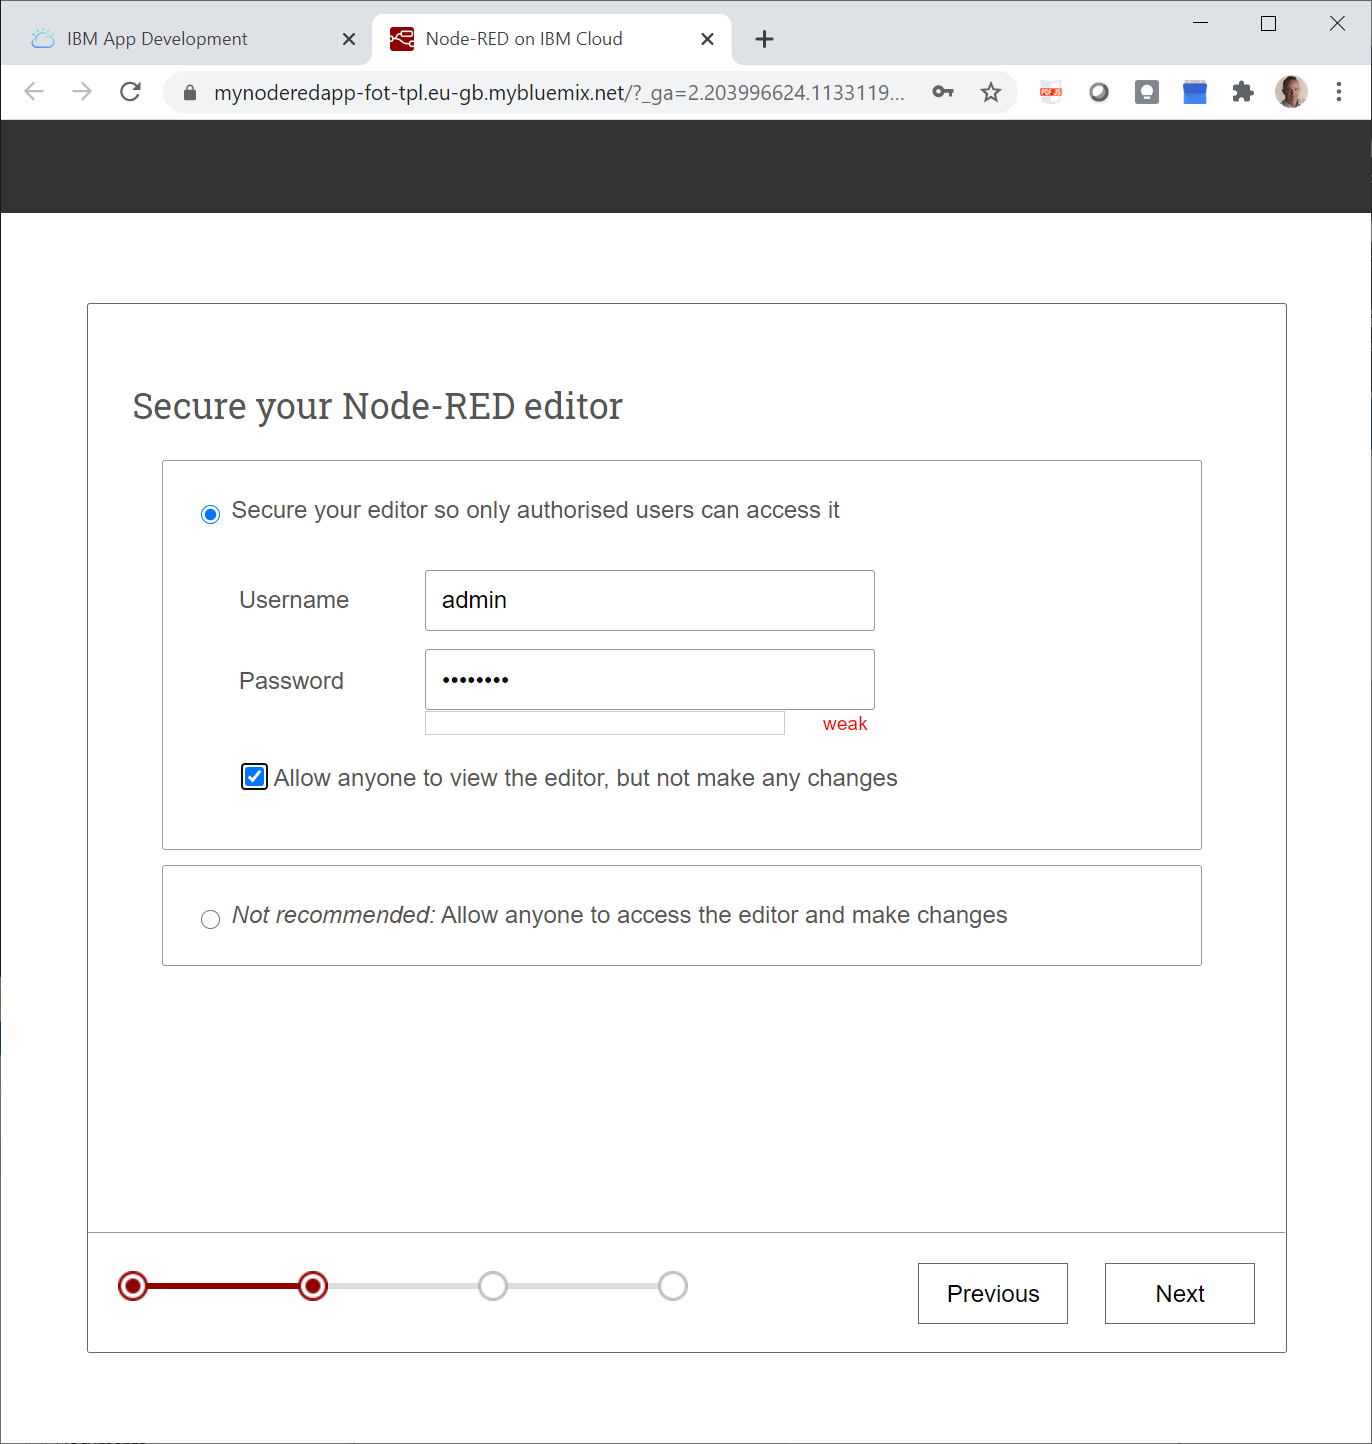
-
In the screen that displays, read the text, and click Next.
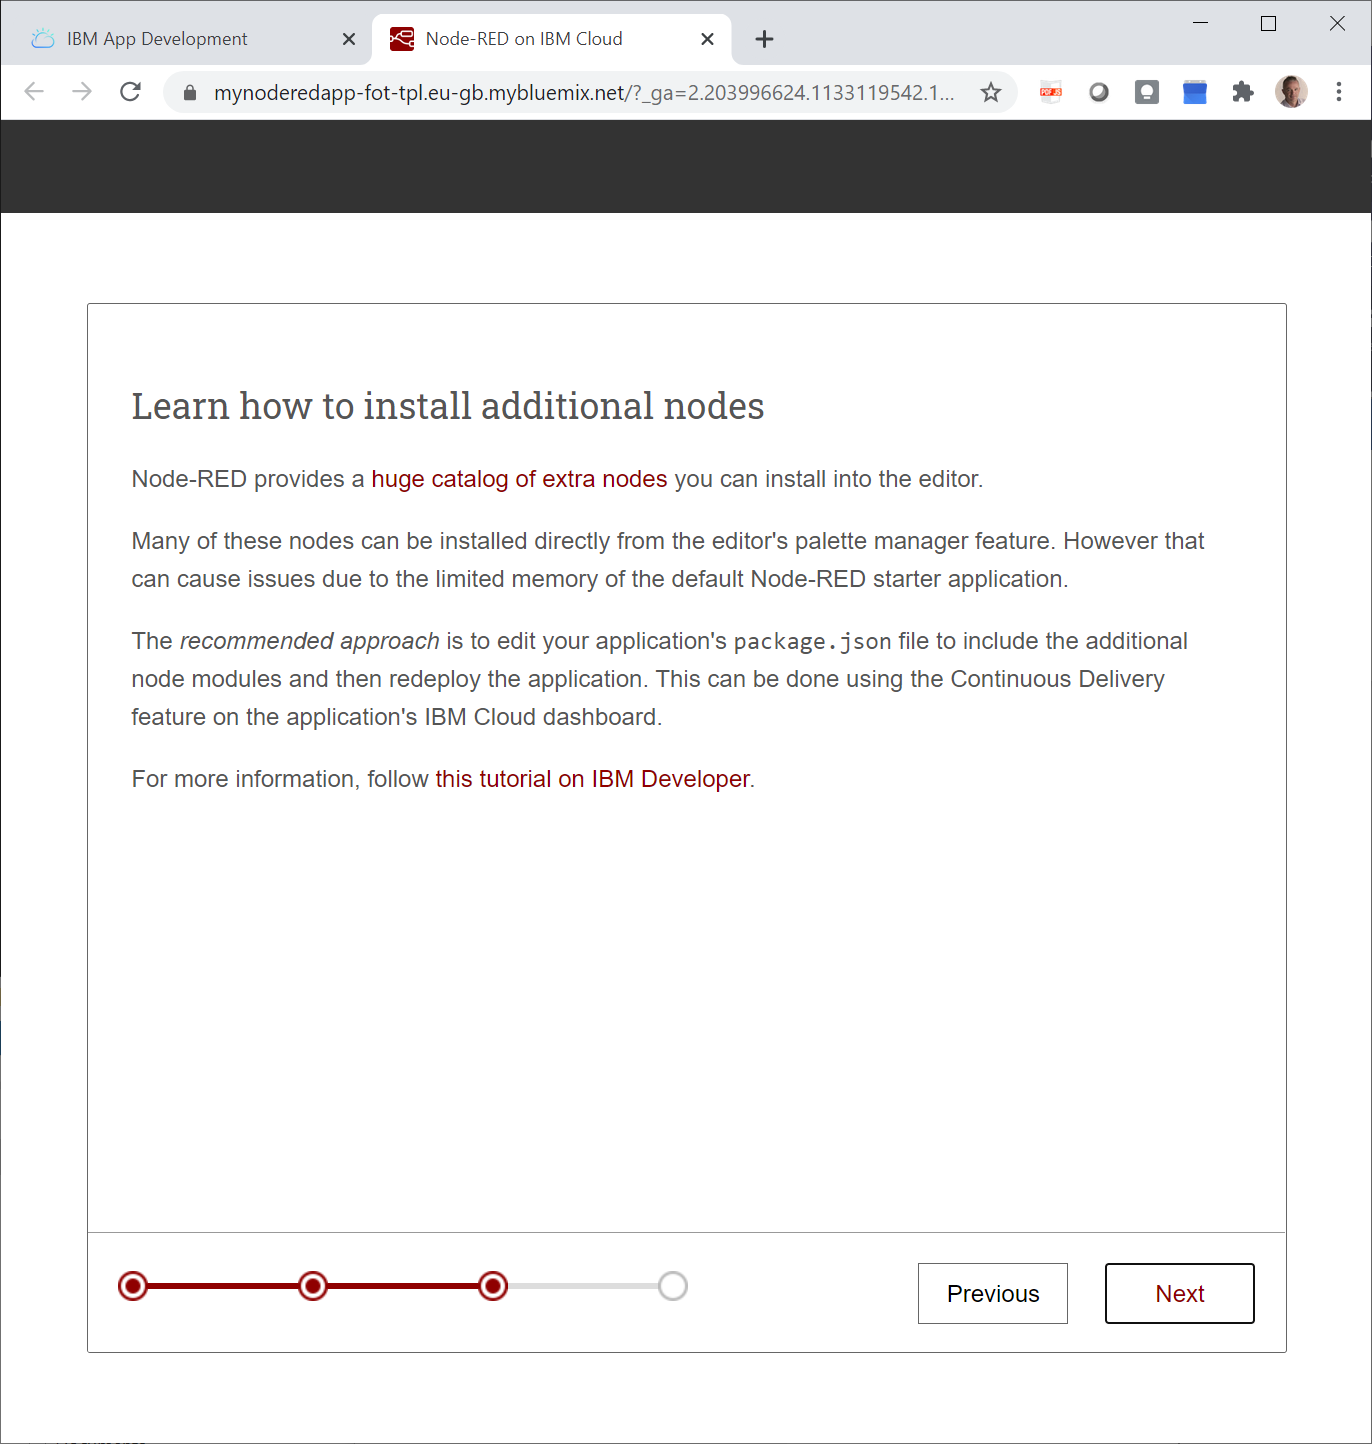
-
Read the text and click Finish.
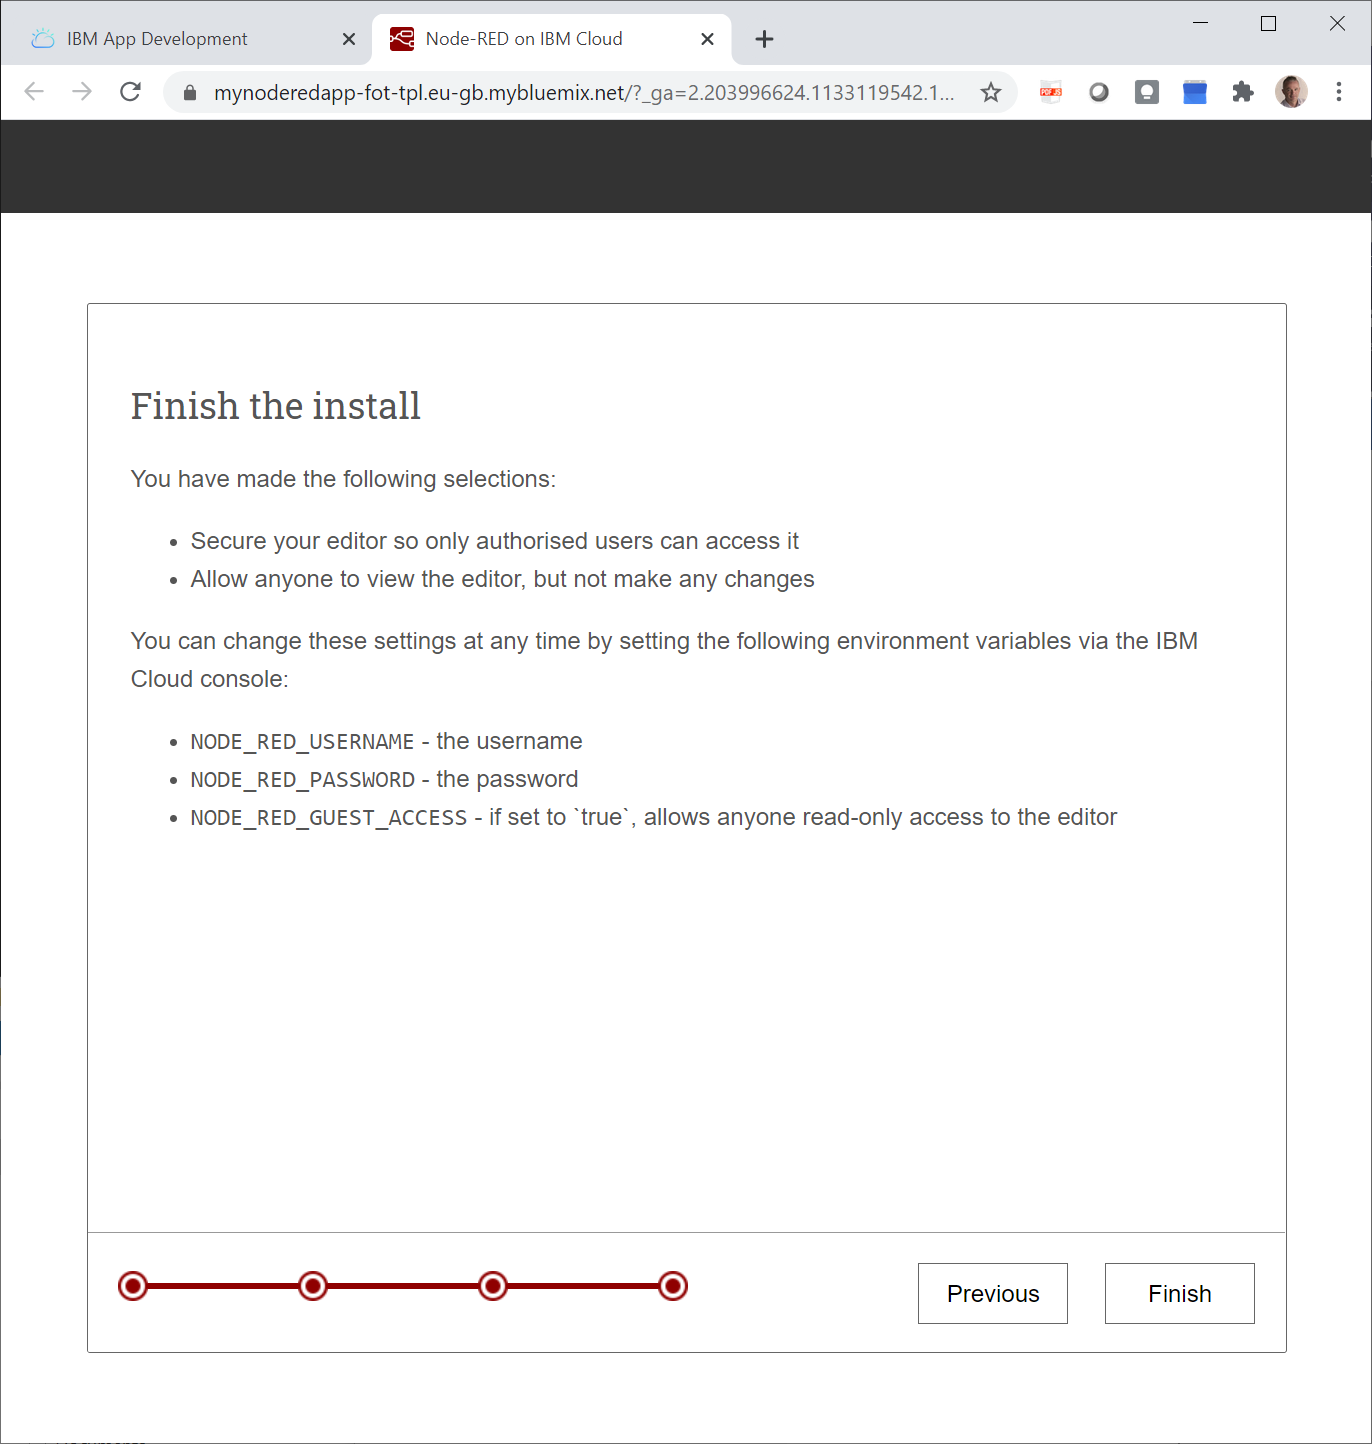
-
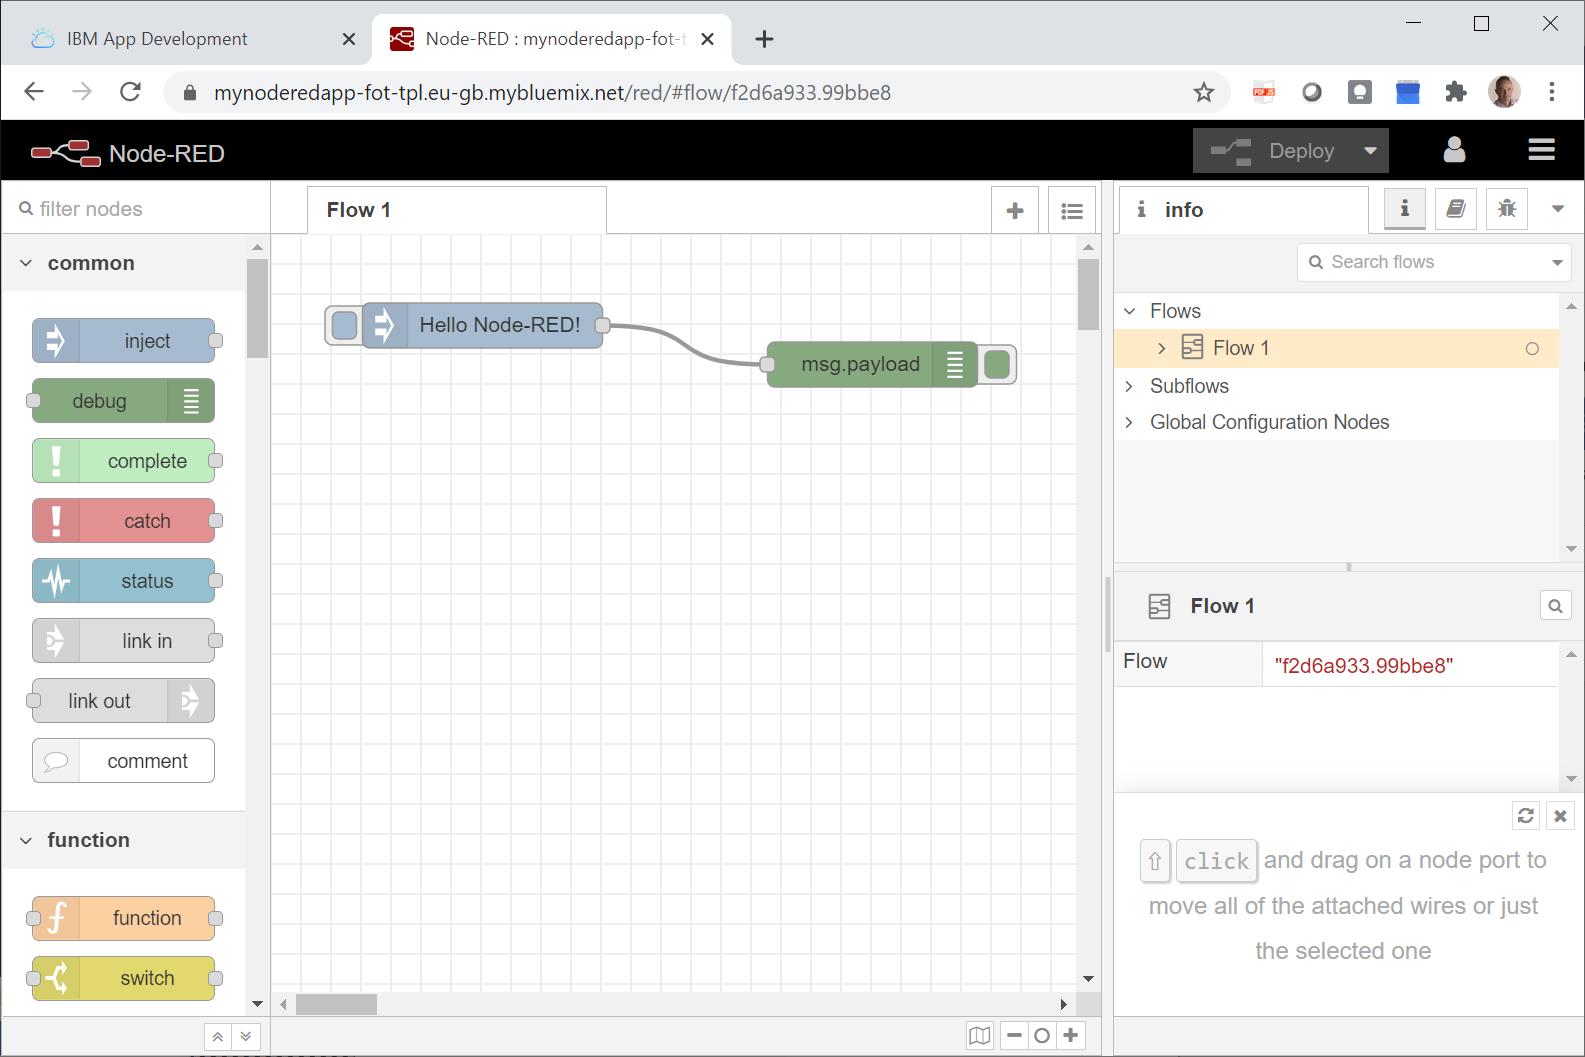
In the screen that displays, read the text and click Go to your Node-RED flow editor.

-> Your Node-RED flow editor opens.