thingpark-x-location-engine-network-interface-translator-setup-guide
ThingPark X Location Engine Network Interface Translator setup guide
The ThingPark X Location Engine Network Interface Translator (TPXLE-NIT) can be used to interface Abeeway trackers connected through 3rd party network servers (e.g. Helium or TTN) to ThingPark X Location Engine and the Abeeway Device Manager. An instance of this interface translator is already hosted in the ThingPark cloud, but you can setup your own (contact us).
The following steps explain how to use the hosted TPXLE-NIT.
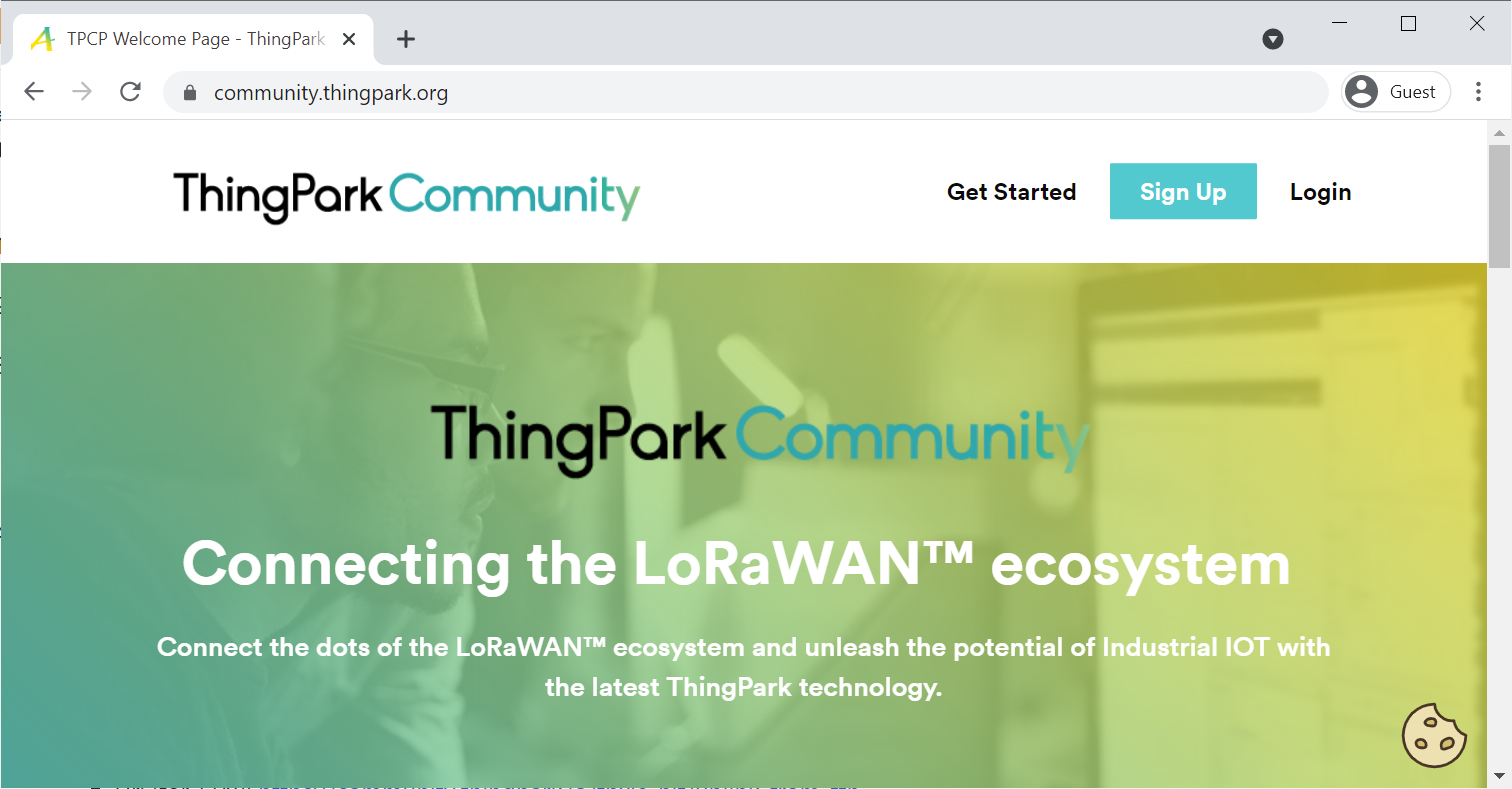
1. Sign up for a new ThingPark Community account.
Sign up for a new ThingPark Community account here. This is free of charge.
Log in with your new account to the ThingPark Community Console here
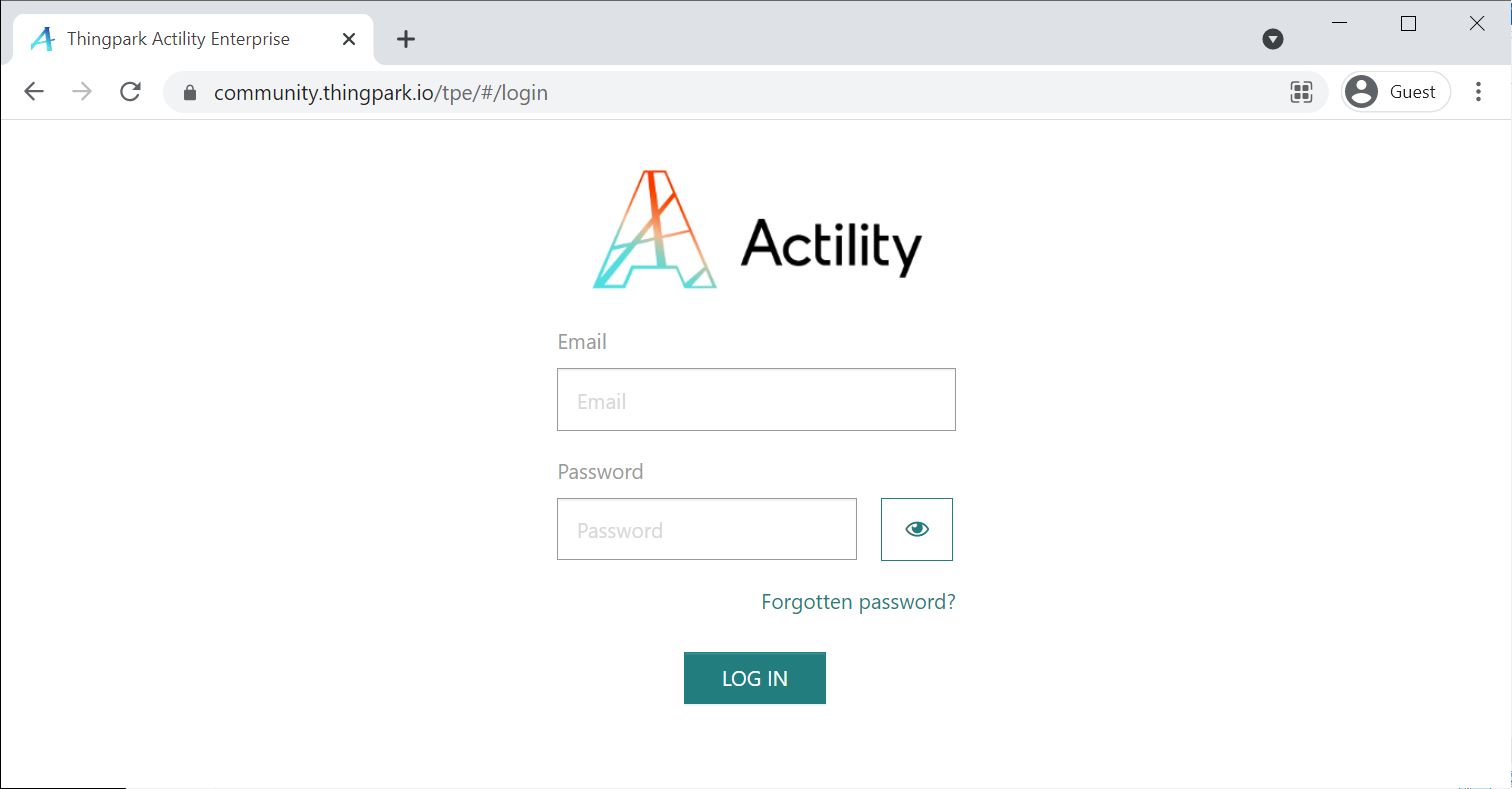
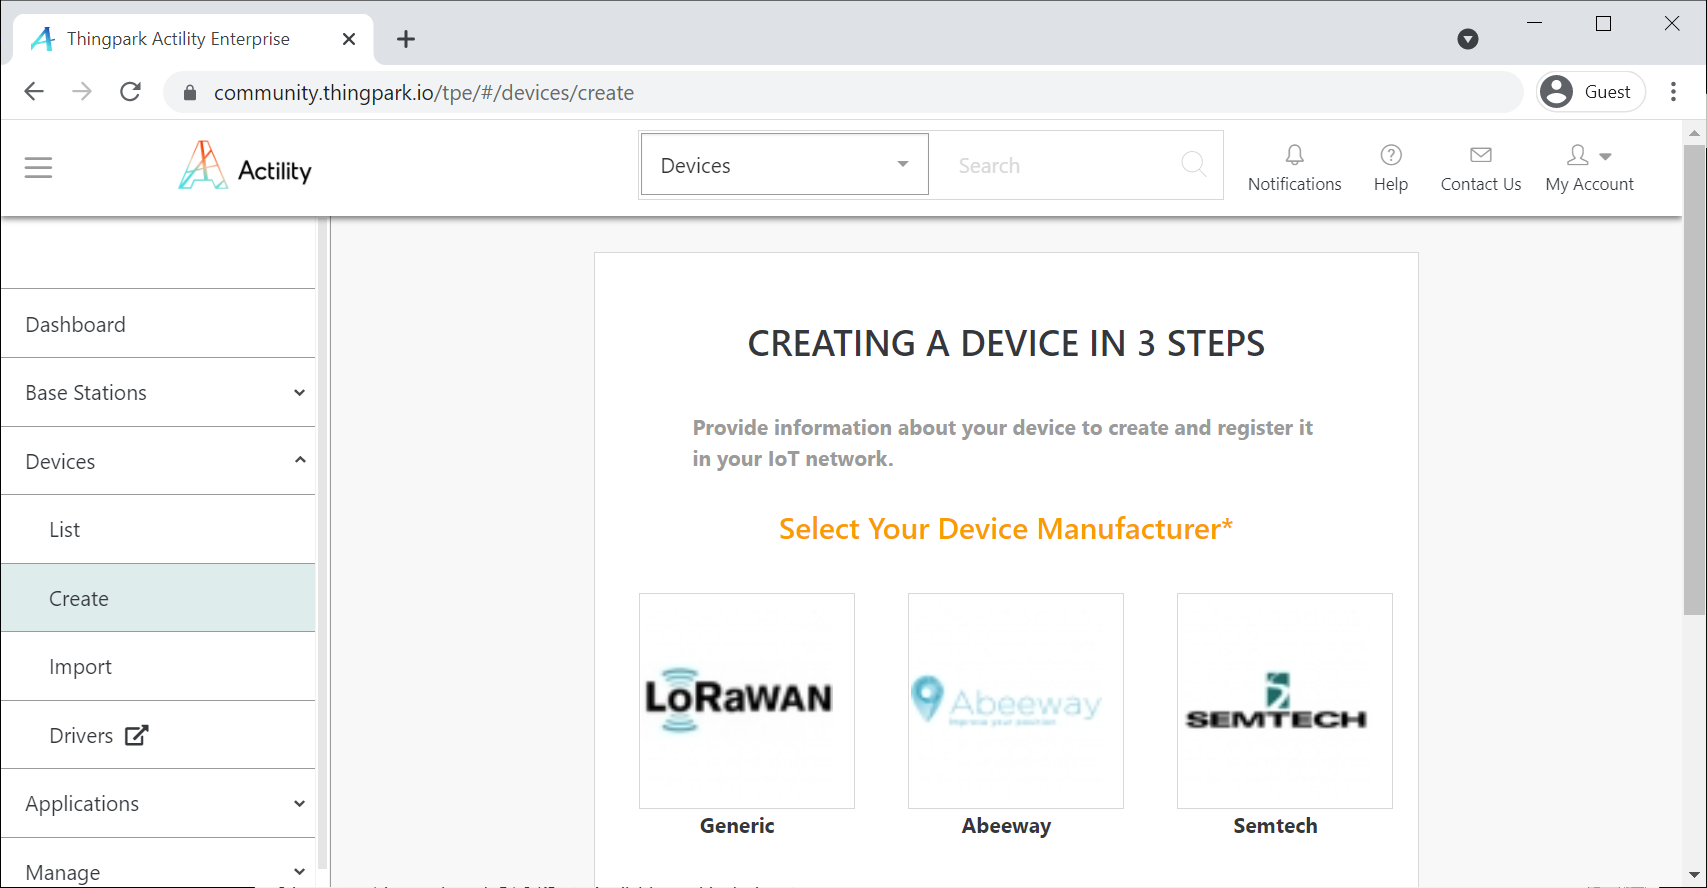
If you were able to log in, you can look around and get acquainted with the UI of ThingPark Enterprise. However, you don't need to use the console for anything now, since your goal is to use the ThingPark X Location Engine Network Interface Translator to connect to a 3rd party network server. This login was just required to verify if your ThingPark Community account is active. You can now logout and leave this site without changing anything.
2. Set up the uplink message flow on the 3rd party LoRaWAN Network Server
Create a new HTTP (webhook) integration on the 3rd party network server console with the parameters described below.
Helium console:
Login to Helium Console here
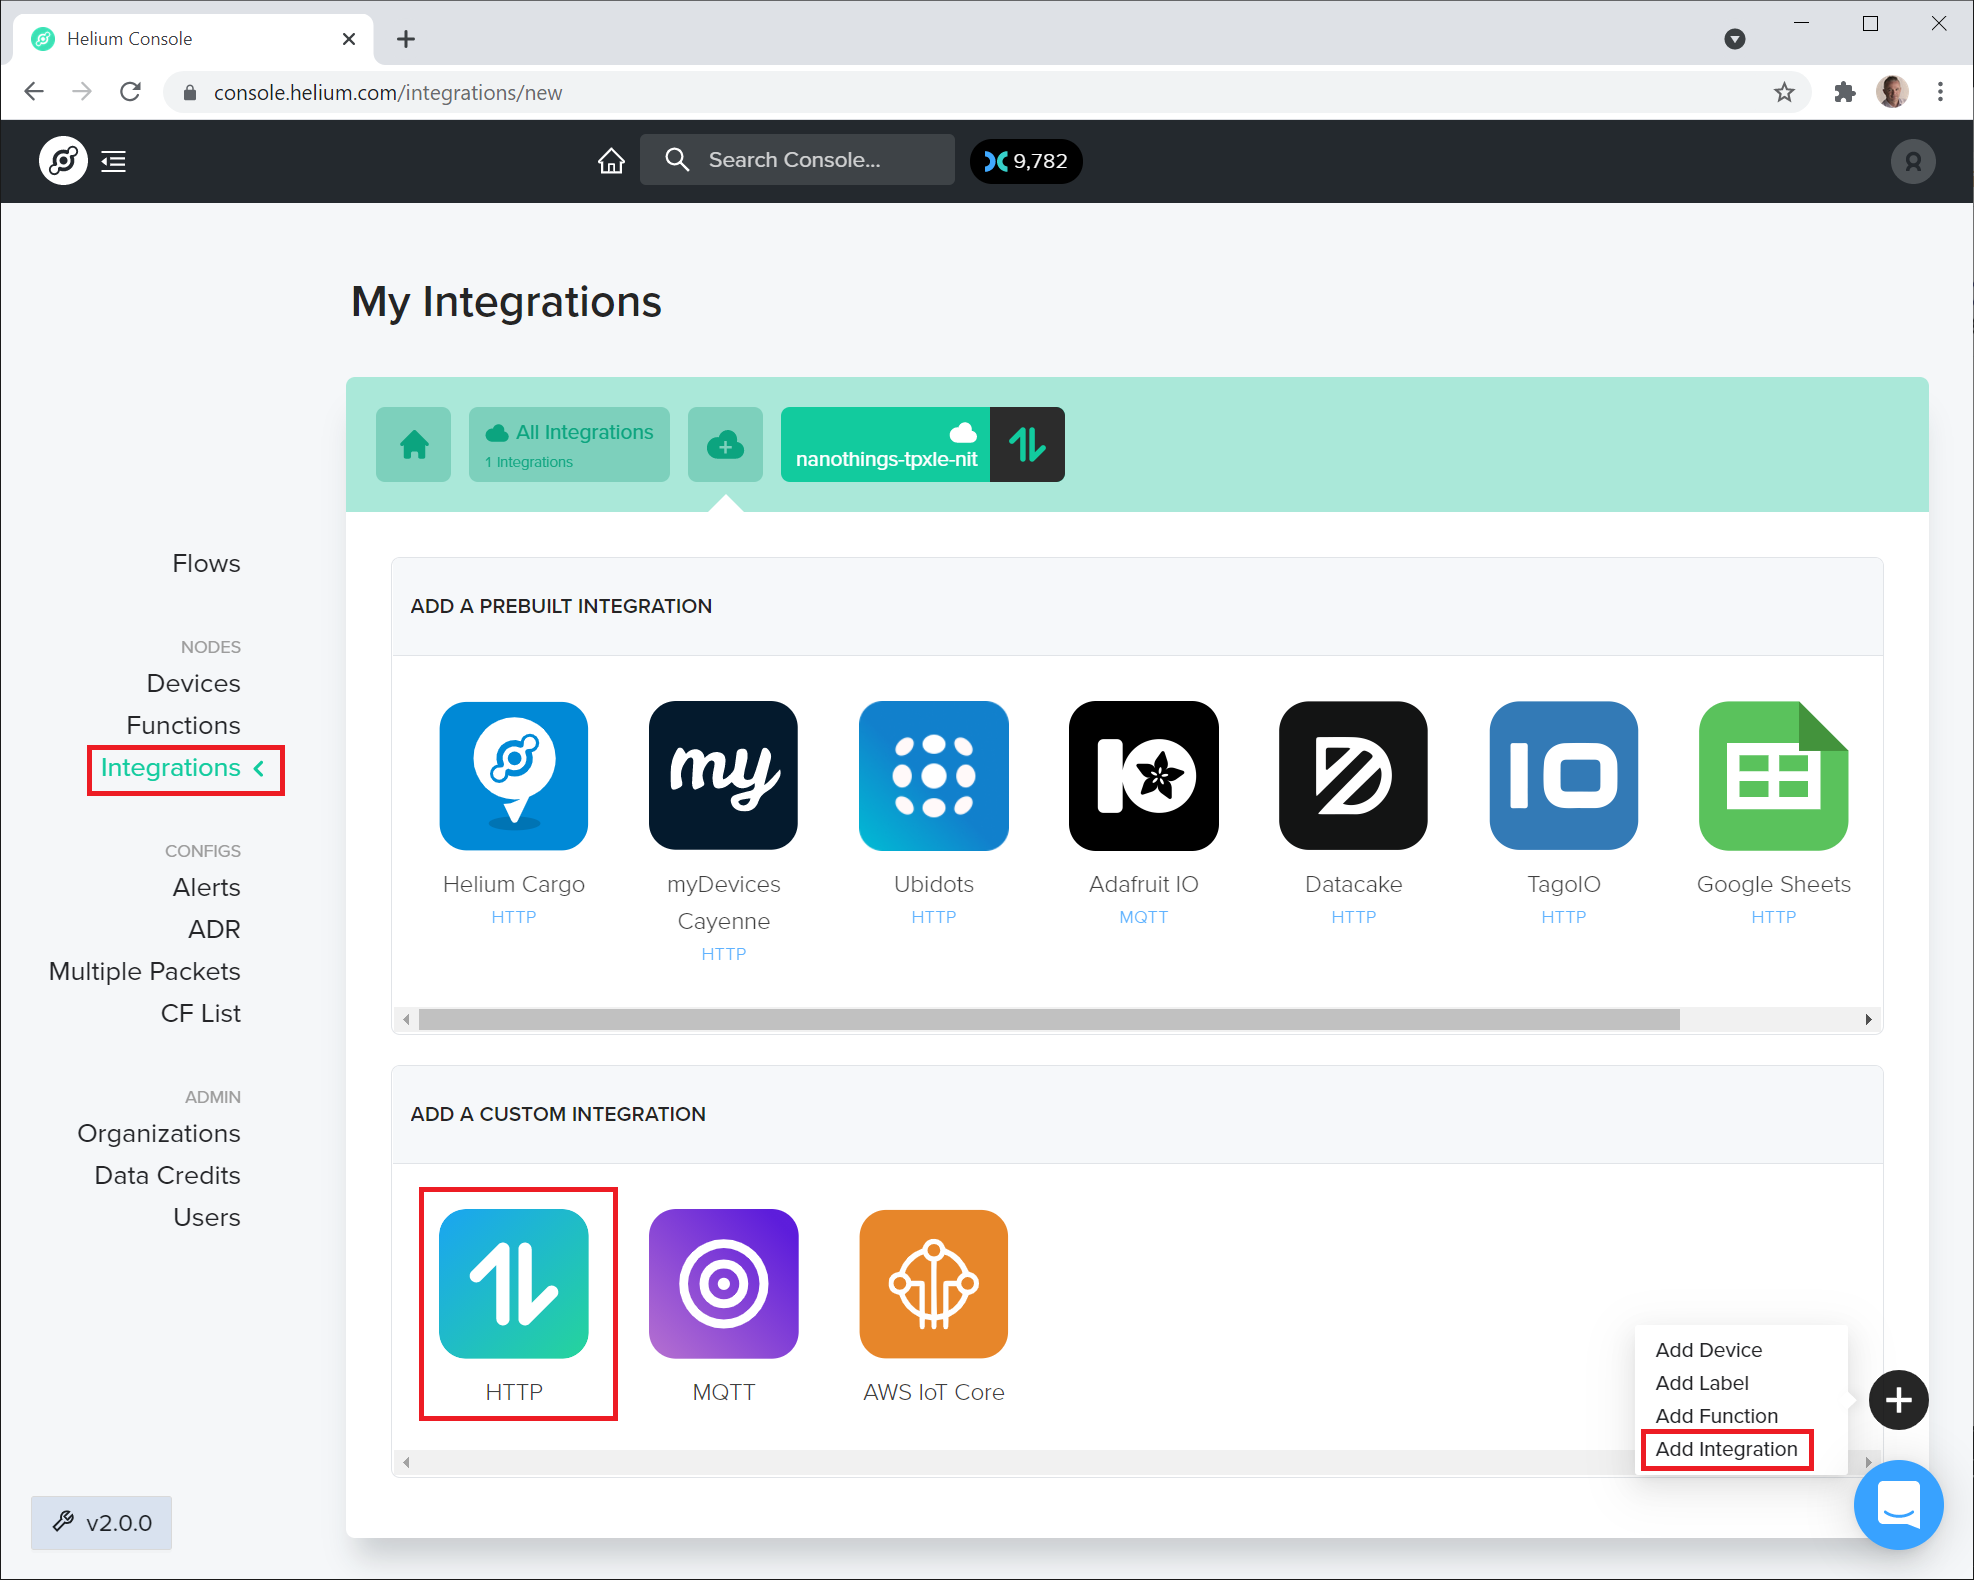
In case you use your tracker with Abeeway Device Managger or with your own application server interfaced to ThingPark X Location Engine
create a new HTTP (webhook) integration with the following parameters:
- Url (for Helium):
https://community.thingpark.io/tpxle-nit/uplink_from_helium - Header:
x-client-id: community-api/<your_thingpark_community_user_id> - Header:
x-client-secret: <your_thingpark_community_password>
In case you use your tracker with the Abeeway Mobile Application and you selected the "Abeeway - Preview" distributor after login create a new HTTP (webhook) integration with the following parameters (the mobile app uses a specific realm):
- Url (for Helium):
https://community.thingpark.io/tpxle-nit/uplink_from_helium - Header:
x-client-id: <your_mobile_app_user_id> - Header:
x-client-secret: <your_mobile_app_password> - Header:
x-realm: le-lab
Please note that the screenshots below are not presenting the exact headers that need to be used for the Mobile App. Please add and set the headers that are described here.
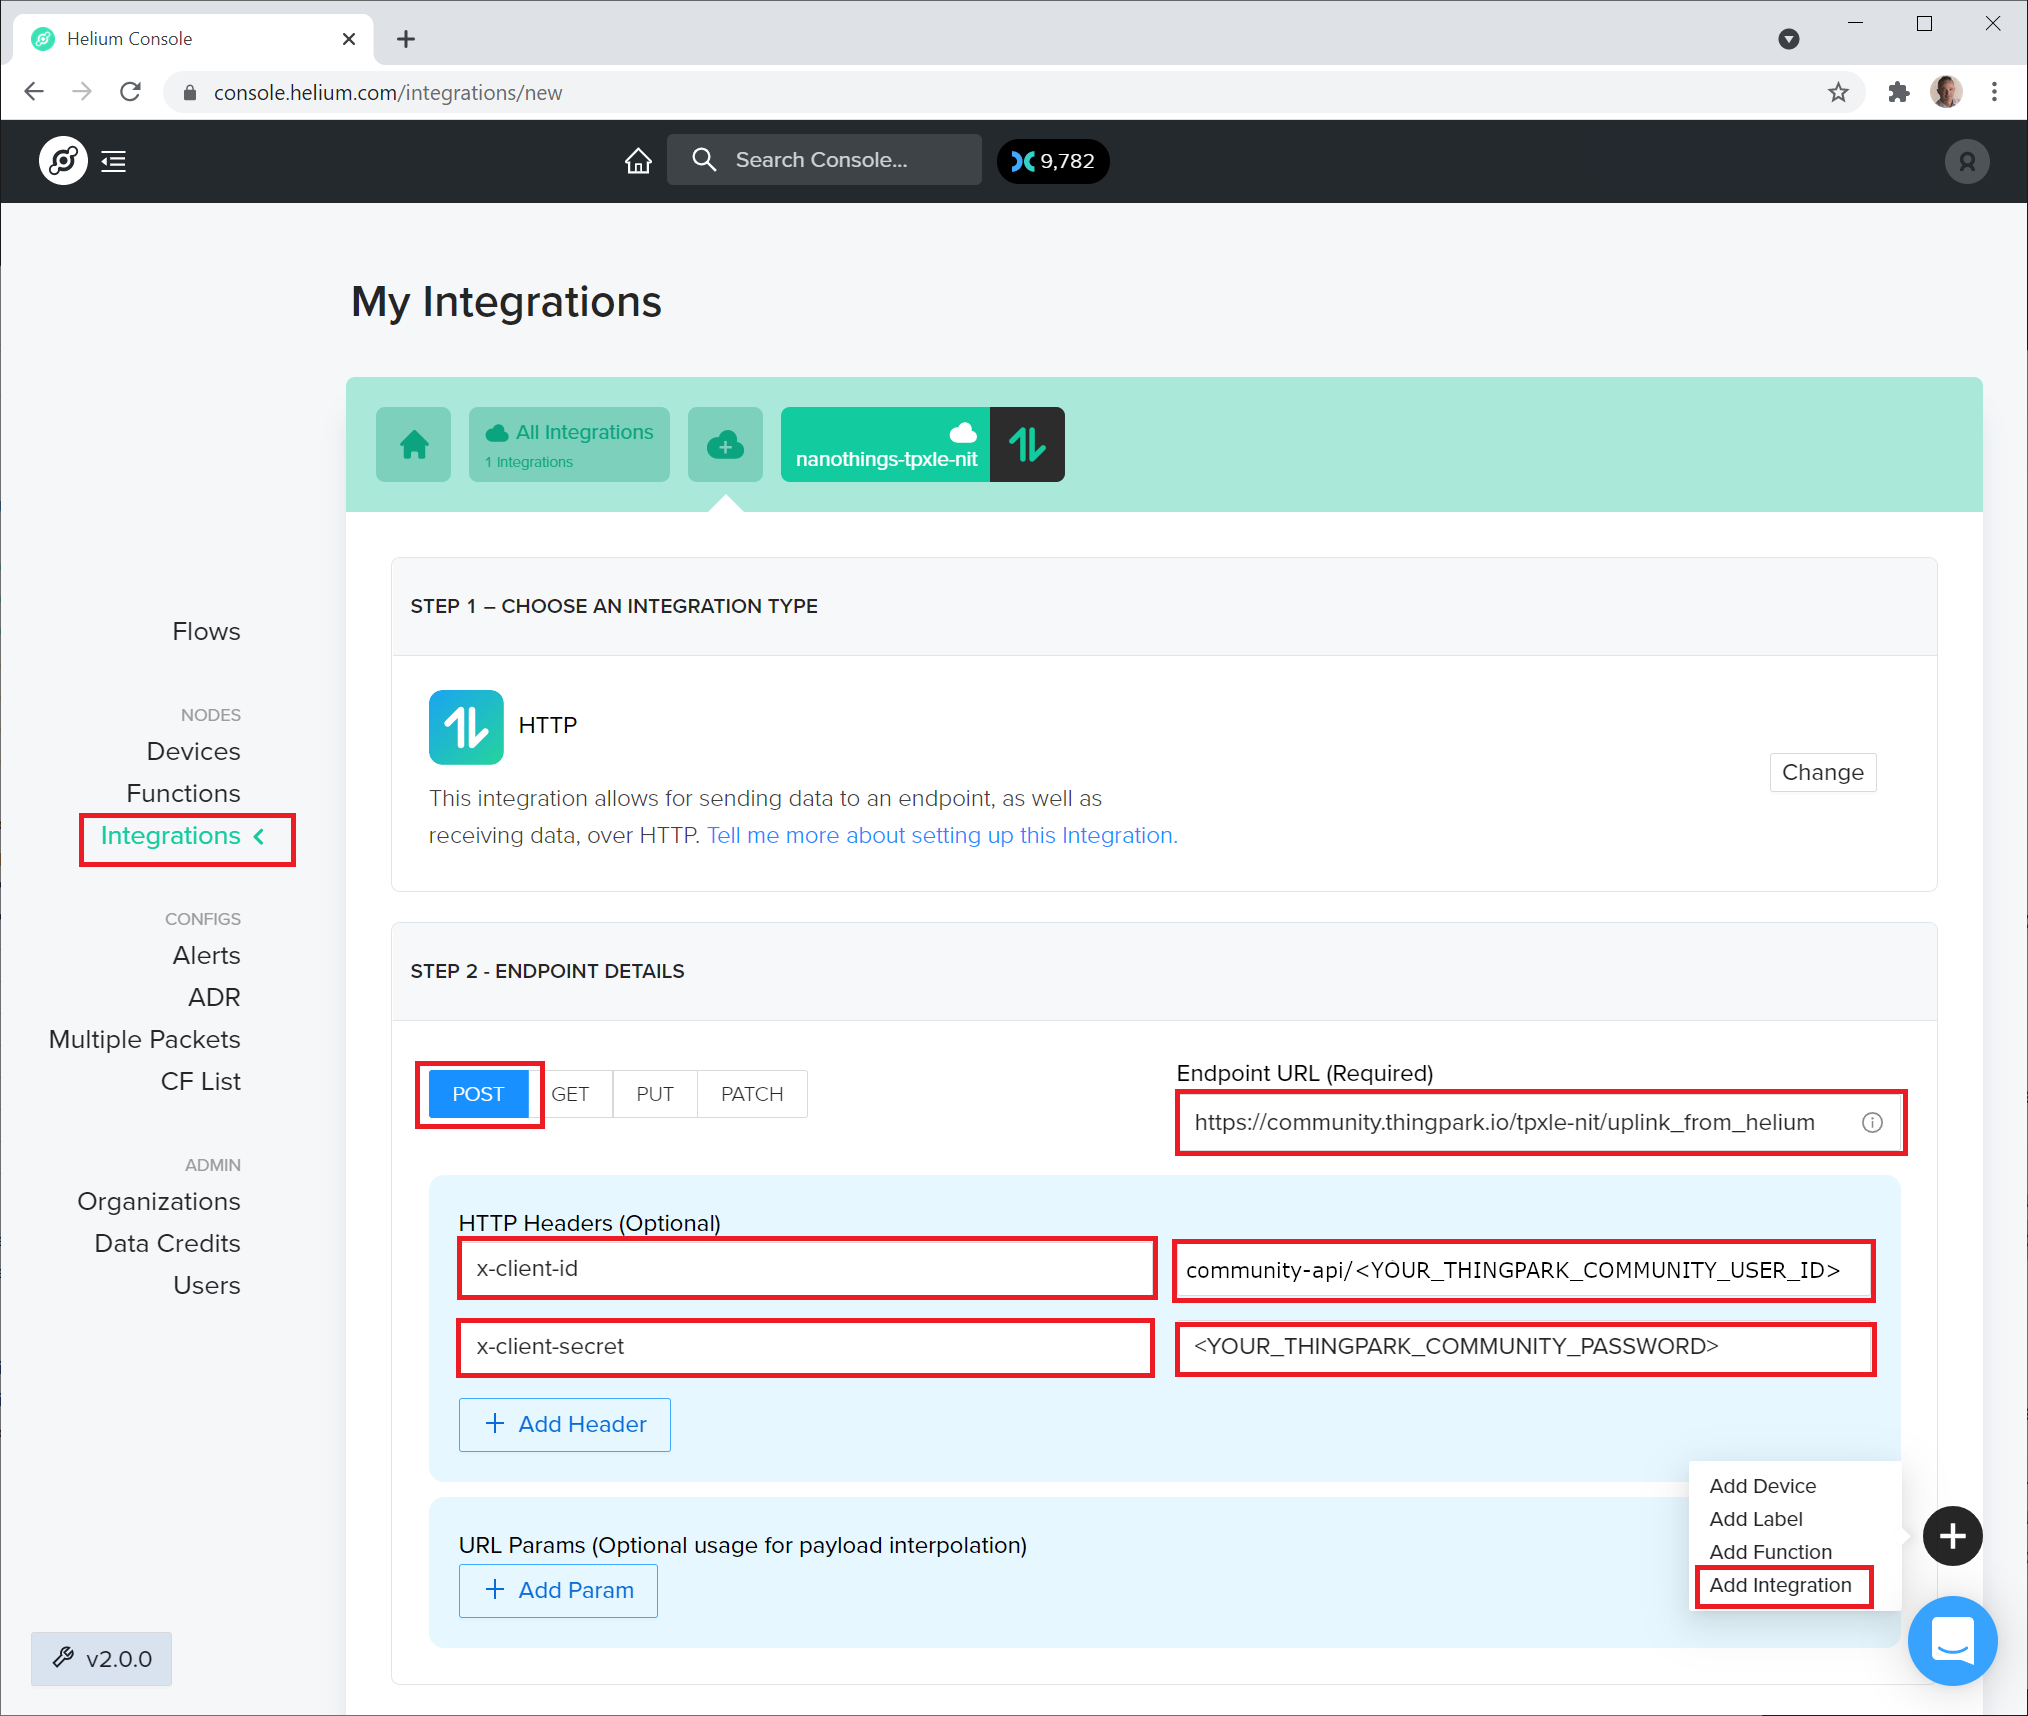
After your integration is created, don't forget to create a new flow to associate your Abeeway device to push data to your newly created integration
TTN Console:
Login to the TTN Console here
Create a new API key:
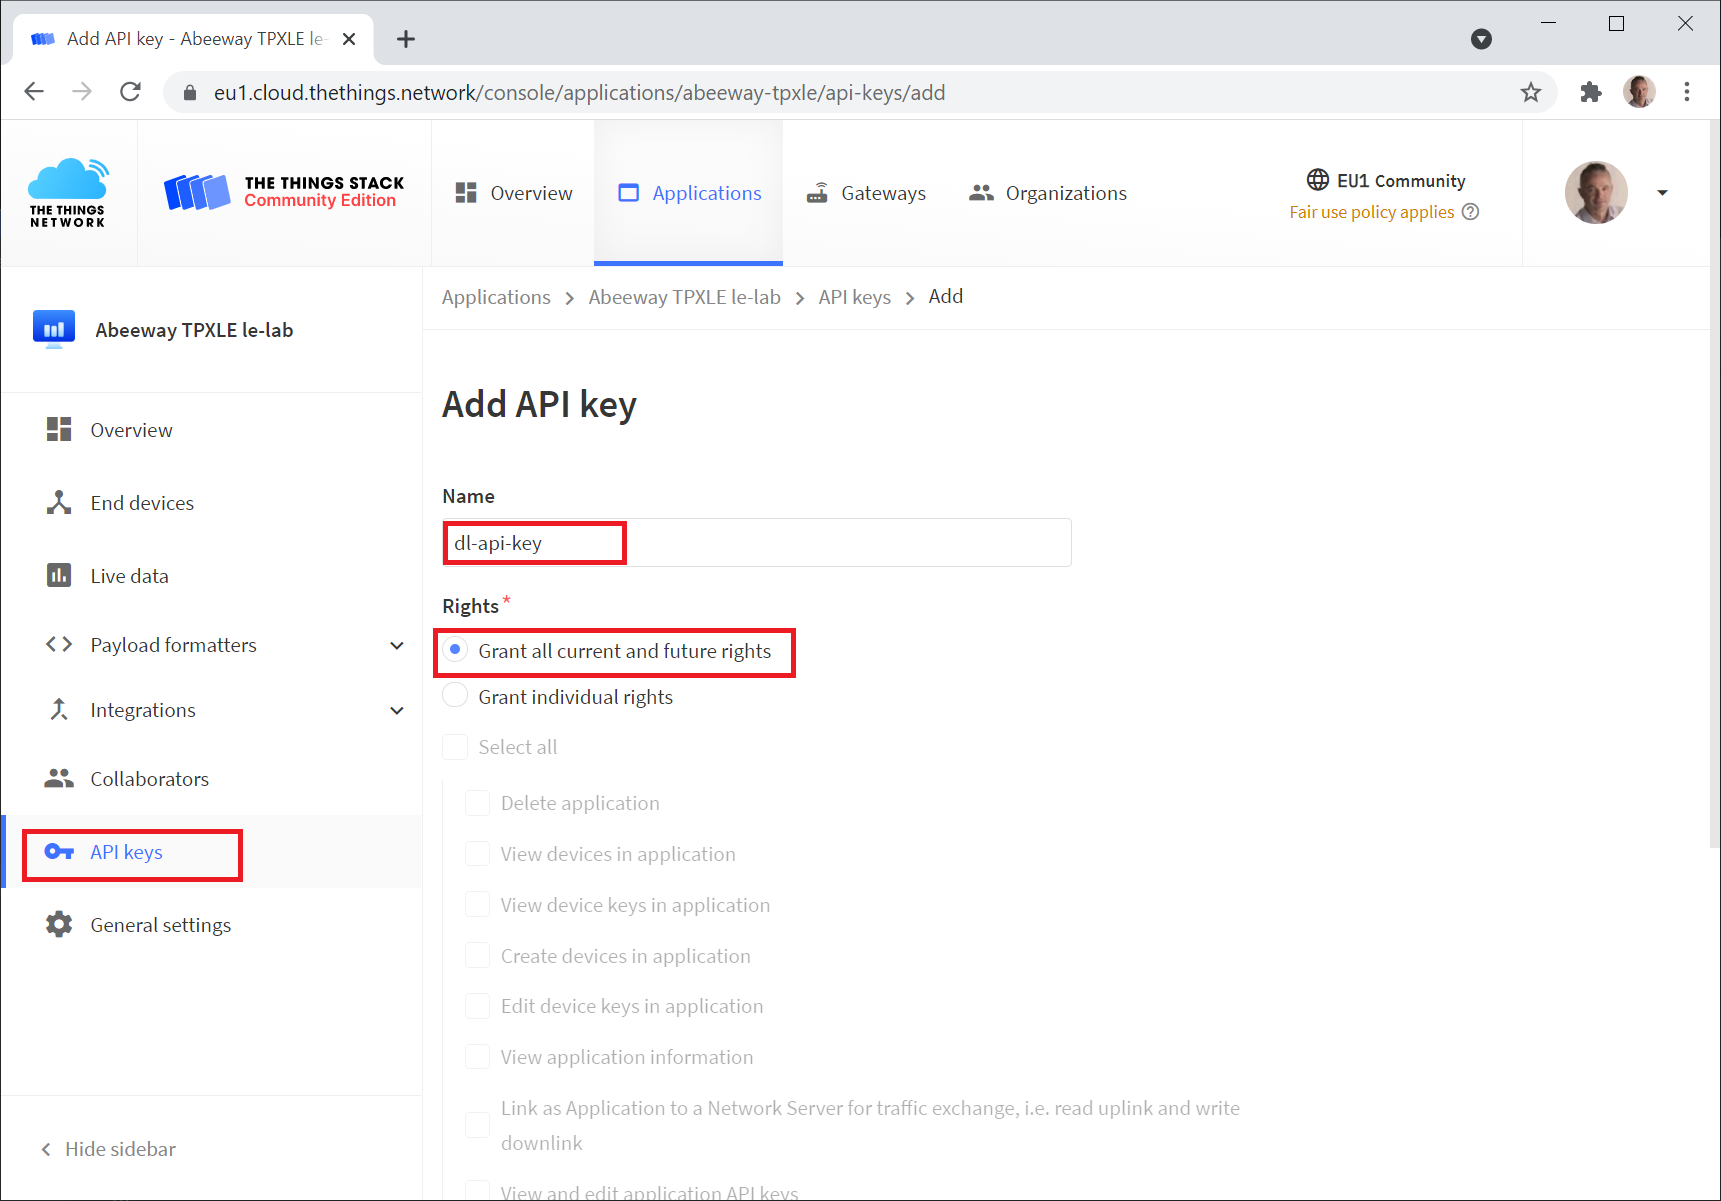
In case you use your tracker with Abeeway Device Managger or with your own application server interfaced to ThingPark X Location Engine create a new HTTP (webhook) integration with the following parameters:
- Url (for TTN):
https://community.thingpark.io/tpxle-nit/uplink_from_ttn - Header:
x-client-id: community-api/<your_thingpark_community_user_id> - Header:
x-client-secret: <your_thingpark_community_password>
In case you use your tracker with the Abeeway Mobile Application and you selected the "Abeeway - Preview" distributor after login create a new HTTP (webhook) integration with the following parameters (the mobile app uses a specific realm):
- Url (for TTN):
https://community.thingpark.io/tpxle-nit/uplink_from_ttn - Header:
x-client-id: <your_mobile_app_user_id> - Header:
x-client-secret: <your_mobile_app_password> - Header:
x-realm: le-lab
Please note that the screensots below are not presenting the exact headers that need to be used for the Mobile App. Please add and set the headers that are described here.
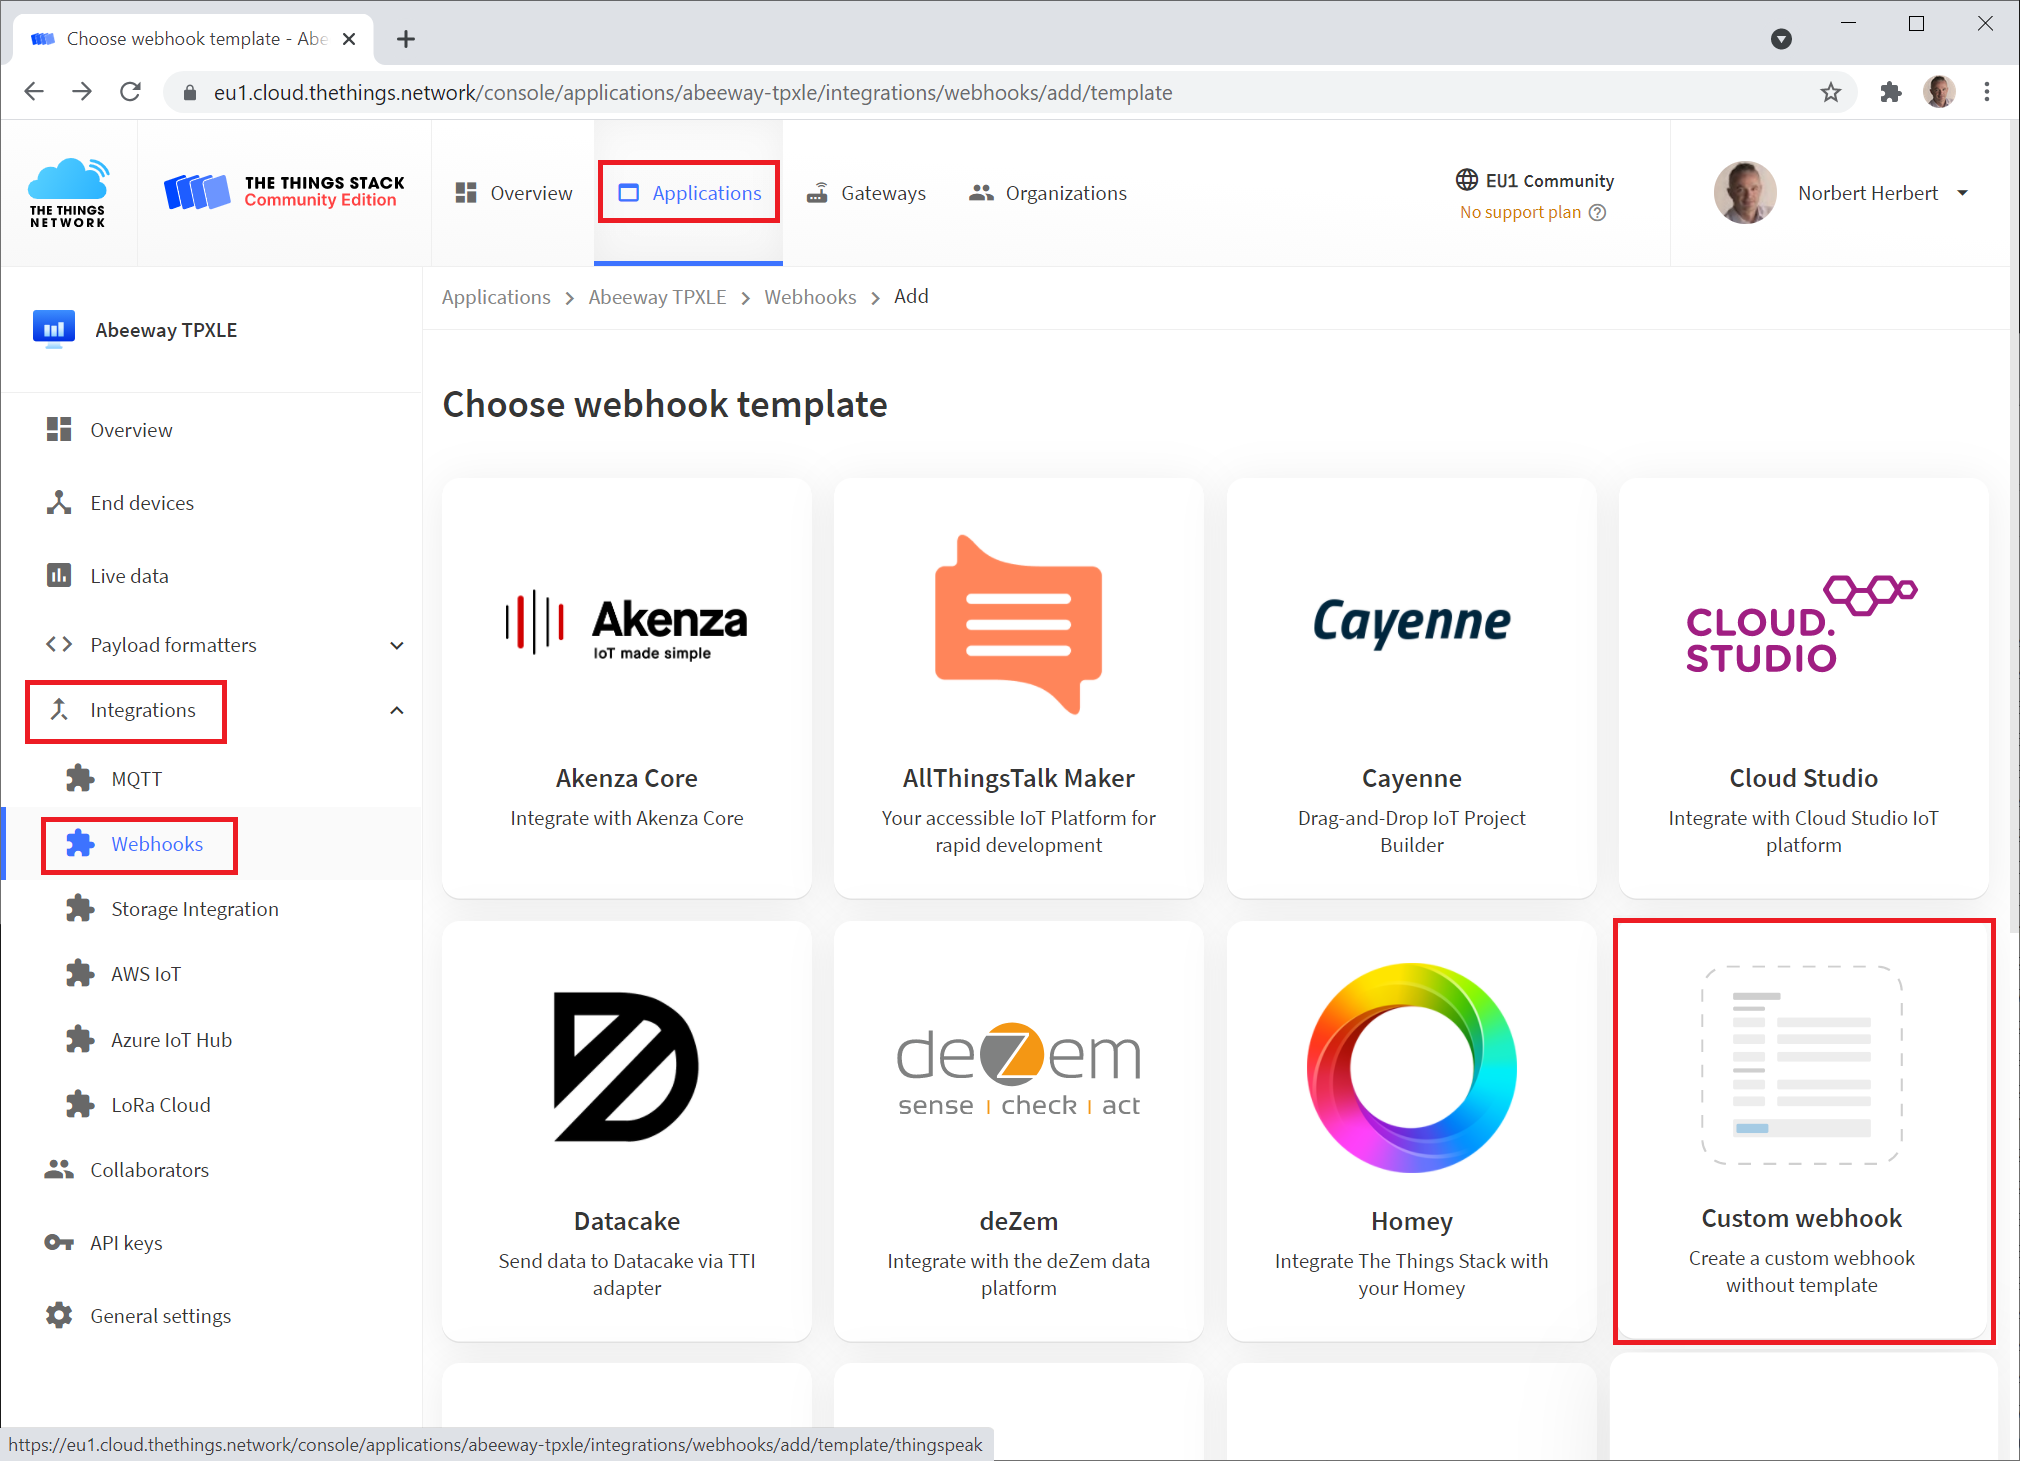
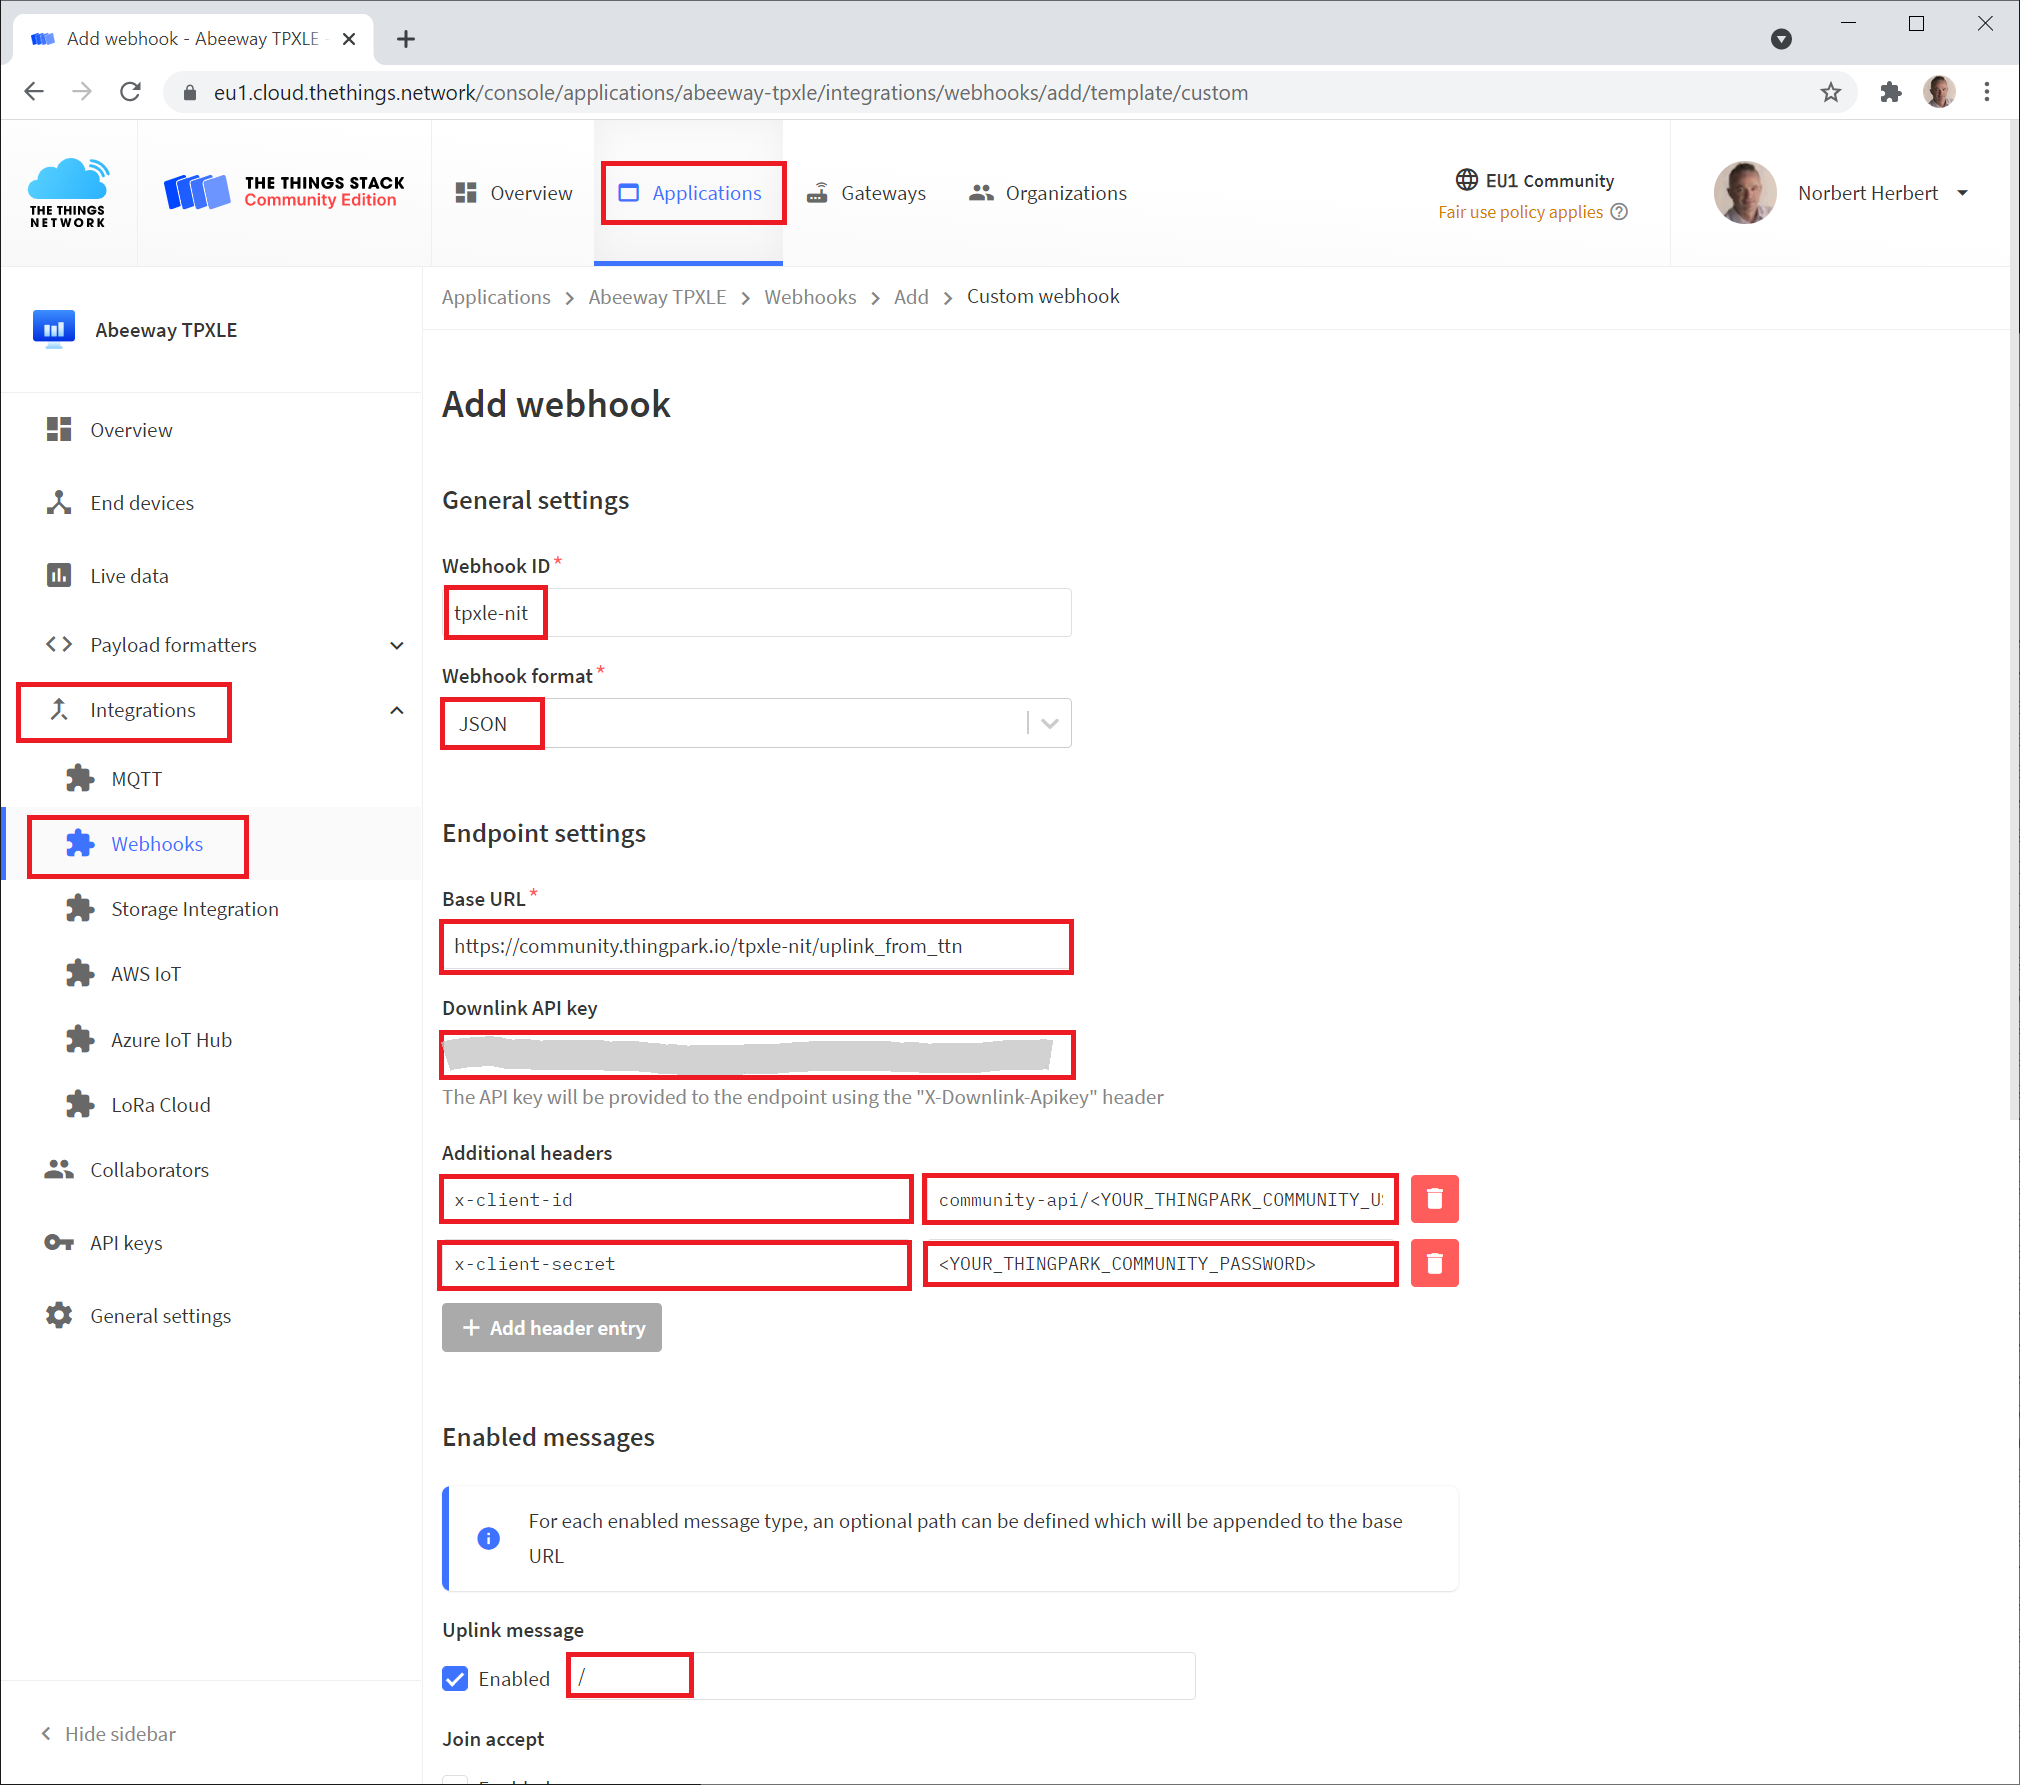
Don't forget to add your new API key as Download API key that you created earlier.
3. Set up the downlink message flow from ThingPark X Location Engine to the 3rd party LoRaWAN Network Server
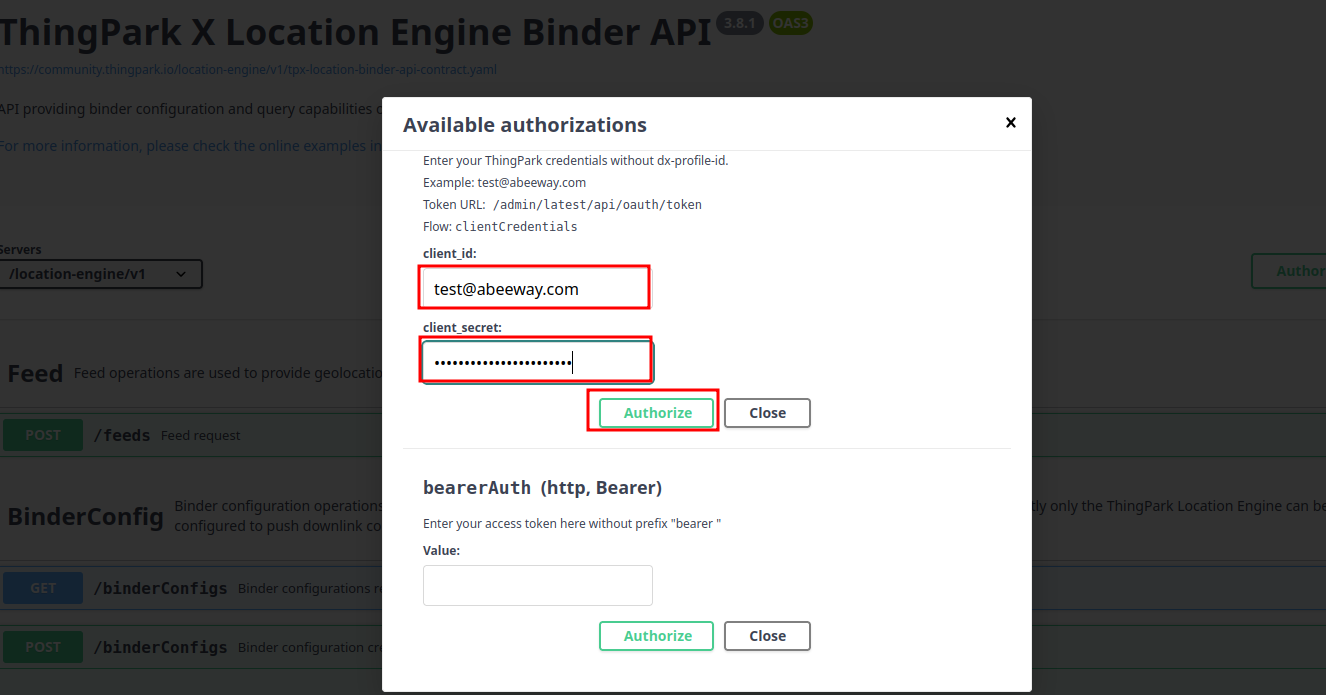
LoRaWAN downlink commands (e.G. tracker configuration messages and on-demand location requests) are managed by the ThingPark X Location Engine (TPX LE) Binder Module, which you can coofirue through the DX Location API. You need to configure the Binder module so that tracker commands are forwarded to the Actility Network Interface Translator:
Log in to ThingPark DX API with your ThingPark Community Credentials here.
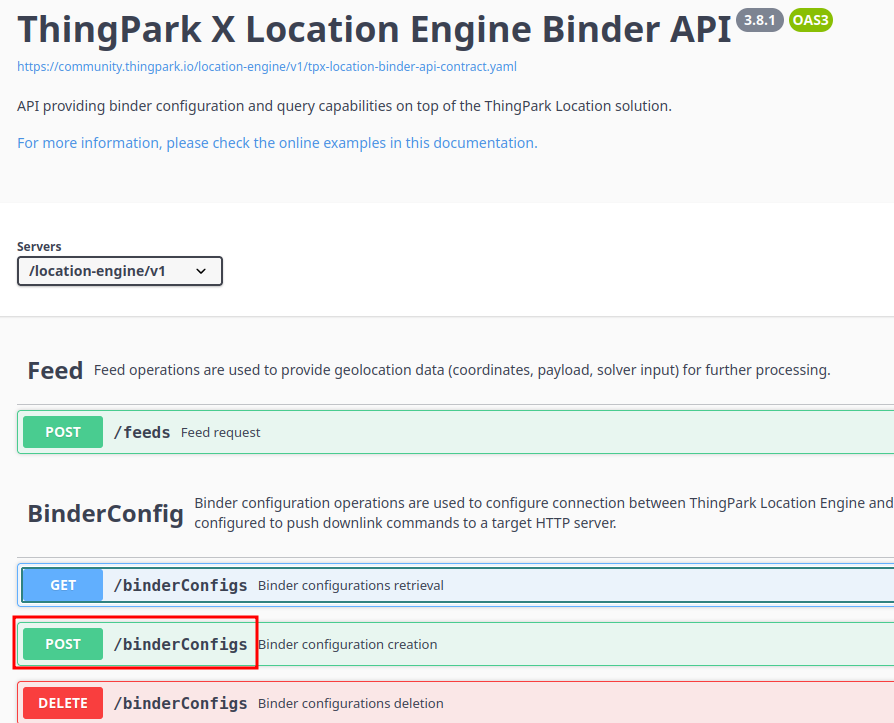
Under the BinderConfig title click on POST /binderConfigs
Insert the following text into the textarea:
- for Helium:
{
  "deviceEUIList": "*",
  "callbackURL": "https://community.thingpark.io/tpxle-nit/downlink_to_helium"
} - for TTN:
{
  "deviceEUIList": "*",
  "callbackURL": "https://community.thingpark.io/tpxle-nit/downlink_to_ttn"
}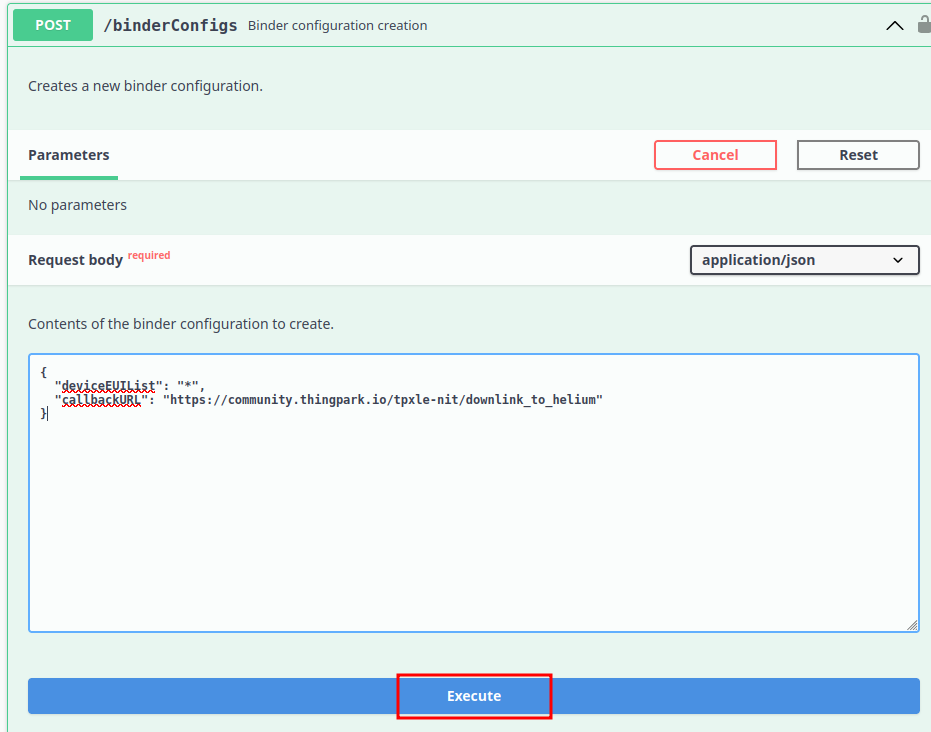
Click on the Execute button under the text area.
4. Test the uplink integration:
-
Wait until the tracker sends a few UL messages.
-
Verify on Helium/TTN Console that UL messages are forwarded to the integration you created earlier.
-
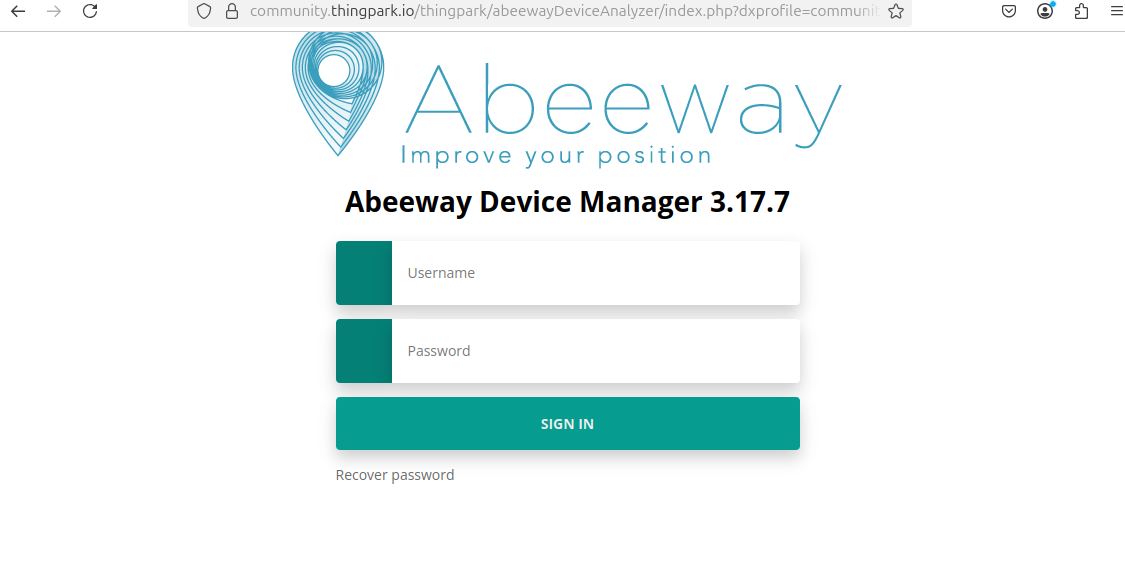
Login to Abeeway Device Manager (ADM) with your ThingPark Community Credentials.
-
Select your devices. If you cannot see any devices in the list after you logged in, then your trackers have not sent any messages to ADM yet.
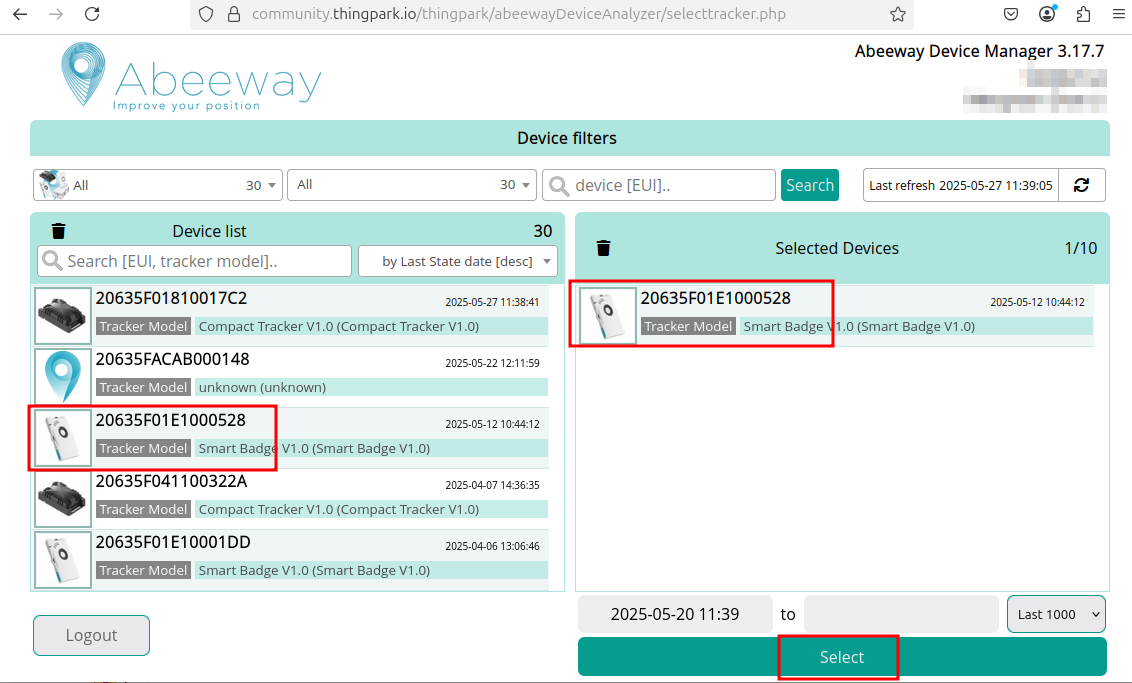
-
Find your trackers on the map.
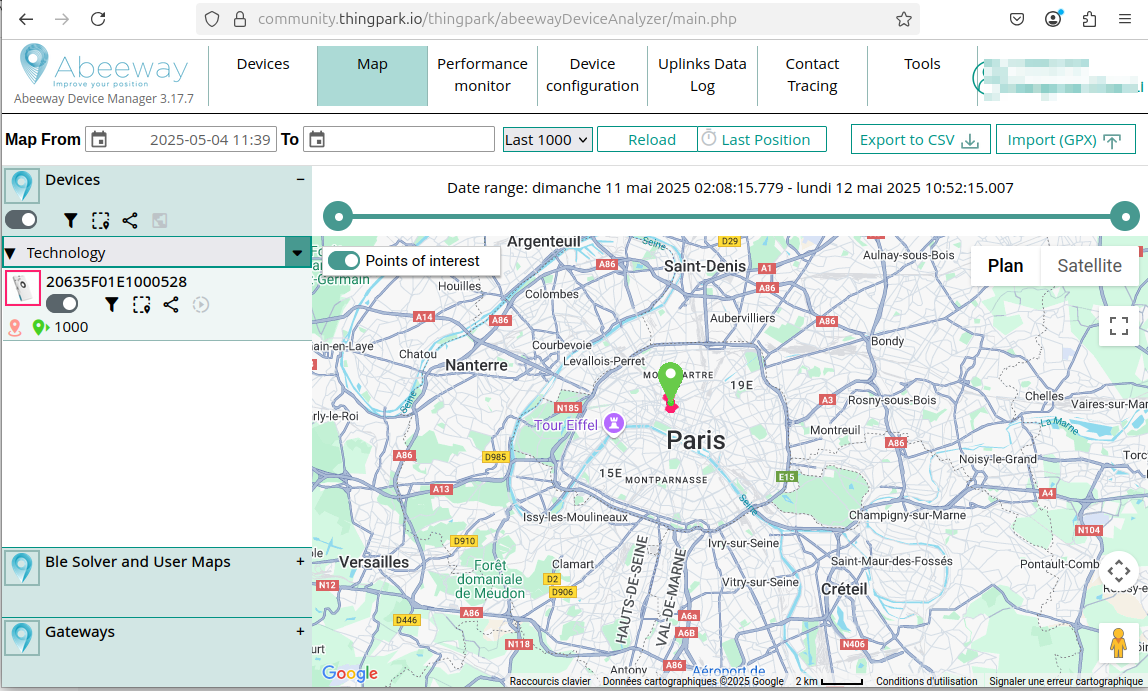
6. Test the downlink integration:
-
Login to Abeeway Device Manager (ADM) with your ThingPark Community Credentials and select your devices. Your devices will appear here because you have registered them to the ThingPark platform in step 1.
-
Click on the Device Configuration tab at the top of the ADM GUI.
-
Click on the drop-dowm menu item at the bottom left of the page and select the Start SOS mode option.
-
Click on the Send Request button just at the right of the drop-down menu item.
This should generate a downlink command that will switch the tracker to SOS mode.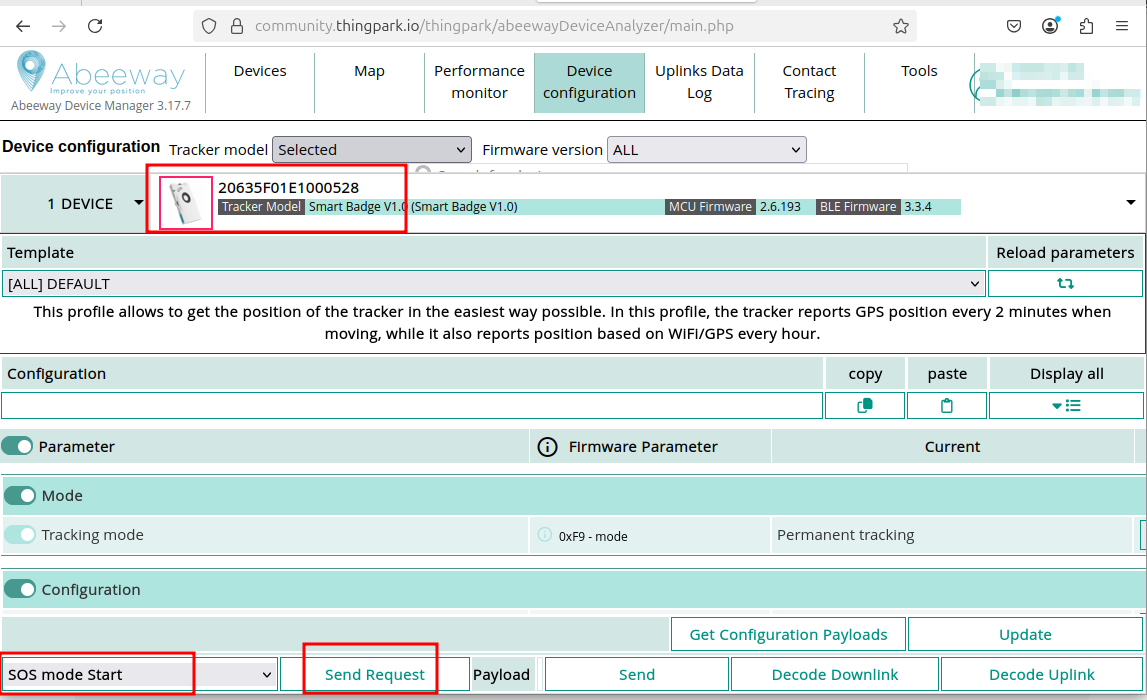
Your tracker will start SOS mode and eventually beep at downlink. Do a triple click to deactivate it.