Adding a ThingPark X IoT Flow connection
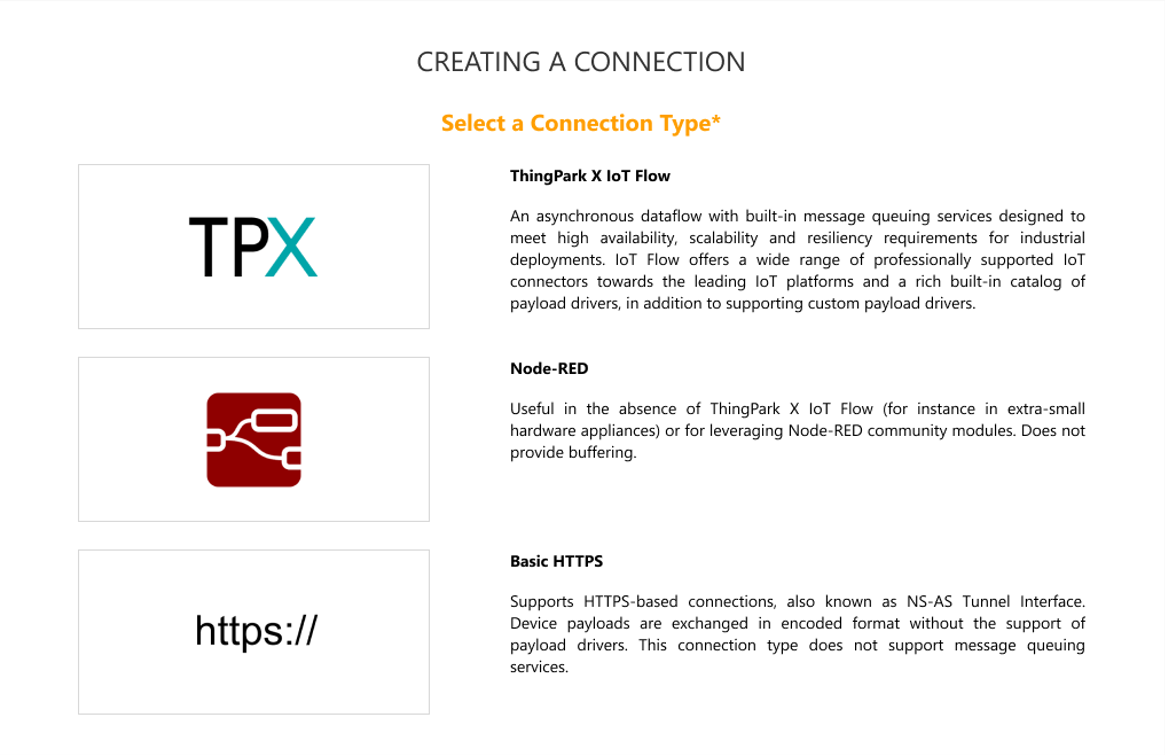
ThingPark X IoT Flow consists of asynchronous dataflows with built-in message queuing services designed to meet high availability, scalability and resiliency requirements for industrial deployments.
Also known as TPX IoT Flow, it provides a wide range of professionally-supported IoT connectors towards the leading IoT cloud platforms (Amazon AWS IoT, Microsoft Azure, IBM Watson, ThingWorx, Yandex, Cumulocity and many others...) besides generic MQTT and HTTPS connections.
IoT Flow also provides a rich built-in catalog of payload drivers, in addition to supporting custom payload drivers.
Follow these steps to add a new ThingPark X IoT Flow connection:
For deployments using domains to segregate the user permissions, adding new ThingPark X IoT Flow connections can only be done by users that do not have an domain restrictions, administrators for instance.
-
Select Connections, and click ADD CONNECTION in the Connections page, or from Dashboard, go to the CONNECTIONS widget, and click
.
 note
noteIf the permission segregation based on domains has been enabled by an administrator, ThingPark X IoT Flow is not available on this page in case your user account has domain restrictions.
-
Select ThingPark X IoT Flow.
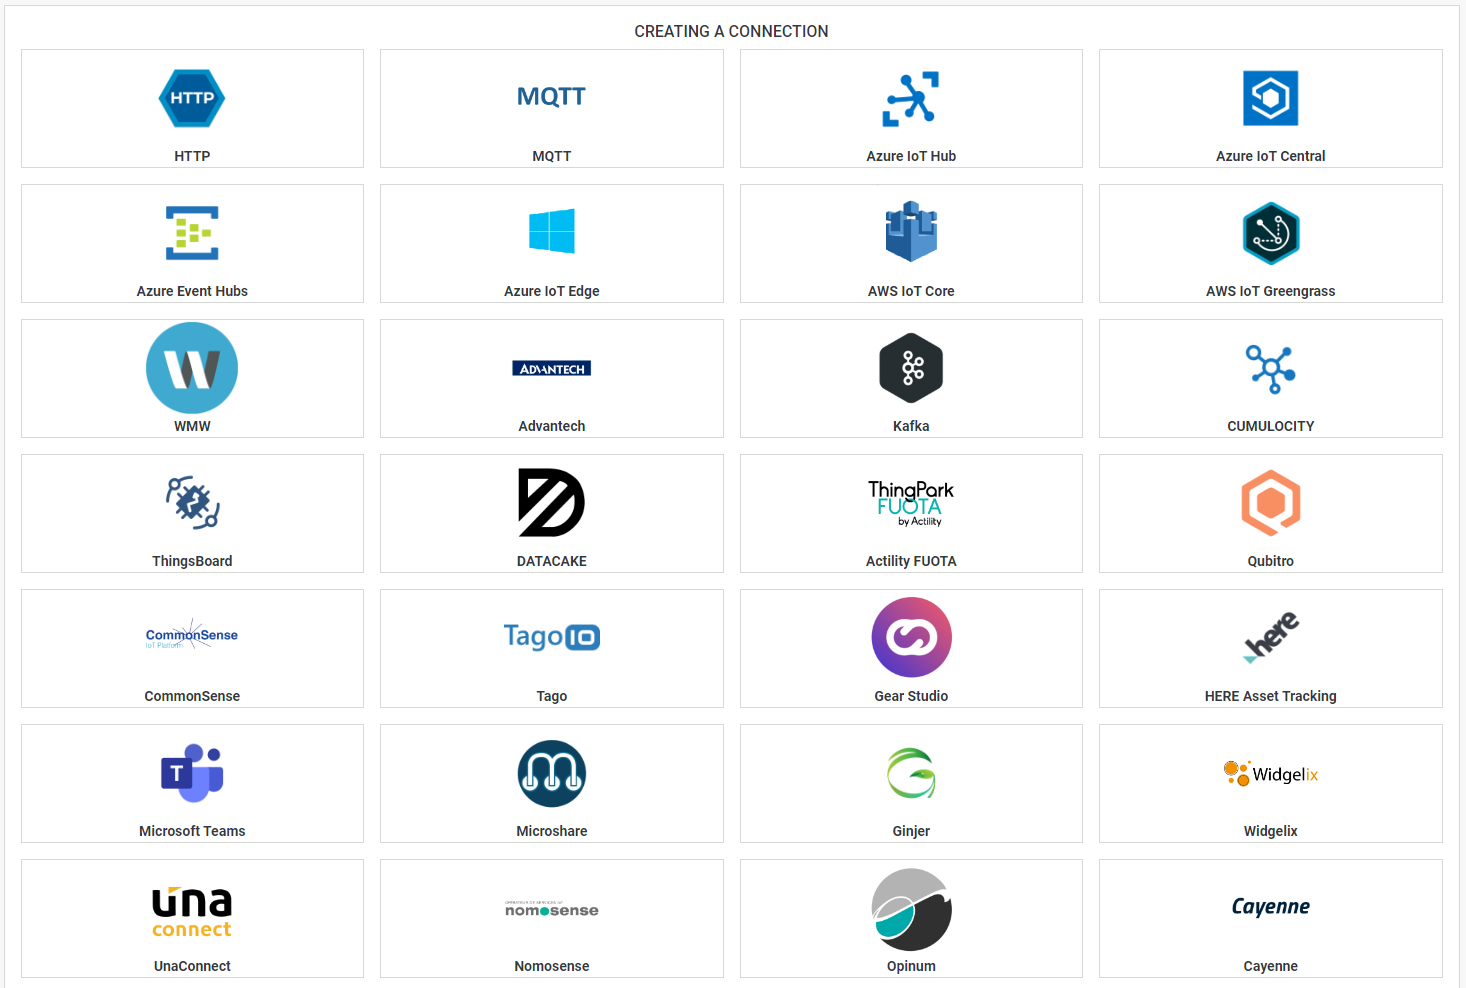
-> You will then be redirected to ThingPark X Iot Flow user interface and the following screen will display in another tab of your navigator:
 note
noteConnectors flagged as «BETA» are functional but have not been widely used in production yet. Minor limitations or bugs might be encountered using them.
-
Click the type of connection that you want, then follow the step-by-step configuration guide of your connector. The new connection will be created with a ThingPark X logo
.
The most commonly used connector types are described in the following table. You may also see ThingPark X IoT Flow documentation for a full list of supported connector types.
Connection type To learn more, click Creating an MQTT connection MQTT step-by-step guide Creating an HTTPS connection HTTPS step-by-step guide Creating a Microsoft Azure IoT Hub connection AZURE IoT Hub step-by-step guide Creating a Microsoft Azure IoT Central connection AZURE IoT Central step-by-step guide Creating a Microsoft Azure Event Hubs connection AZURE Events Hubs step-by-step guide Creating a Microsoft Teams connection Teams step-by-step guide Creating an AWS IoT Core connection AWS IoT step-by-step guide Creating an AWS Greengrass V2 connection AWS Greengrass step-by-step guide Creating a HERE connection HERE step-by-step guide Creating a ThingWorx connection THINGWORX step-by-step guide Creating an IBM Watson connection WATSON step-by-step guide Creating a Yandex connection YANDEX step-by-step guide Creating an AMQP connection AMQP step-by-step guide Creating a Cumulocity IoT connection Cumulocity step-by-step guide Creating a Thingsboard connection THINGSBOARD step-by-step guide Creating a Ginjer connection GINJER step-by-step guide Creating a MODBUS connection MODBUS step-by-step guide Creating a OPC-UA connection OPC-UA step-by-step guide Support of MODBUS and UA connections-
Self-hosted TPE: MODBUS and OPC-UA connections are only available for Appliance/VM deployments. Contact Actility support for more information about future support of MODBUS and OPC-UA connections for Kubernetes deployments.
-
TPE SaaS: MODBUS and OPC-UA connections are not available for TPE SaaS.
-
-
At this stage, your newly-added ThingPark X IoT Flow connection is cross-domain, that is to say, visible to all users regardless of their domain restrictions.
If you want to restrict the visibility of this connection to authorized users only, you must associate it with the adequate Domains. To do this:
- Go back to the ThingPark Enterprise user interface, then click Connections for the left panel.
- Select your new TPX connection from the list and click its name to open it.
- Associate your connection with the required domains, as described in Viewing and editing a connection.