Adding a Node-RED connection
Node-RED is a browser-based flow editor that is used for building Internet of Things applications. It provides you with code blocks known as nodes, each node describing a task. When linked together, the nodes make up a flow. The Node-RED editor is accessible from the ThingPark Enterprise user interface with Single Sign-On (SSO).
To learn more about Node-RED, see the Node-RED documentation.
Using Node-RED connections is optional on self-hosted ThingPark Enterprise, it may be activated via Cockpit, typically during installation procedure but it can be changed post-installation. For activation/deactivation through Cockpit (for Appliance/VM deployments), see Feature settings. Node-RED type of connection is not supported on ThingPark Enterprise SaaS.
Starting self-hosted TPE 8.0, a BACnet flow is natively embedded in Node-RED to support smart building use cases where LoRaWAN data needs to be exposed as BACnet properties to be explored by BACnet client applications.
To learn more, see Using BACnet.
Only one Node-RED connection is supported per self-hosted TPE subscription. This single connection allows exchanging uplink and downlink packets between the ThingPark Enterprise Network Server and the Node-RED application. Nevertheless, via this single NS - Node-RED connection, you may configure several application connectors through Node-RED to interface with your external Application Servers.
For self-hosted ThingPark Enterprise, follow these steps to add a Node-RED connection:
-
Select Connections, and click ADD CONNECTION in the Connections page, or from Dashboard, go to the CONNECTIONS widget, and click
.

-
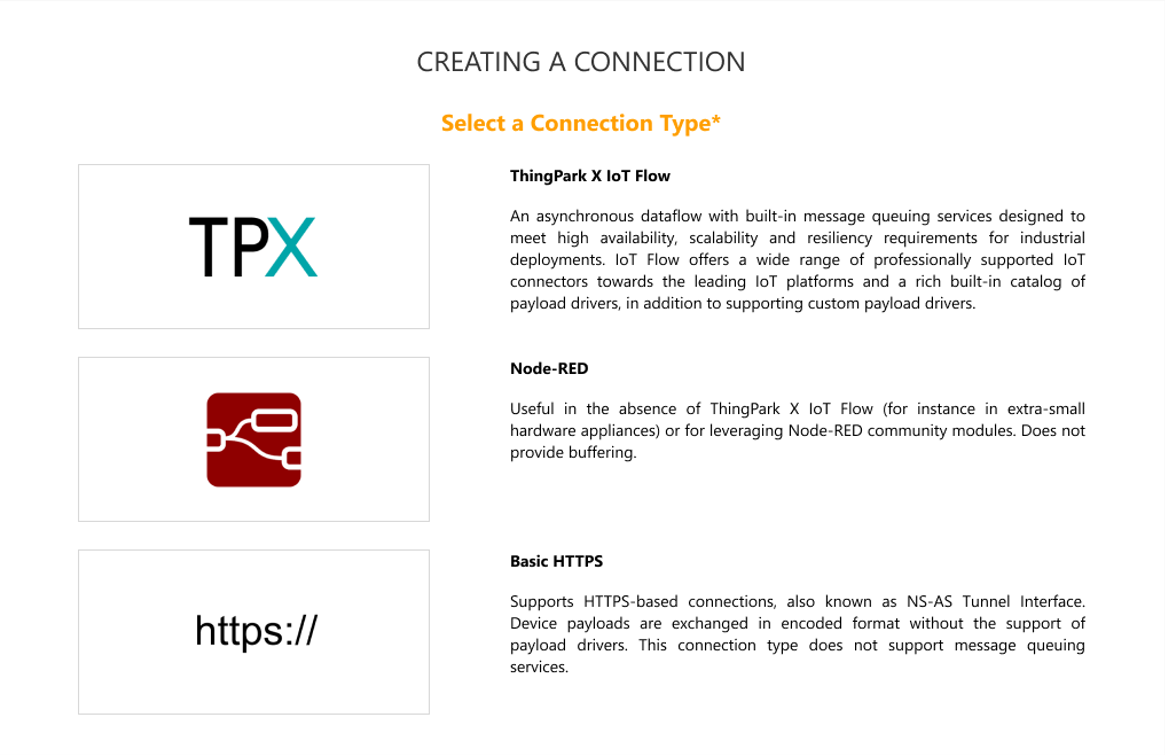
Click the Node-RED type of connection.
-
Enter your connection information (mandatory fields are marked by
*in the user interface):-
Name
-
Domains (optional): If the permission segregation based on domains has been enabled by an administrator, you may associate your connection with domains to restrict its visibility. Domain-specific connections are visible only to authorized users whose domain restrictions match. To learn more, see About domains.
- If no domains are set, the connection is cross-domain and visible to all users. However, users having domain restrictions have read-only access to cross-domain connections and cannot see any confidential information such as the URL and the custom headers.
- If your user account has domain restrictions, the associated domains must match your domain restrictions without any domain prefix (only full domains can be assigned to resources).
-
Additional information (optional): Any useful information, administrative for instance, that is related to the connection.
-
-
Copy the Tunnel interface authentication key from this form. This key is auto-generated by the ThingPark Enterprise user interface and must be configured in the Node-RED application as required in step 9.
-
Click ADD.
-> A notification appears on the upper right side of your screen to confirm that the connection has been created.
-
Click View the connection to access its details.
-
In the Information widget, click OPEN NODE-RED EDITOR.
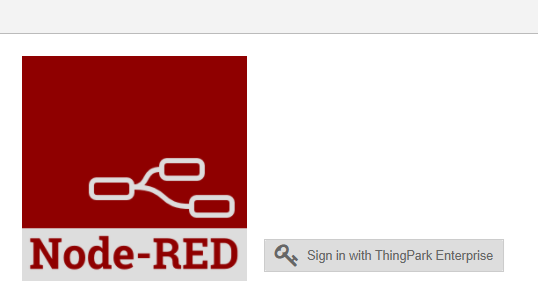
-> You are redirected to the Node-RED application. The following frame appears:

-
In the frame that displays, click Sign in with ThingPark Enterprise.
-> You are now on the Node-RED application, where you can manage your nodes.
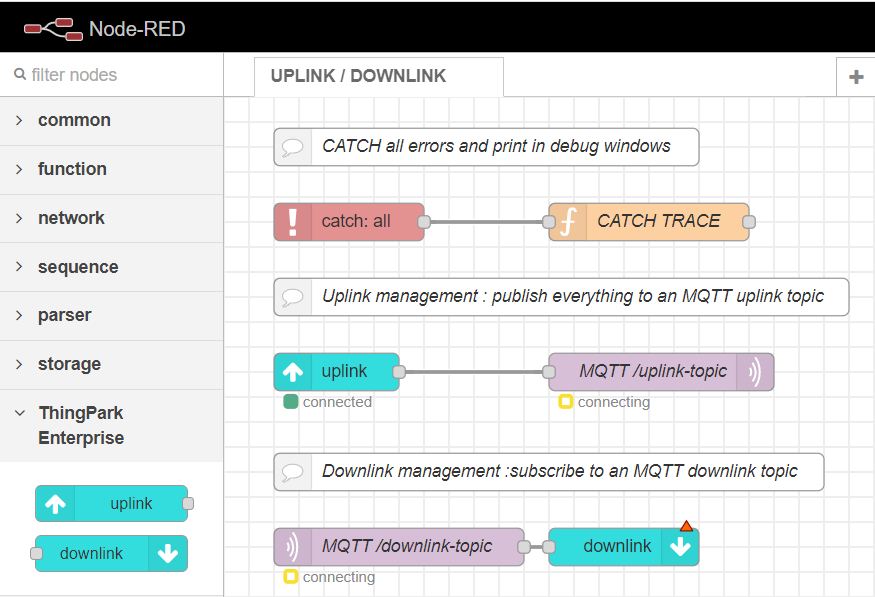
noteThe Node-RED configuration in ThingPark Enterprise is already personalized with two blocks: one for uplink and another for downlink. These two blocks are initially associated with an example MQTT connector, but they can be reused for any connector flow you create using the Node-RED application.

To learn more, see Node-RED docs.
-
From the Node-RED user interface, configure the downlink parameters:
-
Double-click the "downlink " block (widget) in the application as shown in the preceding capture.
-> The Node-RED application window opens.

-
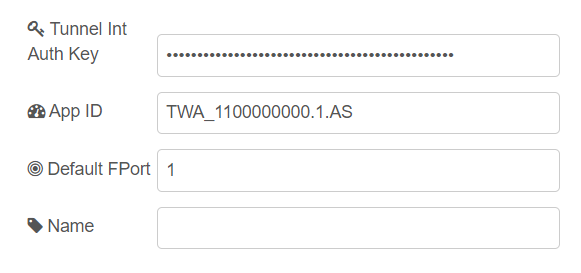
Paste the auto-generated value of the Authentication Key from the ThingPark Enterprise user interface in the related field.
-
Copy the Application ID from the connection that you created in the ThingPark Enterprise user interface.
-
Paste it in the App ID.
-
Update the default Fport used to send downlink LoRaWAN® frames through this application, if needed.
-
Label the node, as desired.
-
Click Done.
-