Adding base stations on ThingPark GUI
This topic describes how base station managers can add base stations to their account, using ThingPark's user interface.
You must be assigned either an Administrator or a Base Station Manager role to proceed with base station provisioning tasks. Read-only users (being assigned a Viewer role) cannot add new base stations.
-
Log in to your ThingPark account.
-
On the left panel, select Base Stations
-
If you want to add your new base station by cloning an existing one, select the base station you want to clone from the list, then click ..., then Duplicate.
You will then be redirected to the BS addition form, with the following fields already prefilled from the cloned BS:
- Manufacturer
- Model
- RF Region
- Additional information
- Domains, if applicable
- Security parameters
- Location mode
- Alarm settings
Fill the remaining fields then click Confirm.
-
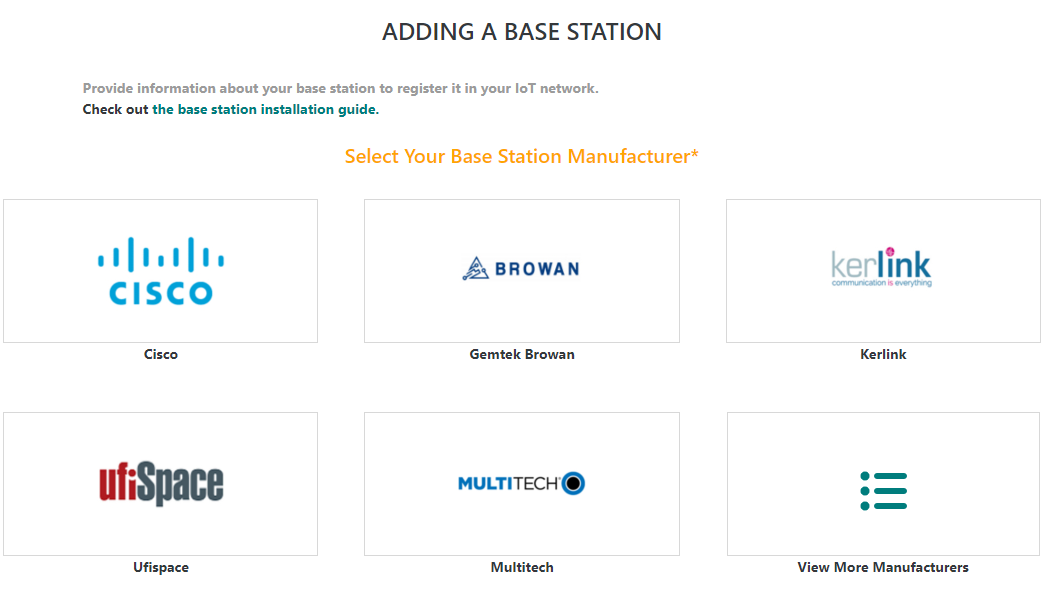
Else, if you do not want to clone an existing base station, click ADD BASE STATION at the top right corner of the base stations list. The following screen displays:

-
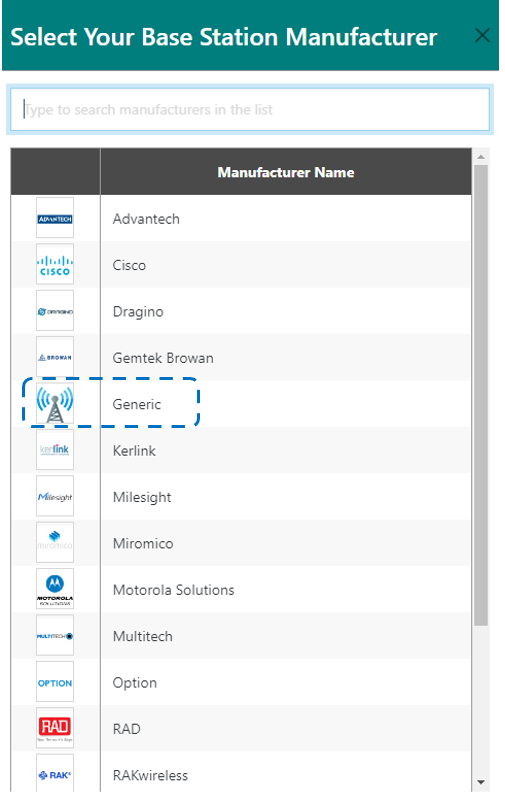
Select your base station's Manufacturer.
For gateways using Basics Station packet forwarder, if your manufacturer is not listed, use the Generic manufacturer.
 note
noteThe manufacturer thumbnails proposed by the user interface correspond to the 5 recently used manufacturers. If you do not find your manufacturer in those thumbnails, click View More Manufacturers.
-
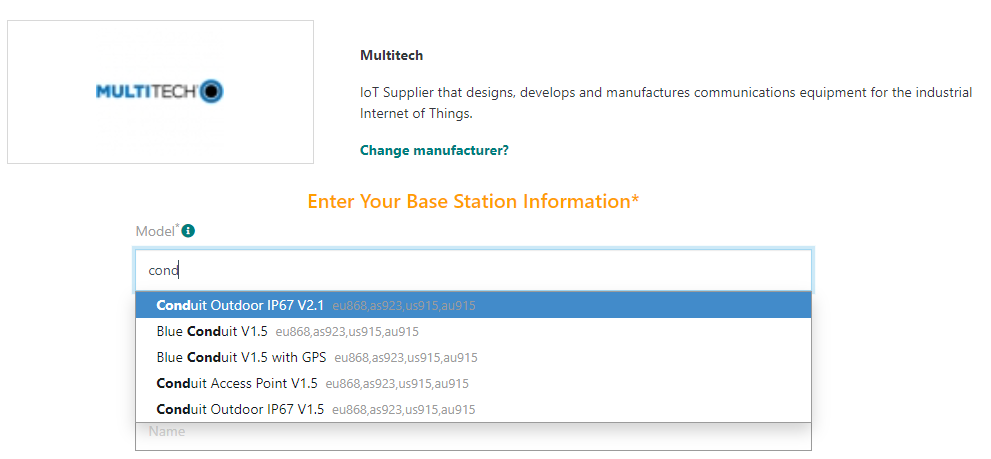
On the following screen, select the desired Model from the drop-down list corresponding to the manufacturer selected in the previous step. Only models compliant with the ISM bands you specified are proposed. The supported ISM bands are displayed in gray, beside each Model.
For gateways using Basics Station packet forwarder and the Generic manufacturer, select the Basics Station packet forwarder model.
You may change the manufacturer by clicking Change manufacturer? at the beginning of the page.
tipStart typing in the "Model" field to quickly look up your target Model, as per the following example.

-
Fill out the form, guided by the definitions described in Base station attributes. All the fields marked by
*are mandatory.Here are some additional tips about retrieving the LRR-UUID:
-
For gateways using the LRR packet forwarder: in case the LRR-UUID is not printed on your base station’s sticker nor enclosed in your shipment, you can retrieve the LRR-UUID from SUPLOG:
- Login to SUPLOG (see Connecting to SUPLOG for more details).
- Browse to Identifiers then Get LRR UUID.
- Copy the UID displayed on the third line.
- Paste this UID on your base station provisioning form on ThingPark's user interface.
noteFor Browan MiniHub models, the LRR-UUID is directly printed on the BS sticker, it corresponds to the hexadecimal characters following "(92)", including the dash (e.g. 58A0CB-8007FF).
-
For gateways using Basics Station packet forwarder: the LRR-UUID must be prefixed by
0016C0-followed by the Gateway ID.TipClick the
button to compute the LRR-UUID from the Gateway ID or the Station EUI.
Specific tips about filling out the Security section of the form:
-
If your base station is configured to use a secure connection to the ThingPark core network (either by IPSec or TLS), tick the Generate base station certificate option. Enabling this option allows ThingPark to automatically generate the X.509 security certificate once the BS is added to the system. Then, once the BS comes online, it shall automatically download its certificate from ThingPark's PKI server (also called the Key Installer).
Note for Browan MiniHub and ST-Nucleo models using the LRR packet forwarder: since the bootstrapping process of these models is different from conventional linux-based models, you must disable the automatic generation of X.509 certificates when adding any of these two models to the system.
-
Public key: This field is only relevant for SaaS deployments, for base stations using the LRR packet forwarder. The public key is used to authenticate the BS with the Key Installer before it downloads its certificate.
- If your base station is bootstrapped via the ThingPark Infrastructure Commissioning Service (ICS) - which is ThingPark's zero-touch BS provisioning server - do not fill out the public key when adding the BS on the system: ICS shall automatically retrieve this public key from the BS and provision it on your ThingPark account.
- Else (your base station is not bootstrapped via ICS), you should manually
enter the public key. If it has not been communicated to you by the ThingPark
support team, you should login to SUPLOG (see connect to SUPLOG)
and retrieve the public key as described in
Generating and retrieving the base station’s public key.
Make sure to copy/paste the entire text including the BEGIN and END lines.

The no uplink activity alarm and the connection status alarm can be configured in the Alarm settings section of the form. To learn more, see Editing alarm settings.
If the base station uses the ThingPark LRR packet forwarder, it is strongly recommended to change the default password of the support account in the Support account’s password section of the form. To learn more, see Changing the password of the support account.
-
-
-
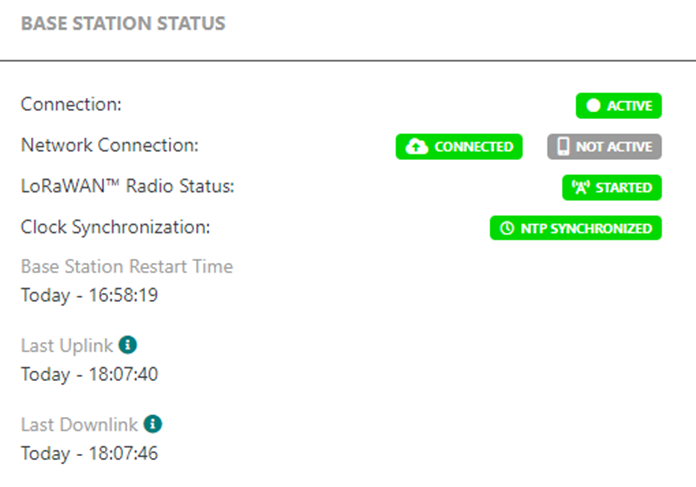
Once the base station is successfully provisioned on ThingPark, its status immediately turns to "Initialization", represented by an orange dot.
Whenever the base station comes online (meaning it has a valid network connection), it may take a couple of minutes for the base station to download its security certificate, and establish the connection before its connection status changes to "Connected" with a green dot.
 caution
Once your base station is successfully connected to ThingPark, make sure you have a valid backup.
If this is not yet the case, go to the base station's detailed page, then choose the Advanced tab, then click BACKUP in the "Backup and restore" widget.
If your base station could not come up online after being configured and provisioned, see some debug tips in Troubleshooting the base station connectivity.
At any time, if your base station goes offline (for instance, it is switched off), its status shall show "Connection Error", with a red dot. A gray dot means "Radio Error", which typically highlights an internal RF error (radio may be switched off) while the base station is still connected to ThingPark's core network. To learn more about the different BS states, see Base station health states.